Maintenance
9 --- 41
9.13
Cleaning the Oil Cooler and Aftercooler
The oil cooler and air aftercooler must be checked for clogging regularly. Heavy contami-
nation could lead to excessive temperatures in the oil circulation system.
See regular maintenance schedule for cooler maintenance interval (chapter 9.2).
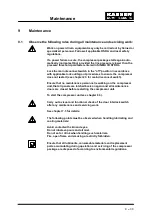
Switch off the compressor package under full load (see chapter 8.3).
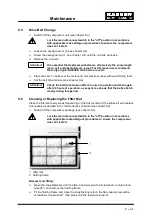
Lock the main disconnect in the ”off” position in accordance with ap-
plicable lock out/tag out procedures to ensure the compressor does
not restart.
Before opening or removing pressurized components (pipes, hoses,
tanks, etc.) it is imperative that the compressor package is completely
depressurized.
Venting the compressor package (see chapter 9.10).
9.13.1
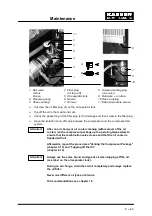
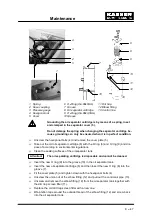
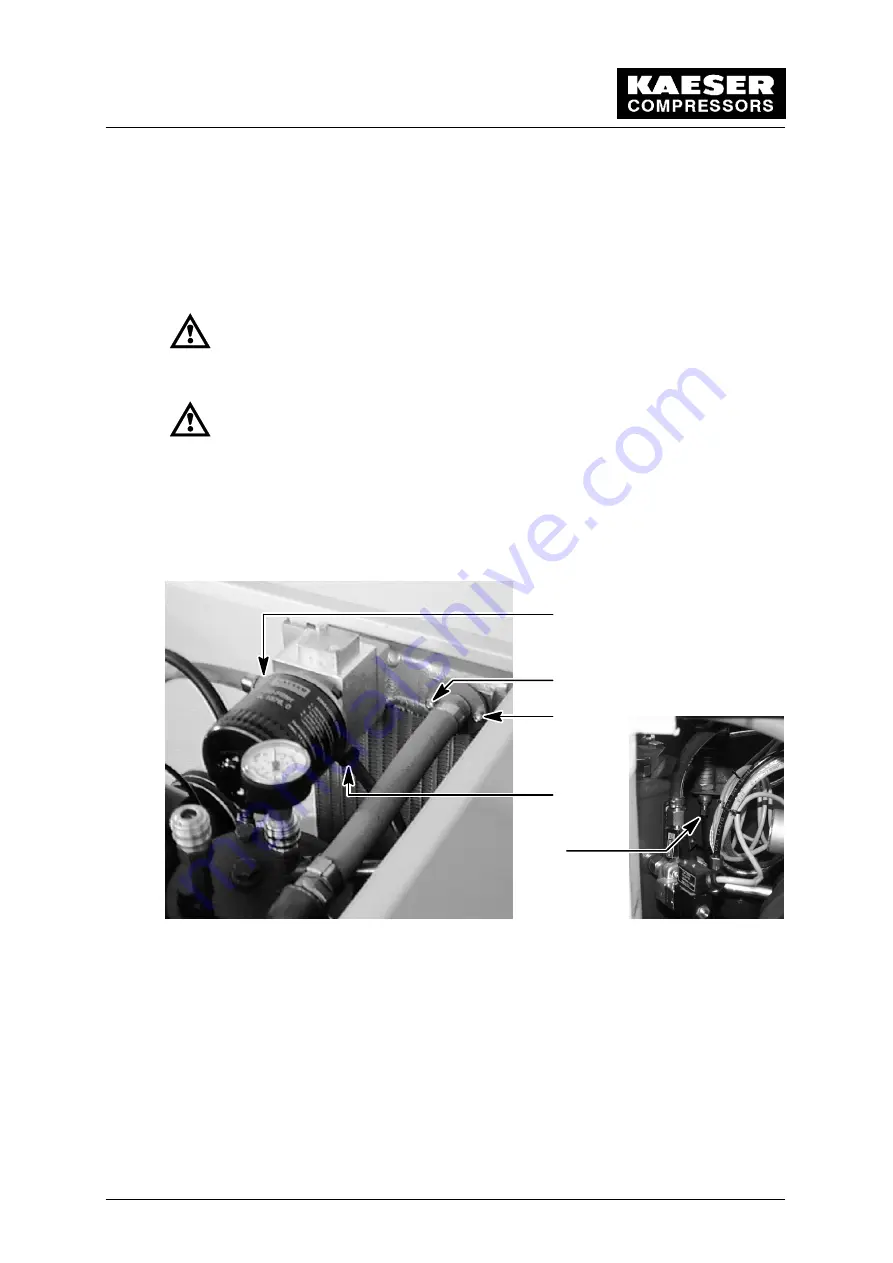
Removing and cleaning the oil cooler/air aftercooler
2
1
1
3
4
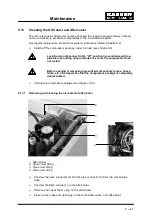
1 Allen screw
2 Hose screw fitting
3 Pipe screw fitting
4 Pipe screw fitting
Unscrew the hose connector (2) and the pipe connector (3) from the combination
valve.
Unscrew the Allen screws (1) on the aftercooler.
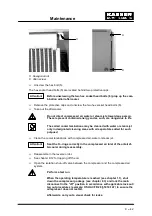
Remove and check the O---ring on the aftercooler.
Close up the pipes and openings on the combination valve, and aftercooler.
Summary of Contents for SM 8
Page 9: ...Technical Specification 1 6...
Page 16: ...Construction and Operation 5 13...
Page 17: ...Construction and Operation 5 14...
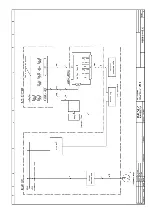
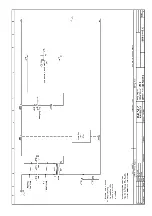
Page 54: ...Appendix 11 51 11 Appendix 11 1 Wiring Diagram...
Page 55: ......
Page 56: ......
Page 57: ......
Page 58: ......
Page 59: ......
Page 60: ......
Page 61: ......
Page 62: ......
Page 63: ......
Page 64: ......
Page 65: ......
Page 66: ......
Page 67: ......
Page 68: ......
Page 69: ......
Page 74: ...SM 8 SM 11 A 08 B 07 C 14 D 11...
Page 76: ......
Page 78: ......
Page 80: ......
Page 82: ......

