Maintenance
9 --- 47
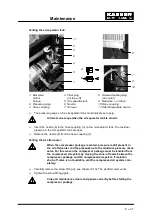
1
6
8
9
13
7
10
11
12
4
3
2
5
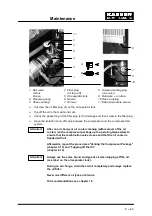
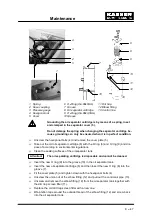
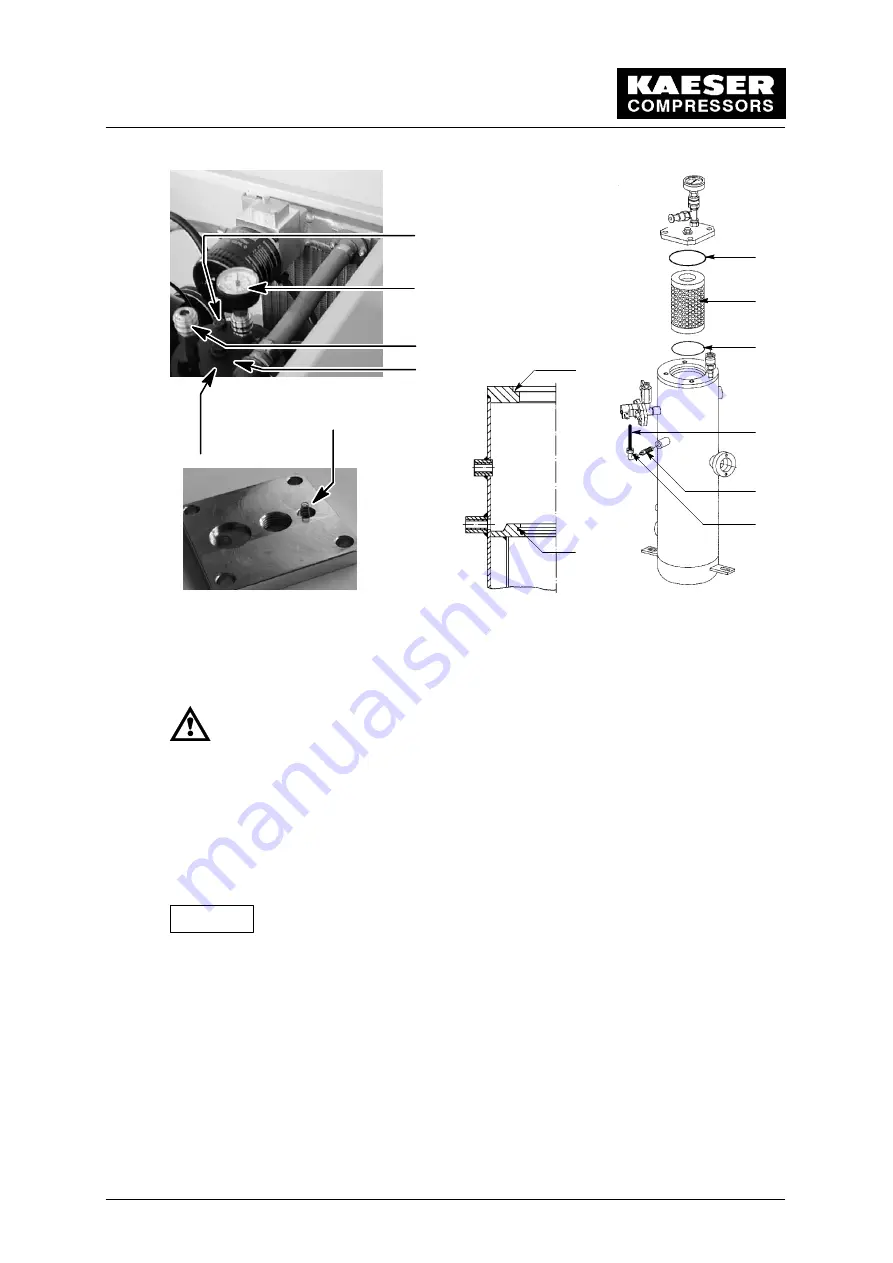
1 Spring
6 O ---Ring (dia.80x8mm)
11 Dirt trap
2 Hose coupling
7 Groove
12 Elbow fitting
3 Pressure gauge
8 Oil separator cartridge
13 Control line
4 Hexagonal nut
9 O ---Ring (dia.80x3,5mm)
5 Cover
10 Groove
Grounding the oil separator cartridge is by means of a spring, inset
and clamped in the separator cover (5).
Do not damage the spring when changing the separator cartridge be-
cause grounding can only be ensured when it is in perfect condition.
Unscrew the hexagonal bolts (4) and remove the cover plate (5).
Take out the old oil separator cartridge (8) with the O ring (6) and O ring (9) and dis-
pose of according to environmental regulations.
Clean the sealing surfaces of the oil separator tank.
The oil separating cartridge is disposable and cannot be cleaned.
Insert the new O ring (9) into the groove (10) in the oil separator tank.
Insert the new oil separator cartridge (8) and then insert the new O ring (6) into the
groove (7).
Fit the cover plate (5) and tighten down with the hexagonal bolts (4).
Unscrew the union nut of the elbow fitting (12) and pull out the control air pipe (13).
Unscrew and remove the elbow fitting (12) from the oil separator tank together with
the dirt trap screen filter (11).
Replace the old dirt trap screen filter with a new one.
Wrap teflon tape around the outside thread of the elbow fitting (12) and screw back
into the oil separator tank.
Attention!
Summary of Contents for SM 8
Page 9: ...Technical Specification 1 6...
Page 16: ...Construction and Operation 5 13...
Page 17: ...Construction and Operation 5 14...
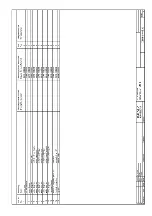
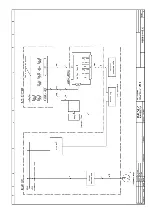
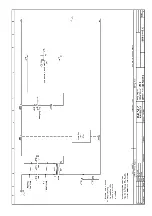
Page 54: ...Appendix 11 51 11 Appendix 11 1 Wiring Diagram...
Page 55: ......
Page 56: ......
Page 57: ......
Page 58: ......
Page 59: ......
Page 60: ......
Page 61: ......
Page 62: ......
Page 63: ......
Page 64: ......
Page 65: ......
Page 66: ......
Page 67: ......
Page 68: ......
Page 69: ......
Page 74: ...SM 8 SM 11 A 08 B 07 C 14 D 11...
Page 76: ......
Page 78: ......
Page 80: ......
Page 82: ......


