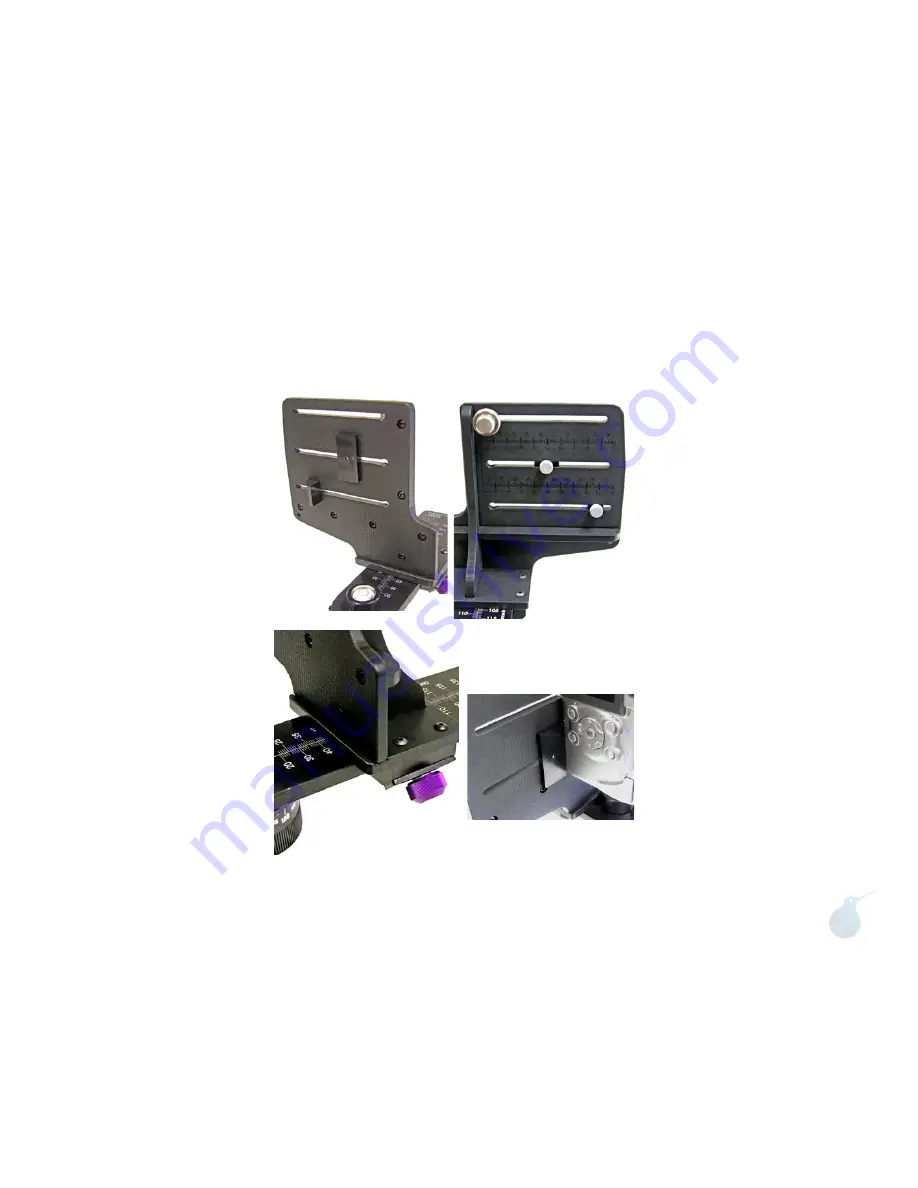
Standard Camera Bracket - Camera Mounting
Mounting your camera on the Standard Camera Bracket
To mount your camera, first select the
appropriate slot in the bracket that
will best locate the tripod mount-
ing thread on your camera. You may
need to reposition the camera knob.
To remove the knob simply slide it
along the slot to the end that has the
threaded hole. Unscrew the knob out
of the threaded hole, being careful not
to crossthread. Replace the knob into
the appropriate slot by reversing the
procedure. The camera knob is a two
piece design, with an inner and outer
knob. Before installing the camera
knob in the
Standard Camera
Bracket
, turn the inner knob clock-
wise into the outer knob until it won’t
turn anymore. Next, install the knob
into the appropriate slot then into the
tripod mounting hole of your camera.
Turn the inner knob into the camera
until it bottoms out, then turn the
outer knob clockwise until the camera
is tight on the bracket.
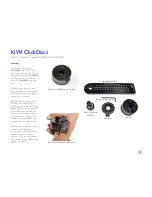
The
Standard Camera Bracket
comes with two camera positioning
aids. There is a flat camera shoe and
a right-angle lug that slide and lock
along any of the three slots. These
are used as aids to keep your camera
perpendicular and also serve as a
placeholder for you to re-attach your
camera in the same location. Slide
these adjusters into the best spot on
your camera to ensure a square and
secure mounting.
The
Standard Camera Bracket
also has an innovative
DiamondGrip
surface on the camera mounting side.
This special friction surface will help
to hold your camera's base securely to
the bracket without slippage.
The left-right adjustment to center
your lens over the pivot point is ac-
complished by loosening the purple
knob and sliding the bracket. Be sure
to tighten the knob to lock the brack-
et in place. The fore-aft adjustment is
made by loosening the camera knob
and sliding the camera along the slot.
7
Camera Shoe
Camera Lug
Camera Knob
Left-Right
Adjustment Knob
DiamondGrip
Surface
Camera
Shoe


