background image

25

26

2. Release the sticks and wait for the 

Drone LEDs to stop flashing. 

3. The Drone LEDs will stop flashing, 

indicating that the calibration has been 

completed. 

To enable Headless Mode, simply press 

the Headless Mode Button on the Remote 

Control Transmitter.
To avoid confusion, you should ensure the 

controls are correct from take-off.
You should arm the Drone while you are 

standing behind it, so that you and Drone 

are both facing in the same direction. 

Failure to do this will result in incorrect 

control.

Headless Mode

Headless Mode allows you to control 

the Drone relative to its direction from 

the take-off location. This means you 

can fly the drone without worrying which 

direction it is facing.
Before you use Headless Mode, ensure 

the Drone’s Direction/Heading is facing 

away from the pilot/operator and you 

calibrate the drone using the following 

steps:
Calibration

1. Push the Left Throttle/Yaw Stick and 

the Right Pitch/Roll Stick to the bottom 

left and hold for 2 seconds until you 

see the LED indicator lights on the 

drone start to flash rapidly. 

Tip: Headless Mode can be turned 

on while in flight.

Return Mode

Return Mode is a simple function that 

puts the Alpha Pro Drone into reverse. 

It can be useful when flying in headless 

mode and you cannot determine the 

Drone’s orientation for it to return.
To enable Return Mode
Fly the Drone in front of you, ensuring 

the path to you is free of obstacles.
Press the Return Toggle.
The Drone will fly backwards towards 

you. Always keep control of the Drone’s 

altitude and speed using the Left Throttle/ 

Yaw Stick.
When it has reached your position or you 

want to stop, simply move the Pitch / 

Roll Right Stick Forward to cancel Return 

Mode.

Warning: This mode does not have 

any position data.

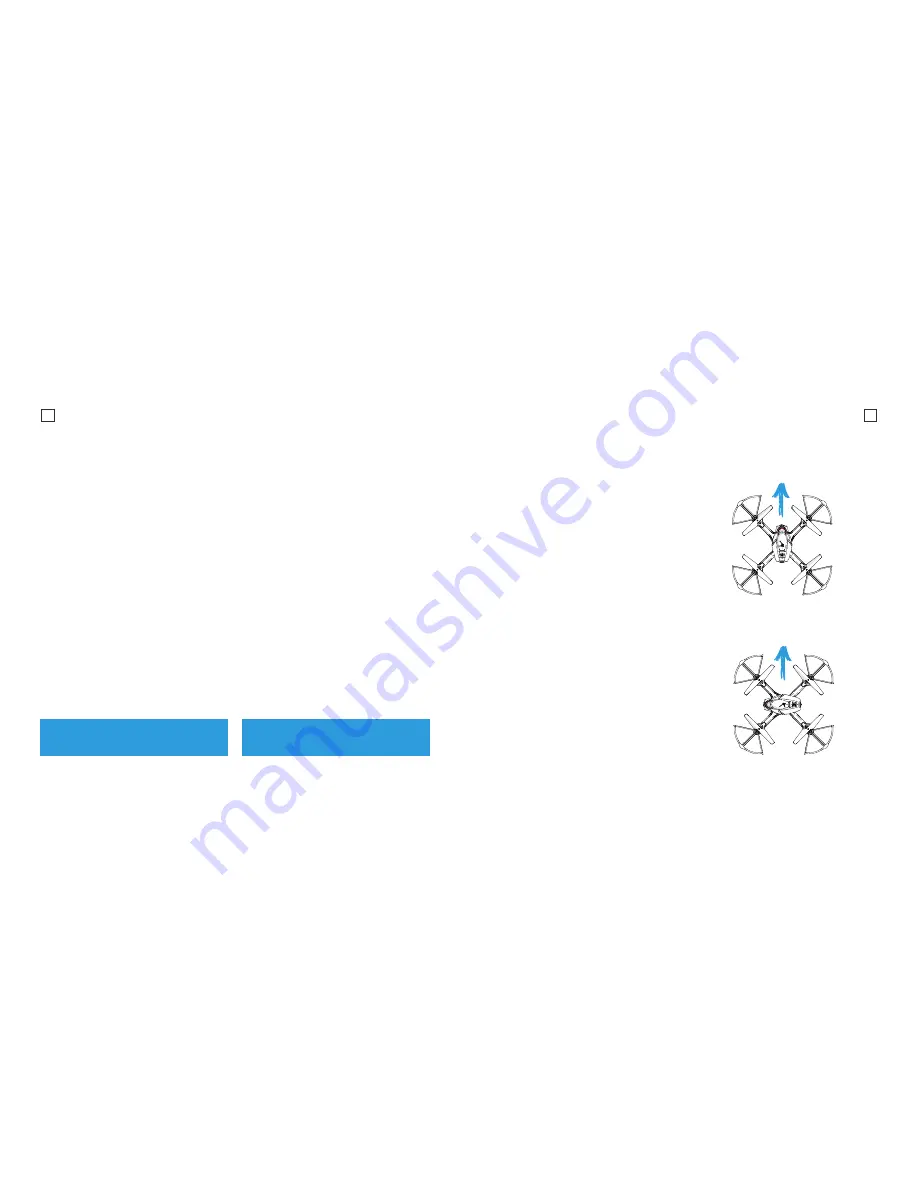
Normal Mode

Forward

Forward

Headless Mode

Summary of Contents for Alpha Pro Drone

Page 1: ...1 Alpha Pro Complete User Guide Alpha Pro Drone ...

Page 2: ...y Warnings and Operating Guidelines Alpha Pro Drone Features Included Equipment Your Drone Remote Control Transmitter Battery Guide Battery Charging Setup Installation Drone Remote Control Transmitter Pairing 03 04 05 06 07 09 11 13 14 16 17 20 21 23 24 25 25 27 29 31 Contents Drone Calibration Pre flight Checklist Flight Operation Guide Flight Modes 360 Flip Return Mode Headless Mode FAQ Specific...

Page 3: ...er Baas provided accessories and or parts Damage s or injuries caused by the misuse or incorrect operation of the battery protection circuits Remote Control Transmitter or Battery Charger Damage s or injuries caused by flying the Drone in abnormal conditions and allowing external substances to come into contact with the Drone e g water oil soil sand or any other material that could enter the Drone...

Page 4: ...ty operating and controls of the Alpha Pro Drone first Give yourself time to become accustomed to the feel of the Drone and effect of the controls The Alpha Pro Drone can be used with its camera controlled by the Remote Control Transmitter Key Features Altitude Hold 720p HD Video Photo Camera Cartridge Battery System One Key Takeoff Landing One Key Return Function Headless Mode 360 Flips Adjustabl...

Page 5: ...7 8 Your Drone Rotor Blade Power Button Camera Battery Module Motor Landing Gear Rotor Blade Guards A D B E C F G A C D E F G B ...

Page 6: ...360 Flip Push Down Headless Mode Pitch Backward Trim Pitch Forward Trim Roll Left Trim Roll Right Trim Pitch Roll Right Stick Power LED Indicator One Key Launch Auto Land Speed Mode Switch Push Down Photo Video Button Start Stop Motors A I E M B J F N C K G O D L H P D G C L H M B I F J A E K N P O ...

Page 7: ...ctions place the bloated battery in a bucket filled with salt water 200 grams salt to 1 Litre water and leave the battery in the solution for three days You may now dispose of the battery through your local recycling centre Never use your battery after conducting the discard process If the battery has a high surface temperature leave it to cool before you try to re charge it Always ensure the batt...

Page 8: ...ill impact the health and future flight time of your Drone Note If using a wall charger ensure that it is a certified product for your region AC Input 100 240VAC 50 60Hz DC Output 5VDC 0 5A 1A Only use a USB charger with suitable approval and certification Do not charge in conditions outside Setup Installation Battery Assembly Insert the Battery Module into the rear empty slot of the Drone The Bat...

Page 9: ...your Remote Control then follow these steps in order 1 Turn on your Drone by holding the power button for 1 5 seconds 2 The Drone lights will flash indicating it is ready to pair to a Remote Control Transmitter 3 Turn on the Remote Control Transmitter 4 Using the Left Throttle Yaw Stick move it to the maximum UP position and return it back to the zero position You must complete this process within...

Page 10: ...e direction Calibration 1 Place the Drone on level ground facing the same direction as the pilot 2 Push the Left Throttle Yaw Stick and the Right Pitch Roll Stick to the bottom left and hold for 2 seconds until you see the LED indicator lights on the drone start to flash rapidly 3 Release the sticks and wait for the drone LEDs to stop flashing 4 The Drone LEDs will stop flashing indicating that th...

Page 11: ...fety is YOUR responsibility DO NOT FLY near airports controlled airspace Ensure that you are at least 5 5kms from any airfield and you are adhering to any regulations and laws laid out by your local aviation authority Remember checking your distance to these areas is YOUR responsibility 1 Never fly your Drone near large crowds or above unwilling spectators 2 Make sure that you have the full permis...

Page 12: ...y The Alpha Pro Drone features Auto Hover releasing the Throttle Yaw stick will keep the drone at the same altitude Pushing the Throttle Yaw Left Stick UP or DOWN will ascend or descend the Drone respectively To Land Simply reduce throttle whilst the Drone is in flight and allow it do descend gently The Drone will then descend to the ground and idle Left Stick The Left Stick is known as the Thrott...

Page 13: ...Speed Mode Button Each mode is indicated by an increasing series of beeps Mode 1 Beginner Mode This is the default operating mode that the Alpha Pro Drone initialises in Please ensure that you use this mode in a large open space with no obstacles The sensitivity is very low and is suitable for beginner pilots It is less responsive and more forgiving Mode 2 Intermediate Mode To enable this mode pre...

Page 14: ...e pilot operator and you calibrate the drone using the following steps Calibration 1 Push the Left Throttle Yaw Stick and the Right Pitch Roll Stick to the bottom left and hold for 2 seconds until you see the LED indicator lights on the drone start to flash rapidly Tip Headless Mode can be turned on while in flight Return Mode Return Mode is a simple function that puts the Alpha Pro Drone into rev...

Page 15: ... s Rotor Blades spin but the Drone does not take off a Insufficient Battery Power If the Drone LEDs are flashing and the Drone Rotor blades are spinning without any lift recharge the Drone battery b The Rotor Blades are distorted Replace them with only official Kaiser Baas replacement blades 3 Why is the Drone is shaking and not stable in flight a Please check to ensure the Rotor Blades are not da...

Page 16: ... Working temperature 0 to 40 Size Dimensions 330 x 330 x 68 mm Stabilisation 6 Axis Gyro Channels 4 Channel Operating Frequency 2 4 GHZ Bandwidth 2446 2481MHZ Band Numbers 160 Power 10 db Mode GFSK Channel Resolution 1mHz Weight 154 3g Input Power 3 7V Size Dimensions 221 x 120 x 50mm Operating Range 80m No FPV Battery 4x AAA batteries Video Resolution 1280 x 720 Sensor CMOS Storage SD Card PRODUC...

Page 17: ...31 32 Got a question about your Kaiser Baas Drone Live Chat www kaiserbaas com support Email helpdesk kaiserbaas com For further information please visit www kaiserbaas com Kaiser Baas Support ...

Page 18: ...33 KBP15028 002 A01 ...

Reviews: