15
16
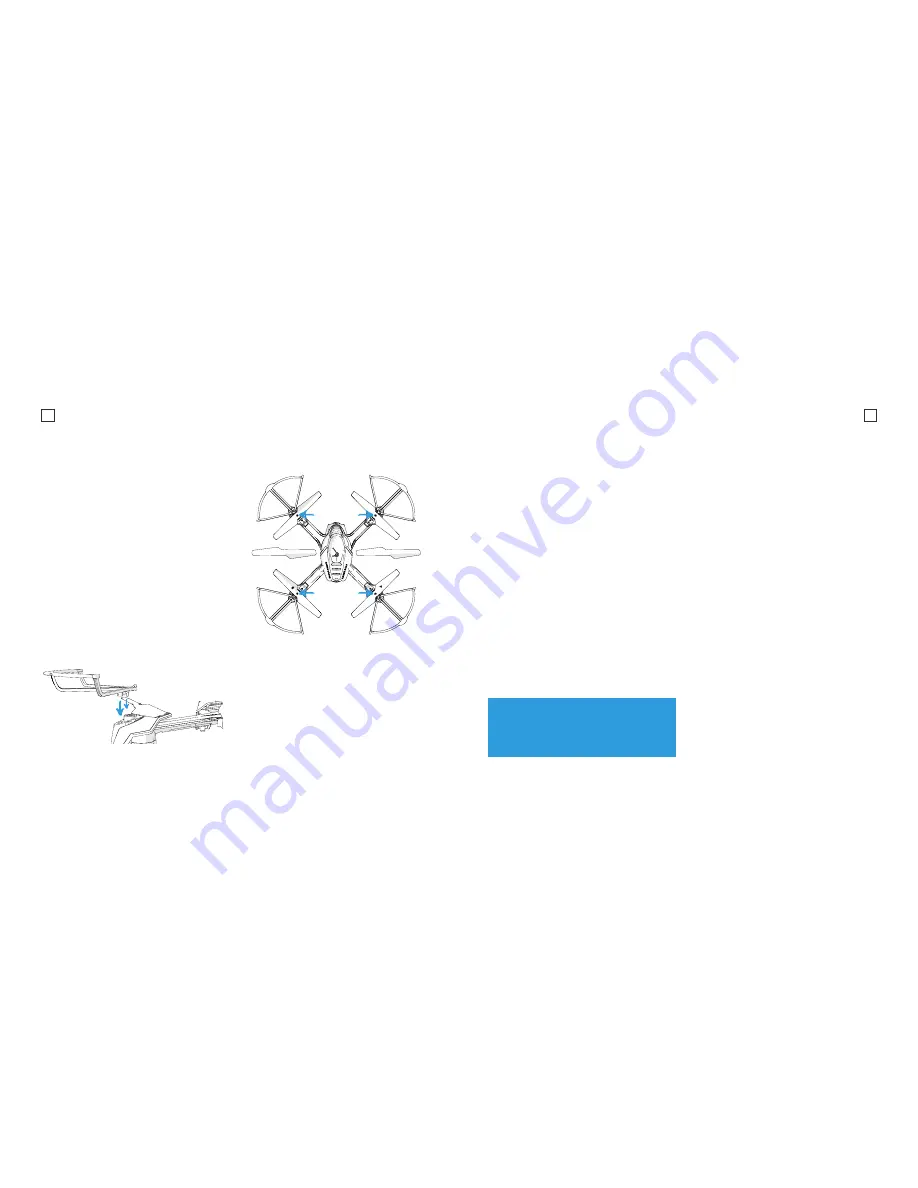
Incorrect installation will cause your
drone not to fly due to severe instability.
Use the provided screwdriver to tighten
the screws in a clockwise direction.
[WARNING] Never use Rotor Blades
with any signs of damage or wear and
tear. This includes chips, scratches and
cracks. Damaged Rotor Blades can cause
the Drone to fail in-flight and damage
to persons or property.
[WARNING] Never touch the Drone or
the Rotor Blades when the motors are
spinning.
A
B
A
B
A
B
Drone / Remote Control Transmitter
To operate your Drone, you must first
pair the Drone to your Remote Control
Transmitter before every flight. Ensure
your Drone is fully charged and you have
inserted the 4 x AAA batteries in your
Remote Control then follow these steps
in order:
1. Turn on your Drone by holding the
power button for 1.5 seconds.
2. The Drone lights will flash indicating
it is ready to pair to a Remote Control
Transmitter.
3. Turn on the Remote Control Transmitter.
4. Using the Left Throttle/Yaw Stick, move
it to the maximum UP position and
return it back to the zero position.
You must complete this process
within 5 seconds of powering on
the Remote Control Transmitter or
you will have to restart the process.
5. The Drone LED lights will stop flashing
indicating the Drone is now paired to
the Remote Control Transmitter.
Trimming
Control of the Drone can be trimmed
using the trim buttons on the Remote
Control Transmitter. If the Drone is
drifting off during a hover or other flight
manoeuvre, these buttons are used
to counter this drift.
To reset all trimming, simply land the
Drone and re-calibrate.


