Operation Manual
YP-38
Model YP-38
- 4 -
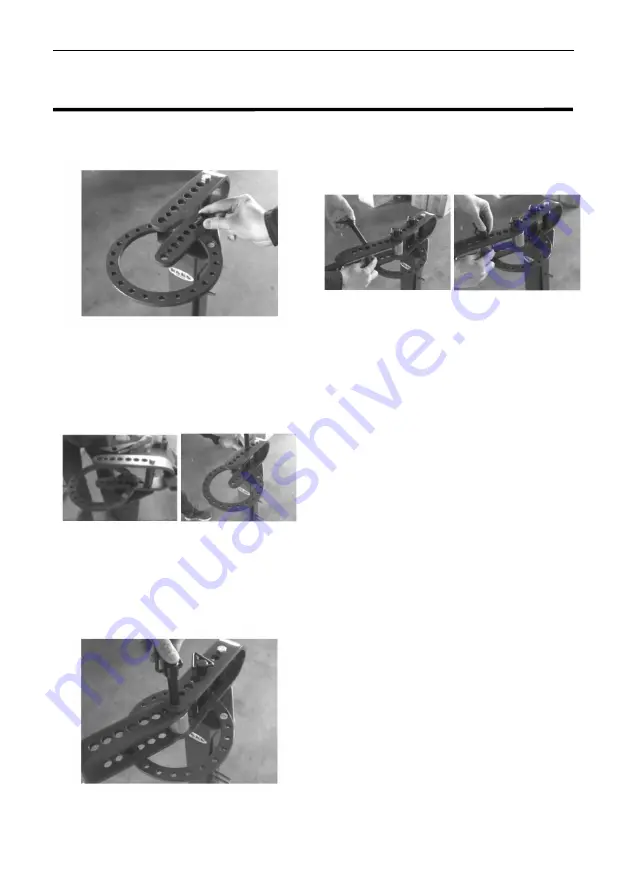
6. Insert fixed stop (#5) into the required
hole, show as figure 3.
Figure 3
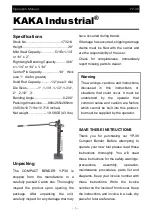
7. Connect sharp-angle-bend Attachment
(#7) with Ring assembly (#10) by Long
Hitch pin (#1), show as figure 4.
Figure 4
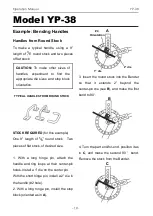
8. Take out Handle (#9) and any die,
connect them with Ring assembly (#10)
by Long Hitch pin (#1), show as figure 5.
Figure 5
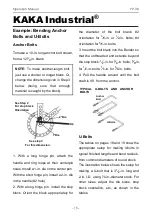
9. Take out stop block (#3), connect it with
ring assembly (#10) by short hitch pin
(#2), show as figure 6.
Figure 6
Basic Operation
Most of this manual is devoted to showing
you how to make some common parts at
a typical size. Other than those specific
instructions, setting up the Bender to form
your particular parts will involve a certain
amount of trial-and-error. You will notice
some differences in operation depending
on whether you are forming the piece
around a die, or whether you are making
a sharp angle bend in the piece. However,
in general you will:
1. Determine the appropriate material and
size for the part(s) to be made.
2. Determine the appropriate dies to
install on the center pin and/or the pin
installed in the handle. Determine the
appropriate hole for attaching the handle
to the ring assembly's loop.
3. Install the stop block (#3) or the


