


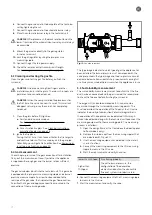
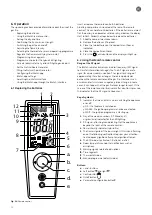


Careful, name and password are case sensitive.
10. The iMatch interface must be reset, if the name or
password do not correspond.
See: Resetting the iMatch interface on page 26
.
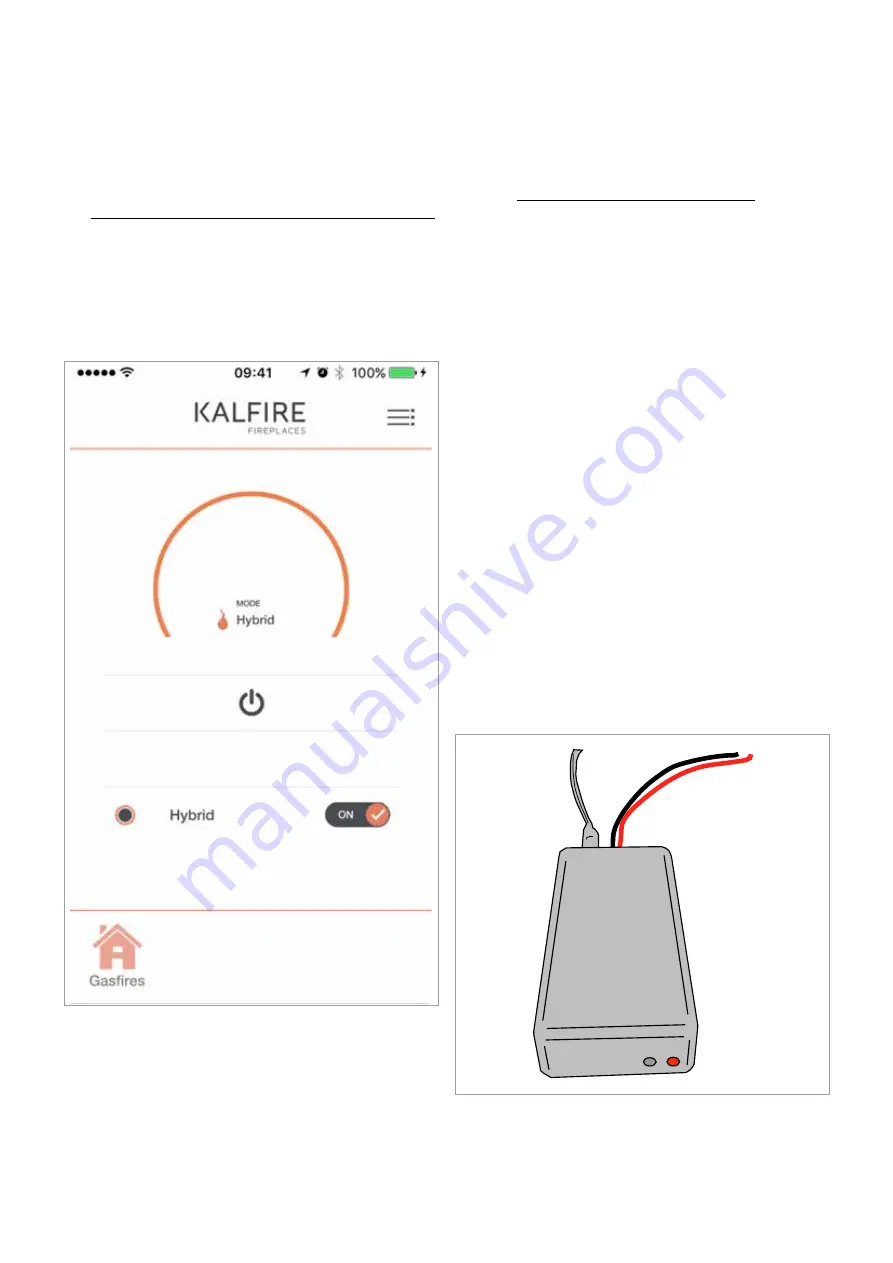
11. Check the box in case the gas fire is a hybrid (you can check
this on the model figure).
12. Wait 40 seconds while the wizzard is shutting down and the
Kalfire
logo becomes visible.
13. Reconnect with your Wi-Fi network
(in most cases happens automatically).
14. Control the fireplace with the iMatch app when the
green LED lights up on your iMatch interface.
15. Repeat step 5 to 14 for a maximum of four fireplaces, if you
want to control multiple fireplaces with the iMatch app.
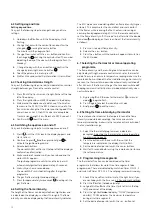
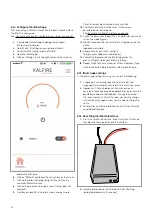
6.15 iMatch app settings
In the iMatch app settings menu you can select the following:
1. Language : Click on language and select the desired
language. U will automatically return to the settings screen
2. Appliances : Click on Appliances. You will now see an
overview of already connected appliances and you have the
possibility to add another fireplace. Change the name of
the room(s) present. Select the room you want to change.
In the screen that appears next you are able to change the
name.
3. Wizard: click on Wizard and follow the instruction to install
an additional fireplace.
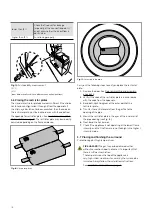
6.16 Resetting the iMatch interface
1. Press the reset button on the iMatch interface; this can be
found on the rear side of the iMatch interface.
2. Hold the button down until the red LED start flashing
rapidly (approximately 15 seconds).
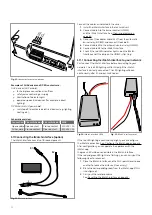
6.14 Configure the iMatch app
First connect your iMatch-interface to the local network, before
the iMatch is configured.
See:
Connecting the iMatch interface to your network on page 22.
1. Download de iMatch app uit de App store (Apple)
of Play store (Android).
2. Open the Wi-Fi settings on your phone or tablet.
3. Select the Wi-Fi network named “Kalfire”.
4. Open the iMatch app.
5. Click on “Settings” in the top right corner of the screen as
depicted in the figure.
6. Click on “Wizzard” and follow the instructions on the screen.
7. Click on the colour corresponding with the LED on the
searched iMatch interface.
8. Click on the grey area to assign a name (“living room” for
example).
9. Provide your local Wi-Fi network’s name and password.
26
Summary of Contents for G Series
Page 1: ...Installation instructions BALANCED FLUE GAS FIRES DON T COMPROMISE EN...
Page 2: ......
Page 4: ...4...
Page 43: ...1 4 6 7 5 2 3 43...
Page 45: ...1 3 2 5 4 6 7 8 8 7 45...
Page 47: ...1 9 4 7 3 8 5 6 2 10 47...
Page 49: ...5 1 2 3 7 4 6 8 10 9 9 49...
Page 51: ...4 5 3 6 1 1 51...
Page 52: ...7 2 7 7 2 2 8 52...
Page 54: ...4 5 2 1 1 3 54...
Page 55: ...9 8 6 7 1 55...
Page 57: ...5 6 7 8 3 2 2 1 57...
Page 58: ...9 4 4 8 58...
Page 60: ...5 2 9 6 2 1 4 3 60...
Page 61: ...7 7 10 11 8 61...
Page 63: ...1 7 7 3 4 6 2 7 63...
Page 64: ...2 4 4 5 5 8 64...
Page 66: ...7 4 5 6 1 8 9 66...
Page 67: ...3 3 11 2 10 10 12 67...
Page 69: ...1 2 6 6 8 8 9 7 7 4 With gas type G30 log 4 to be placed at extreme right 3 4 5 11 69...
Page 72: ...10 2 1 9 11 3 3 4 5 5 7 6 72...
Page 73: ...13 12 12 12 8 73...
Page 76: ...3 1 6 5 4 2 13 76...
Page 77: ...14 7 10 11 8 12 12 Other side Divide 15 cryptonite and 16 ash 77...
Page 80: ...3 4 5 7 1 3 4 5 6 1 4 5 1 3 4 1 3 2 1 2 3 1 3 1 2 4 5 1 6 2 6 7 14 12 11 11 3 80...
Page 81: ...3 4 5 7 8 1 3 4 7 9 10 8 3 4 5 6 7 8 1 3 4 5 6 7 8 1 3 4 5 6 7 1 9 10 8 15 13 81...
Page 84: ...4 3 5 2 3 4 5 1 2 3 4 5 1 1 2 3 4 1 1 2 1 1 1 2 1 1 1 1 1 2 3 4 5 6 6 1 1 1 14 11 84...
Page 94: ...94...
Page 95: ...95...
Page 96: ...Gelo rveldweg 21 5951 DH Belfeld info kalfire nl KALFIRE COM DON T COMPROMISE REF V01 2019 EN...


