Installation
ProLine 2200 User’s Manual REV N
This information is subject to the controls of the Export Administration Regulations [EAR]. This information shall not be provided to
non-U.S. persons or transferred by any means to any location outside the United States contrary to the requirements of the EAR.
3-11
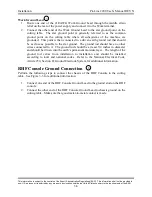
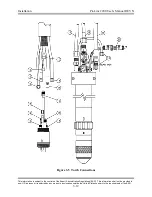
Torch to Torch Handle Installation
•
Thread the torch handle onto the torch base.
•
Tighten the base to the handle using a pin style adjustable spanner wrench
(fits 2" diameter with ¼" diameter pin).
•
Attach the solenoid valve assembly to the torch handle. The top of the
aluminum solenoid bracket should be flush with the top of the torch handle.
•
Mount the torch handle/base/valves to the positioner. Note the alignment
indicators on the torch base (slot) and torch head (small circle). These aid in
aligning the quick-disconnect torch base and head and should be oriented so
they are clearly visible when the operator is changing heads.
Torch Plasma Gas Hose
•
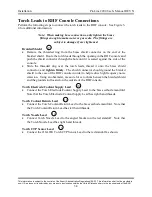
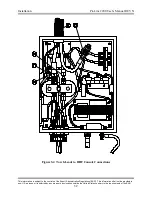
Connect the Torch Plasma Gas Hose to the solenoid outlet port as shown.
Preflow Gas Hose
•
Connect the Preflow Gas Hose to the solenoid preflow inlet port as shown.
Note that the Preflow Gas Hose fitting has a left hand thread.
Plasma Gas Hose
•
Connect the Plasma Gas Hose to the solenoid plasma inlet port as shown.
Postflow Gas Hose
•
Connect the Postflow Gas Hose to the solenoid postflow inlet port as shown.
Torch Solenoid Control Cable
•
Connect the Torch Solenoid Control Cable plug marked P15 to the torch
solenoid assembly as shown.
•
Connect the Torch Solenoid Control Cable plug labeled P12 to the connector
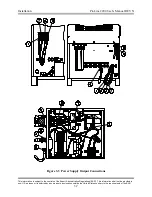
labeled P12 on the rear of the power supply.
16
17
18
19
20

