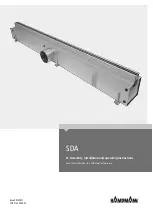
SDA
Lüftungskomponenten
Assembly, installation and operating instructions
12
6
Installation and wiring
6.1
Requirements governing the installation site
Only install and assemble the unit if the following conditions are met:
Make sure that the wall/ceiling is sufficiently load-bearing to take the weight of the unit (
).
Make sure that the ceiling is sufficiently load-bearing to take the weight of the unit (
).
Make sure that the unit is securely suspended/standing.
Ensure that the airflow can circulate freely.
6.2
Installation
2 people are needed to install the unit.
CAUTION!
Risk of injury from sharp metal housing!
The inner metal of the casing can have sharp edges.
Wear suitable protective gloves.
6.2.1 Installing the SDA
General installation information
When aligning the unit, make sure that the air connectors are on the room side.
Ensure that there is access to the air intake spigots for connection of the ventilation ducts supplied by others.
Fix any ducts or flexible hoses for supply and extract air to the air connectors with self-tapping screws.
Make sure that the connection is sufficiently air-tight.
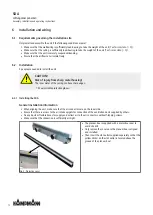
Fig. 3: Protective cover
The plenum box is supplied with a protective cover to
avoid site dirt.
Only remove the cover once the plenum box is aligned
and installed.
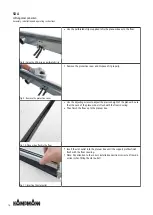
Then insert the slot outlet supplied separately so that the
yellow sticker on the slot outlet is located above the
groove of the plenum box!

