


12
1.54
Ultra
Comfortable indoor climate in high-end interiors
Installation and operating instructions
6. Installation
• Cut the drilling template from the packing box.
• First install the connections (see Waterside connections on page 15) for
simpler installation.
• Fix the Ultra to the ceiling using screws and rawlplugs provided on site as
shown on page 13. Ensure that the unit is not under tension or torsion.
6.1 Installation of the Ultra
A drilling template is printed on the cardboard packaging to mark the
mounting points of the Ultra on the ceiling.
• First determine the installation position. Requirements governing the
installation site:
• a ceiling which permanently and securely supports the unit (call in the
services of an architect or structural engineer if necessary)
• a ceiling that permits vibration-free suspension (consider the use of
anti-vibration rubber washers for decoupling purposes!)
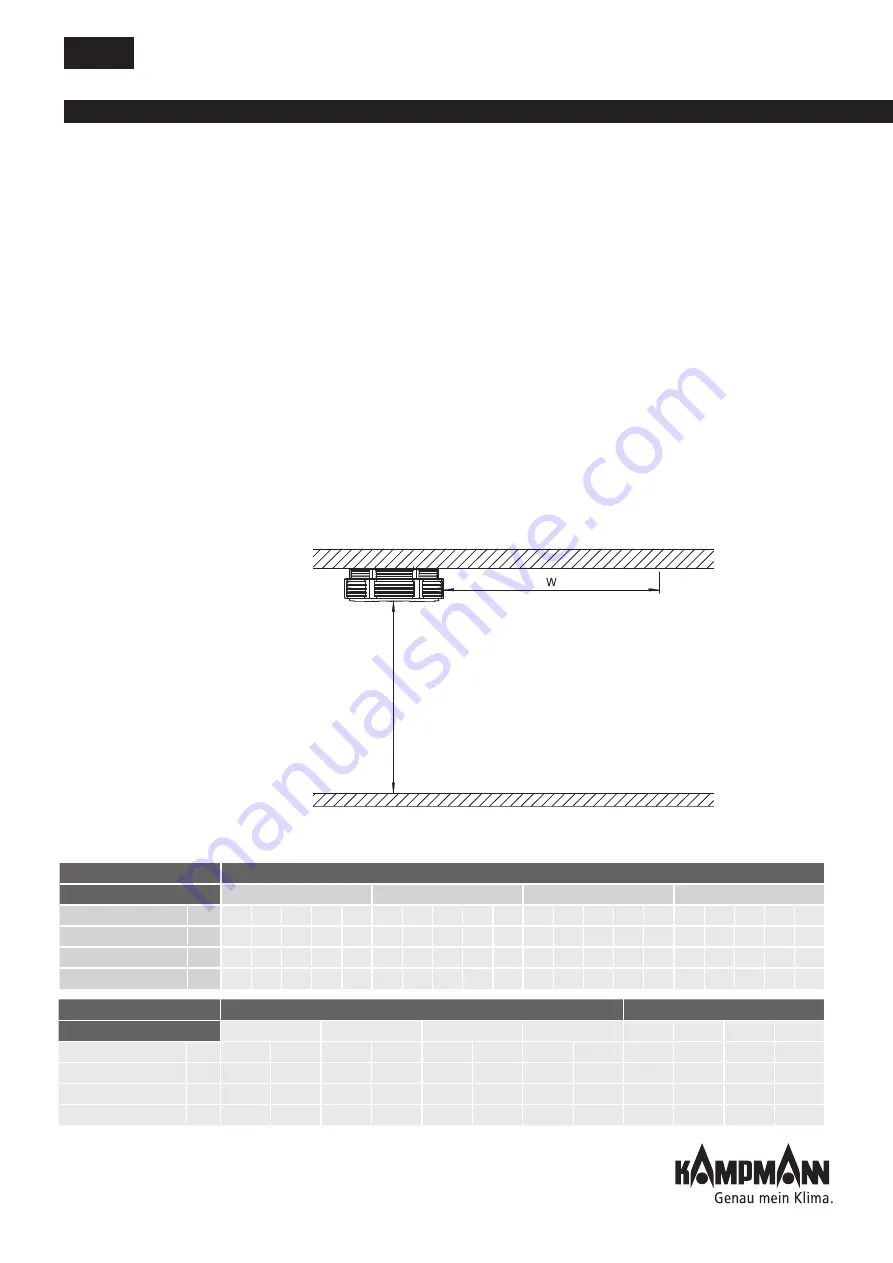
• refer to the table below for the maximum mounting height Maximum
mounting height
Maximum mounting height
Three-phase model
Single-phase model
Ultra series
73_ _36
84_ _36
85_ _36
96_ _36
73_ _16 84_ _16 85_ _16 96_ _16
Switching stage
2
1
2
1
2
1
2
1
1
1
1
1
Speed approx.
[rpm]
920
740
950
830
850
570
880
670
920
950
850
880
Max. installation height Hmax. [m]
2.4
2.3
2.8
2.5
3.3
3.0
3.9
3.4
2.4
2.8
3.3
3.9
Throw W
[m]
3.7
3.2
4.3
3.7
5.5
4.6
6.9
5.4
3.7
4.3
5.5
6.9
EC model
Ultra series
84_ _33
85_ _33
96_ _33
96_ _34
Voltage
[V]
10
8
6
4
2
10
8
6
4
2
10
8
6
4
2
10
8
6
4
2
Speed approx
[rpm] 1070 950 730 490 280 1000 890 700 480 260 1000 800 580 370 170 680 550 410 270 100
Max. installation height Hmax. [m]
2.9
2.7
2.4
2.4
2.3
3.4
3.2
3.0
2.7
2.4
4.1
3.8
3.5
3.2
2.8
3.6
3.4
3.2
3.0
2.7
Throw W
[m]
4.8
4.4
3.4
2.4
1.5
5.6
5.2
4.6
3.9
3.1
7.2
6.2
5.2
4.2
3.3
5.7
5.1
4.4
3.8
3.0
H
max.


