Venkon XL
Beschreibung
Assembly, installation and operating instructions
58
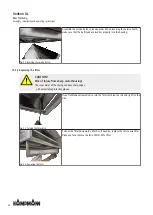
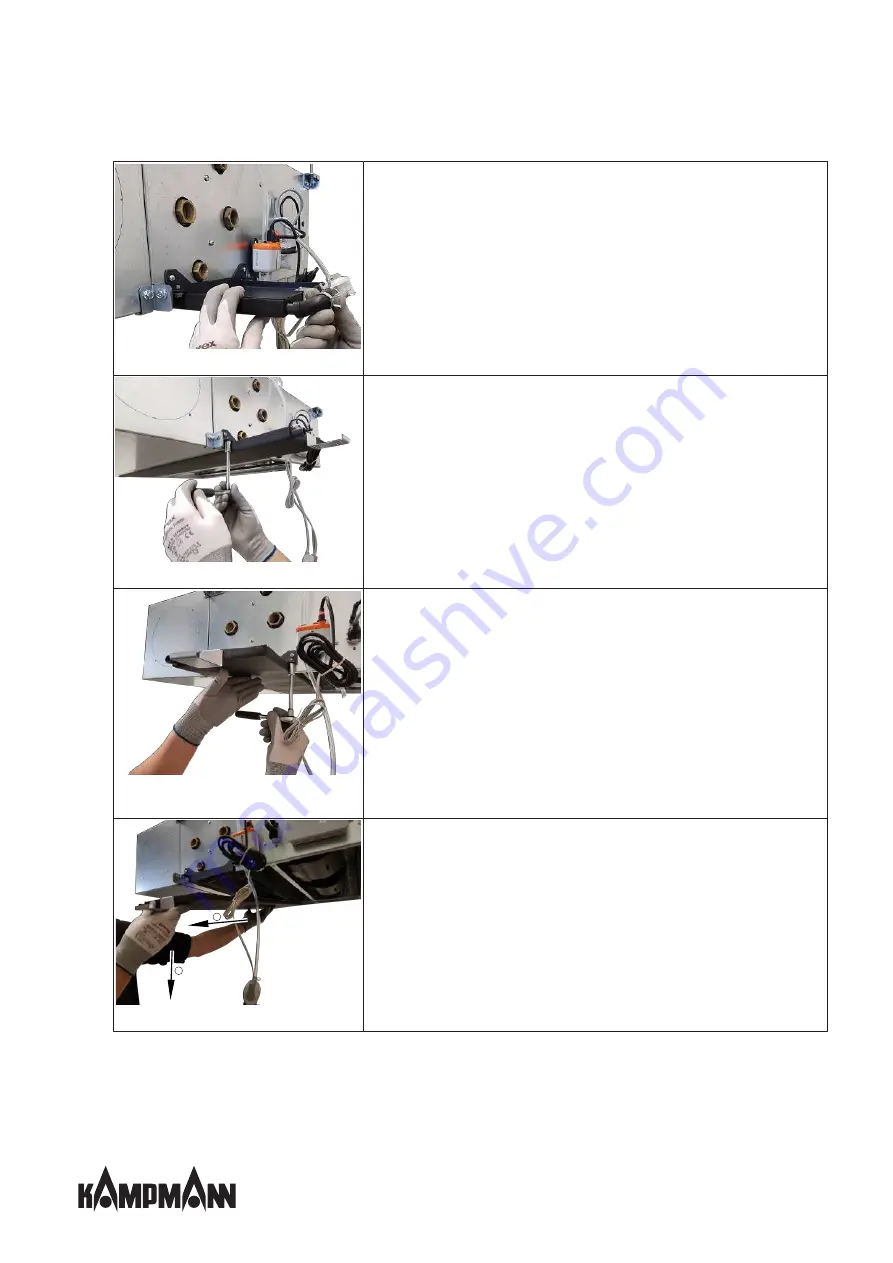
Fig. 58: Removing the angle union
Carefully remove the angle union from the condensation tray. Then check the
float switch for dirt and clean if necessary.
Fig. 59: Loosen screw
Use a suitable tool to turn the M6x10 tooth-locking screw from the condensa-
tion tray bracket.
Fig. 60: Loosening and holding the condensa-
tion tray
Use a suitable tool to turn the M6x10 tooth-locking screw from the condensa-
tion tray bracket, supporting the condensation tray to prevent it from dropping.
1
2
Fig. 61: Removing the condensation tray
Allow the condensation tray to slightly drop on the connection side
1
and pull
it out of the housing side at an angle
2
.
Summary of Contents for Venkon XL
Page 2: ......
Page 5: ...5 13 2 ERP Datenblatt Venkon XL 70...
Page 67: ...Venkon XL Beschreibung Assembly installation and operating instructions 67 13 Certificates...
Page 73: ......
Page 74: ......
Page 75: ......
Page 76: ...www kampmanngroup com hvac products fan coils venkon xl 02 20 ENSAP Nr 1374732...


