Nesis III — Installation Manual
11. Service Settings
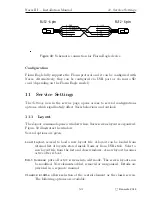
1 ... +12V
2
3
4 ... TX (Data out)
5 ... RX (Data in)
6 ... GND
RJ12 - 6 pin
RJ12 - 6 pin
1 ... +12 V
2
3
4 ... RX
5 ... TX
6 ... GND
Figure 49:
Schematic connection for Flarm Eagle device.
Configuration
Flarm Eagle fully supports the Flarm protocol and it can be configured with
Nesis. Alternatively, they can be configured via USB port or via micro SD
card (depending on the Flarm Eagle model).
11
Service Settings
The
Settings
icon in the service page, opens access to several configurations
options, which significatnly affect Nesis behaviour and outlook.
11.1
Layout
The
Layout
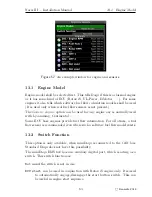
command opens a window where Nesis screens layout is organized.
Figure 50 illustrates the window.
Several options are given:
Load layout
is used to load a new layout file. A layout can be loaded from
internal list of layouts stored inside Nesis or from USB stick. Select a
new layout file from the list and close windows. A new layout becomes
active after reboot.
Edit Screens
puts all active screens into edit mode. The screen layouts can
be modified. New elements added, removed or reorganized. Details are
provided in a separate manual.
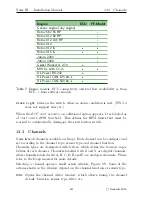
Classis middle
allows selection of the central element os the classic screen.
The following options are available:
53
©
Kanardia
2018


