background image

18 


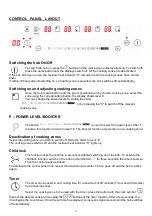
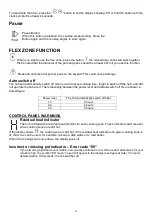
To deactivate the timer, press the “

” button to set the display showing “00” or hold the button with the 

clock symbol for at least 4 seconds. 
 

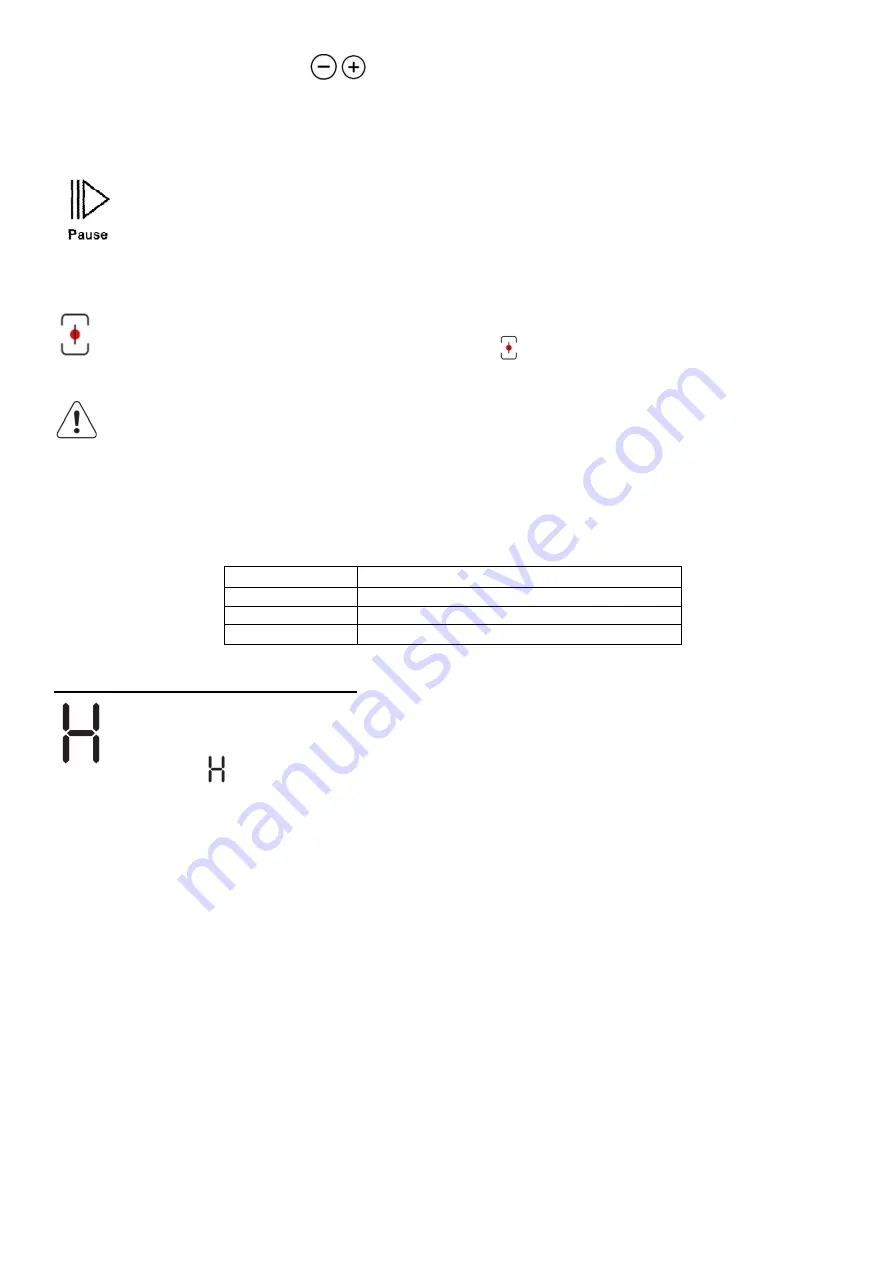
Pause 


Pause-Button: 

            When this button is pressed, the cooktop stops working. Press the 
            Button again and the cooktop begins to work again. 


FLEX ZONE FUNCTION 

  When you want to use the flex zone ,press the button 

,the relevant two zones will work together. 

            Pls be noted that the diameter of the pots and pans should be at least 20cm if you use this function. 


Please do not place hot pots or pans on the keypad! This could cause damage.             


Auto switch off


The hob will automatically switch off when you did not set cooking time, forgot to switch off the hob, and did 
not operate the hob at all. The relationship between the power level and default switch off time is shown in 
below figure. 


Power level 

The hob automatically switch off after 

1-3 

8 hours 

4-6 

4 hours 

7-9 

2 hours 


CONTROL PANEL WARNINGS


Residual heat indicator 

The hob is fitted with a residual heat indicator for each cooking zone. These indicators alert the user 
when cooking zones are still hot. 

If the display shows 

, the cooking zone is still hot. If the residual heat indicator of a given cooking zone is 

lit, that zone can be used, for example, to keep a dish warm or to melt butter. 
When the cooking zone cools down, the display goes off. 


Incorrect or missing pot indicator – Error code “E0” 

If you are using a pot that is not suitable, not correctly positioned or not of the correct dimensions for your 
induction hob, the symbol ”E0” mean “no pot” will appear in the display (see figure at side). If no pot is 
detected within 180 seconds, the hob switches off


Summary of Contents for 77-IN-6800FLX

Page 1: ...Gebrauchsanleitung 4 Kochzonen Induktionskochfeld 77 IN 6800FLX Ma e 770 x 520mm...

Page 2: ...fe mit dem Symbol INDUKTION Abbildung unten oder emaillierte T pfe Stellen Sie den Topf auf die gew nschte Kochzone bevor Sie das Kochfeld einschalten Geeignetes Kochgeschirr Verwenden Sie einen Magne...

Page 3: ...dieses austauschen Verwenden Sie nicht das Ger t wenn es nicht richtig Funktioniert Besch digungen aufweist oder im Falle dass es fallen gelassen wurde Lassen Sie das Ger t nicht unbeobachtet w hrend...

Page 4: ...feldes nicht in Kontakt mit Dampf oder Feuchtigkeit der jeweils anderen Ger te in Kontakt kommen dies k nnte zu Sch den f hren ANSCHLUSS DES GER TES Trennen Sie das Ger t von der Stromversorgung Der A...

Page 5: ...5 BEDIENUNGSANLEITUNG BERBLICK Um dauerhaft eine Besch digung der Glaskeramikplatte zu vermeiden verwenden Sie kein Kochgeschirr das nicht perfekt flach ist...

Page 6: ...e Kochzone aus die Sie abschalten m chten und dr cken Sie die entsprechende Taste Dr cken Sie die Taste 0 um den die Stufe 0 zu bestimmen Die Kochzone schaltet sich ab und die Restw rmeanzeige H leuch...

Page 7: ...ttet Diese Indikatoren weisen den Benutzer darauf hin dass die Kochzone noch hei ist Wenn das Display das Symbol anzeigt ist die Kochzone immer noch hei t Wenn die Restw rmeanzeige einer bestimmten Ko...

Page 8: ...igt Hinweis Die Daten in der Tabelle dienen nur zur Orientierung Die Beziehung zwischen der Thermofixierung und dem Leistungsverbrauch der Kochzonen ist nicht linear Wenn Sie die Kochstufe erh hen ist...

Page 9: ...eparatur eingeschickt werden Kontaktieren Sie den Kundendienst an und geben Sie den Fehlercode an E7 Kochfeld ist berhitzt aufgrund schlechter Luftzirkulation oder L fter ist defekt Kontaktieren Sie d...

Page 10: ...ze Beschreibung des Fehlers Die Rechnungsnummer Produkttyp und das genaue Modell Ihre vollst ndige Adresse Ihre Telefonnummer Sollten Reparaturen erforderlich sein wenden Sie sich an ein autorisierten...

Page 11: ...ser Feuer h here Gewalt falsche Netzspannung unzureichende Bel ftung oder andere von uns nicht zu verantwortende Gr nde entstanden sind Reparaturen und Ab nderungen die von dritter nicht autorisierter...

Page 12: ...12 User Instruction Manual 4 Zone induction hob 77 IN 6800FLX Ma e 770 x 520mm...

Page 13: ...y use pots bearing the symbol INDUCTION SYSTEM Figure below or enameled pots Place the pot on the required cooking zone before switching the hob on EXISTING POTS AND PANS Use a magnet to check if the...

Page 14: ...ervised The accessible parts can become very hot during use Children must be kept away from the appliance and watched over to ensure they do not play with it Do not touch the appliance heating element...

Page 15: ...d the separator panel must respect the dimensions given in the figure mini 50mm In order to ensure the correct operation of the product do not obstruct the minimum required clearance min 20 mm on the...

Page 16: ...to property resulting from failure to observe the regulations provided in this chapter The power cable must be long enough to allow the hob to be removed from the worktop Make sure the voltage specifi...

Page 17: ...his function returns to level 16 The booster function only works on one cooking zone Deactivation of cooking zones Select the cooking zone you wish to switch off Slide the slider to level 0 The cookin...

Page 18: ...The relationship between the power level and default switch off time is shown in below figure Power level The hob automatically switch off after 1 3 8 hours 4 6 4 hours 7 9 2 hours CONTROL PANEL WARN...

Page 19: ...ng defrosting keeping food warm creaming Ideal for softening butter gently melting chocolate thawing small products and keeping just cooked food warm e g sauces soups minestrone 1 Ideal for keeping ju...

Page 20: ...the after sales service and specify the error code E3 High voltage Contact the after sales service and specify the error code E4 Low voltage Contact the after sales service and specify the error code...

Page 21: ...fault the product type and exact model your full address your telephone number If any repairs are required contact an authorized After Sales Service Centre to ensure the use of original spare parts an...

Reviews: