background image

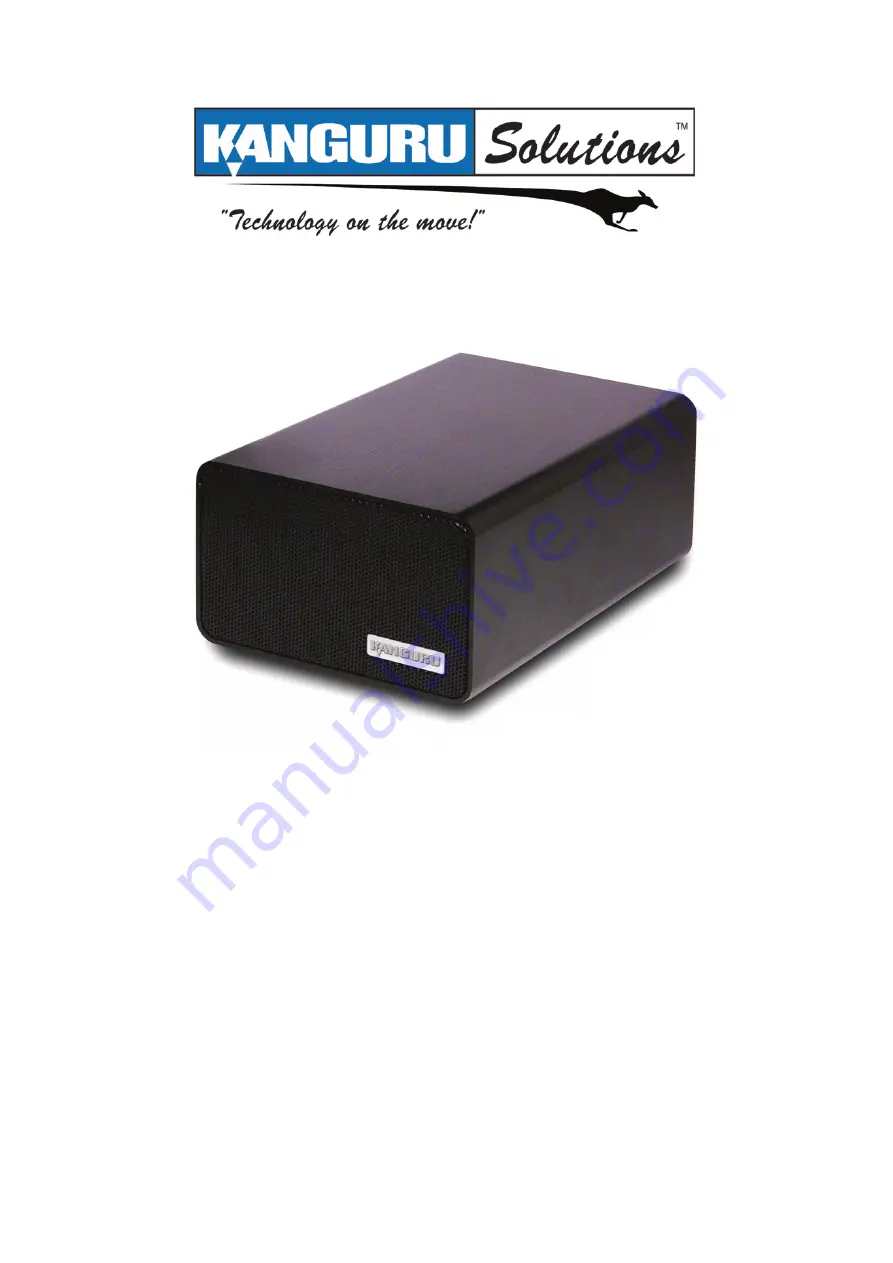
Kanguru QSX 

Assembly Guide

Copyright 2009, All Rights Reserved.

Summary of Contents for QSX

Page 1: ...Kanguru QSX Assembly Guide Copyright 2009 All Rights Reserved ...

Page 2: ...mpliance Regardless of any disclosure made to Kanguru Solutions pertaining to the ultimate destination of the specific Kanguru product you warrant that you will not export directly or indirectly any Kanguru product without first obtaining the approval of Kanguru Solutions and the appropriate export license from the Department of Commerce or other agency of the United States Government Kanguru Solu...

Page 3: ...ing your QSX please check that you have the following items available on hand 1 x QSX Enclosure 2 x SATA HDDs same capacity and model recommended 8 x HDD Screws Phillips head screwdriver The QSX Enclosure and HDD Screws are included with your package You will need to provide your own SATA HDDs and screwdriver It is advised to install 2 SATA HDDs of the same capacity manufacturer and model ...

Page 4: ...tic prevention bands SATA HDD connectors have a guaranteed number of times for connection removal specified by the manufacturer If an HDD is connected removed more than this number of times the quality of the HDD connection cannot be guaranteed Minimize the number of times you connect HDDs The QSX is only compatible with SATA HDDs HDDs based on other standards such as IDE PATA HDD SCSI HDD or SAS ...

Page 5: ...ng the Backplate to the Faceplate Remove the two screws from the sides of the Backplate This will release the Backplate from the 3 HDD Bracket Set aside the two screws in a secure location you will need them later Detach the Backplate from the HDD Bracket and then slide the HDD Bracket completely out 4 of the housing figure 2 Releasing the Backplate HDD Bracket assembly figure 3 Removing the Backp...

Page 6: ...t get caught under the HDD Bracket Important The HDD Bracket should be positioned with the screw threads facing the Backplate Insert your two SATA HDDs into the HDD Bracket Make sure the SATA connectors on the 6 HDDs and Backplate lineup and that your SATA HDDs connect firmly to the Backplate figure 5 Locating the threaded screw holes figure 6 Positioning the HDD Bracket over the Backplate figure ...

Page 7: ...ovided to fasten the SATA 7 HDDs to the HDD Bracket Once the SATA HDDs have been fastened to the HDD Bracket using the HDD Screws detach 8 the SATA HDD HDD Bracket assembly from the Backplate figure 8 Fastening SATA HDDs to the HDD Bracket figure 9 Releasing the SATA HDD HDD Bracket assembly ...

Page 8: ...te should hook up with the 11 SATA connectors on the SATA HDDs Caution Make sure that the cable connected to the Backplate does not get caught between the SATA connectors Fasten the Backplate using the two screws that you removed during Step 3 12 Congratulations you have successfully assembled your Kanguru QSX Please refer to your User Guide for detailed information on using your QSX Assembling Yo...

Page 9: ...egal terms and conditions available at www kanguru com Please review and agree before use Thank you Kanguru Solutions 1360 Main Street Millis MA 02054 www kanguru com 09 16 09 V1 0 2009 Kanguru Solutions ...

Reviews: