8
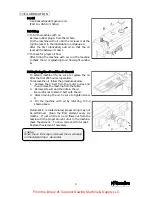
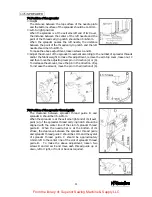
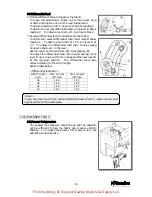
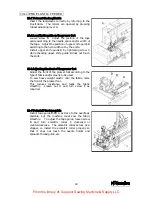
5-5 Needle/looper front-to-back relationship
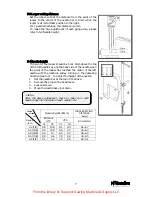
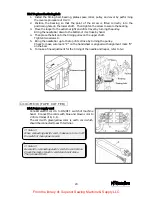
The point of the looper is 1.3~1.6mm above the top
of the left needle's eye on the back side of the needle
when it has reached the center of the left needle.
With the point of the looper at this position, set the
clearance between the left needle and the point of
the looper at approximately 0.2mm.
Then the looper should barely touch the right needle
(approximately 0.2mm). On 3-needle machines, the
clearance between the point of the looper and the
middle needle should be 0mm.
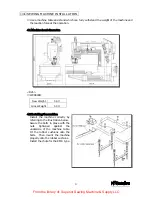
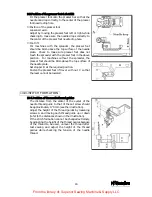
To make the above adjustment,
1.
Loosen screw C (see 5-1).
2.
Move the looper holder front or back.
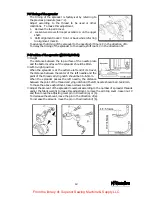
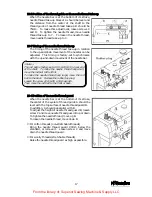
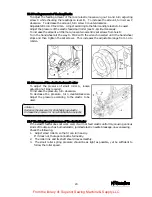
5-6 Changing the looper orbit
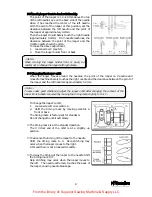
When the looper moves around the needles, the point of the looper on 2-needle and
3-needle machines barely touches the right needle and the clearance between the point of
the looper and the left needle is approximately 0.2mm.
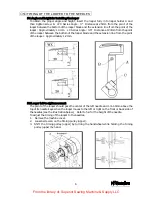
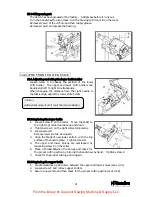
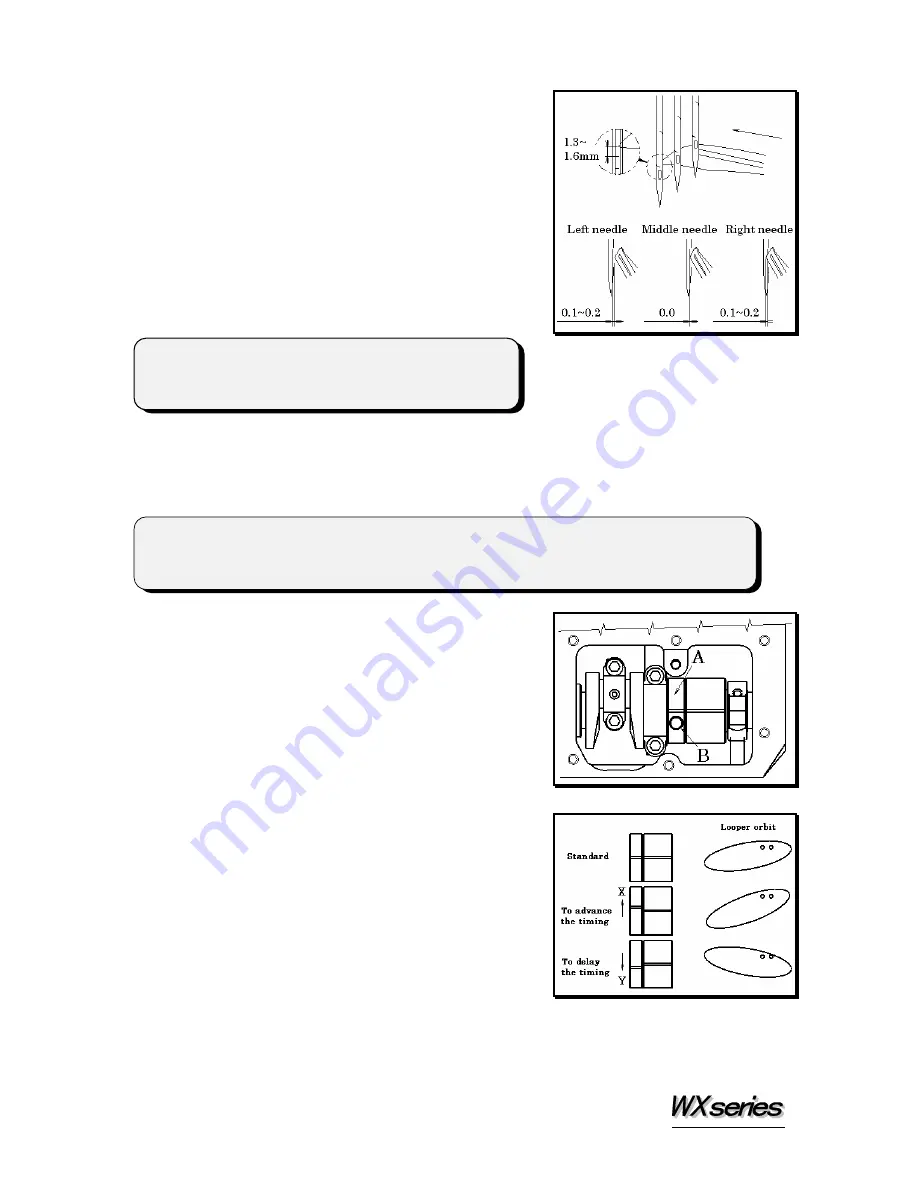
To change the looper's orbit,
1.
Loosen screw B on eccentric A.
2.
Shift the timing mark by moving eccentric A
front or back.
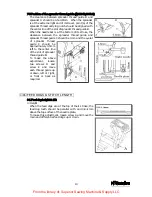
The timing mark is factory-set for standard.
Do not change the orbit extremely.
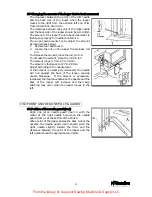
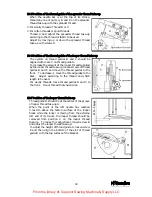
■
The timing mark is at the standard position.
The 3 o'clock end of the orbit is at a slightly up
position.
■
To advance the timing of the looper to the needle
Shift the timing mark to X. Skip stitching may
occur when the looper moves to the right.
A thread chain is not produced smoothly.
■
To delay the timing of the looper to the needle Shift
the timing mark to Y.
Skip stitching may occur when the looper moves to
the left. The needle extremely touches the back of
the looper, causing needle breakage.
< Note >
To sew under good conditions, adjust the looper orbit after changing the amount of the
looper front-to-back movement by moving the timing mark slightly to X or Y.
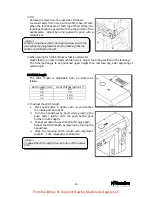
< Note >
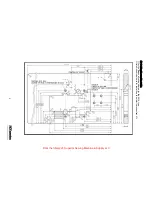
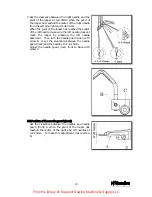
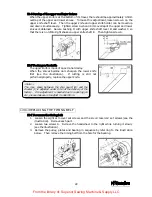
When moving the looper holder front or back, be
careful not to change the looper setting distance.
From the library of: Superior Sewing Machine & Supply LLC


