24
<
Note
>
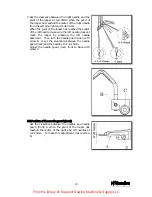
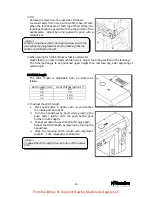
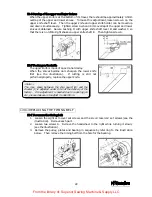
After adjusting, drop down upper cutter at the bottom
position (bottom dead point) in pulling lever F
direction to H. Then, confirm whether upper cutter
and lower cutter shall meet each other at 1mm
distance or not.
<
Note
>
Make sure to turn off the power (electric and
compressed air), before adjusting, cleaning etc.
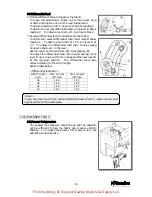
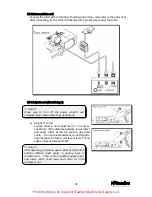
14-2 Intermediate cord
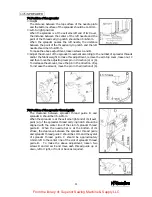
Connect the cords with referring to the following picture. (also refer to the parts list.)
After connecting, fix the cords with bands to the proper place under the table.
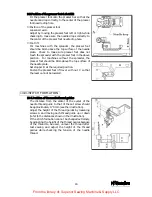
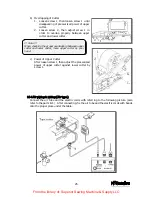
14-3 Adjustment (Electric type)
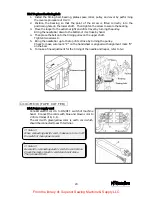
a)
Height of Cutter
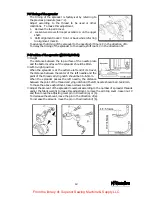
Loosen screw E and adjust lever F in order to
set 24 mm of the distance between lower cutter
and upper cutter at the top position (top dead
point). During this adjustment, do not forget to
align between surface G (surface of lever F) and
edge surface of solenoid shaft.
From the library of: Superior Sewing Machine & Supply LLC

