-
7
Confirm the changed setting by press-
ing the Info button or wait till the set val-
ue is automatically accepted after 10
seconds.
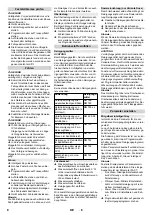
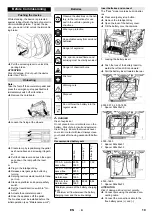
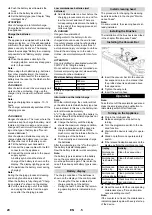
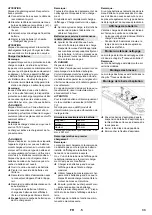
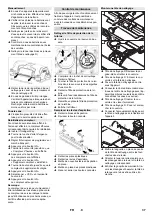
To improve the vacuuming result on tiled
floors the vacuum bar can be turned to an
oblique position of up to 5°.
Release the wing nuts.
Turn the vacuum bar.
Tighten the wing nuts.
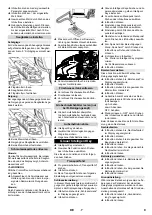
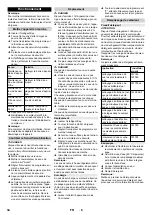
If the vacuum result is unsatisfactory the in-
clination of the straight vacuum bar can be
modified.
Loosen both clamping levers.
Adjust the inclination of the suction bar.
Tighten both clamping levers.
Note:
Overflow waste water tank. When the
wastewater tank is full, the suction turbine
switches off and "Waste water tank full" is
shown on the display.
몇
WARNING
Please observe the local provisions regard-
ing the wastewater treatment.
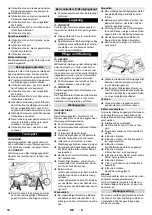
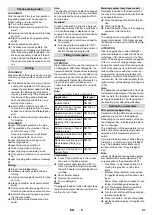
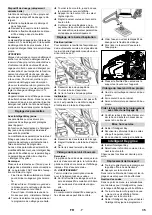
Take the dirt water discharge hose from
the support and lower above a suited
collection device.
Note:
The wastewater flow can be controlled by
squeezing the dosing unit.
Let off water by opening the dosage de-
vice at the discharge hose.
The rinse the dirt water reservoir with
clear water.
Press the wastewater hose into the
holder on the appliance.
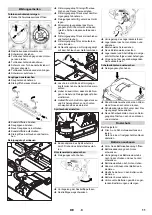
Open the lock of the fresh water reser-
voir.
Drain the fresh water.
Attach the closure of the fresh water
tank.
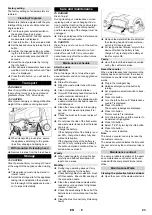
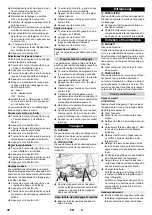
Check the waste container. If needed,
remove and empty waste container af-
ter work.
Remove the Intelligent Key.
Secure the machine with wheel chocks
to prevent it from rolling away.
Charge battery, if required.
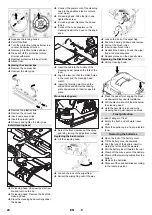
Plug in the Intelligent Key.
Select the desired function by turning
the Info button.
The different functions are described in the
following.
Turn programme selector switch to
"transport run".
Press Info button.
In the transport run menu the following set-
tings can be made:
In this menu item the authorisations for yel-
low intelligent keys as well as the
language of the display texts are selected.
Turn the info button until "key man-
agem." is shown on the display.
Press Info button.
Remove the grey Intelligent Key and in-
sert the yellow Intelligent Key to be pro-
grammed.
Select the desired menu item to be
modified by turning the Info button.
Press Info button.
Adjust the menu item by turning the Info
button.
Confirm the setting by pressing the
menu item.
Select the next menu item to be modi-
fied by turning the Info button.
In order to save the authorisations, call
the "Save?" menu by turning the info
button and then press the info button.
"Continue key menu":
Yes: Programme further Intelligent Key.
No: Exit key menu.
Press Info button.
This function is required when changing the
cleaning head.
Turn the info button until "brush head" is
shown on the display.
Press Info button.
Turn the info button until the desired
brush shape is highlighted.
Press Info button.
Move the hoist drive for replacement of
the cleaning head by turning the info
button:
up: Raise
down: Lower
OFF: Stop
Exit menu: Select "OFF" by turning the
info button and press the info button.
When exiting the menu, the control per-
forms a restart.
Turn the info button until "stopping
times" is shown on the display.
Press Info button.
Turn the info button until the desired as-
sembly is highlighted.
Press Info button.
Turn the info button until the desired
stopping time is reached.
Press Info button.
Turn the info button until "Battery menu"
is displayed.
Press Info button.
Turn the info button until the desired
battery type is highlighted.
Press Info button.
Changes of the parameters of the individu-
al cleaning programmes that were made
during the operation are reset to the basic
setting after switching off the appliance.
Turn the info button until "Basic setting"
is displayed.
Press Info button.
Turn the info button until the desired
cleaning programme is displayed.
Press Info button.
Turn the info button until the desired pa-
rameter is displayed.
Press Info button - the set value blinks.
Set the desired value by turning the info
button.
Press Info button.
Turn the info button until "Language" is
displayed.
Press Info button.
Turn the info button until the desired
language is highlighted.
Press Info button.
Setting the Vacuum Bar
Oblique position
Inclination
Emptying the waste Water tank
Emptying the Fresh Water Tank
Empty waste container (only with R
cleaning head)
Shutting down
Grey Intelligent Key
Transport run
Key management
Selecting the brush shape
Stopping times
Setting the battery type
Standard setting
Setting the language
22
EN
Summary of Contents for B 95 RS
Page 2: ...2...
Page 151: ...2 1 2 3 4 5 6 7 8 9 10 11 12 13 14 15 16 Dose 17 18 19 20 21 22 23 R 24 25 26 27 151 EL...
Page 152: ...3 1 2 3 4 Not Aus 5 6 Intelligent Key 7 8 1 OFF 2 3 Eco 4 5 Heavy 6 7 8 152 EL...
Page 155: ...6 Intelligent Key 2 10 Intelligent Key 15 OFF RM 746 RM 780 RM 755 es RM 69 ASF RM 753 155 EL...
Page 158: ...9 R 50 50 R R Intelligent Key YES K rcher D 158 EL...
Page 159: ...10 R D R D 159 EL...
Page 160: ...11 OFF 0 Timeout 0 15 A4 0 5 160 EL...
Page 161: ...12 1 2 qua Mizer 2 Aqua Mizer OFF 10 D D Aqua Mizer OFF 10 Dose Dose qua Mizer 161 EL...
Page 179: ...3 1 2 3 4 5 6 7 8 1 OFF 2 3 Eco 4 5 Heavy 6 7 8 179 RU...
Page 182: ...6 2 10 15 OFF 182 RU...
Page 184: ...8 Yes No up down OFF OFF 10 R 184 RU...
Page 185: ...9 10 R 50 50 R R K rcher D 185 RU...
Page 186: ...10 R D R D 186 RU...
Page 187: ...11 OFF 0 0 15 A4 0 5 187 RU...
Page 188: ...12 1 2 2 Aqua Mizer OFF 10 R D Aqua Mizer OFF 10 Dose Dose Aqua Mizer 188 RU...
Page 297: ...2 1 2 3 4 5 6 7 8 9 10 11 12 13 14 15 16 Dose 17 18 19 20 21 22 23 R 24 25 26 27 297 BG...
Page 298: ...3 1 2 3 4 5 6 7 8 1 OFF 2 3 Eco 4 5 Heavy 6 7 8 298 BG...
Page 301: ...6 2 10 15 OFF 301 BG...
Page 303: ...8 up down OFF OFF 10 10 R 303 BG...
Page 304: ...9 R 50 50 R R YES K rcher D 304 BG...
Page 305: ...10 R D R D 305 BG...
Page 306: ...11 OFF 0 0 15 A4 0 5 306 BG...
Page 307: ...12 1 2 Aqua Mizer 2 OFF 10 R D OFF 10 Dose Dose 307 BG...
Page 351: ...3 1 2 3 4 5 6 7 8 1 OFF 2 3 Eco 4 5 Heavy 6 7 8 351 UK...
Page 354: ...6 2 10 15 OFF 354 UK...
Page 356: ...8 Yes No up down OFF OFF 10 R 356 UK...
Page 357: ...9 10 R 50 50 R R K rcher D 357 UK...
Page 358: ...10 R D R D 358 UK...
Page 359: ...11 OFF 0 0 15 A4 0 5 359 UK...
Page 360: ...12 1 2 2 Aqua Mizer OFF 10 R D Aqua Mizer OFF 10 Dose Dose Aqua Mizer 360 UK...
Page 363: ......
Page 364: ...http www kaercher com dealersearch...

