16
English
Î
Insert the waste container with open lid
into the device.
Î
Tilt down the suction head.
Î
Align the waste container in such a way
that the suction head seals off from all
direction.
Î
Move the stoppers to touch the contain-
er and tighten the fastening screws.
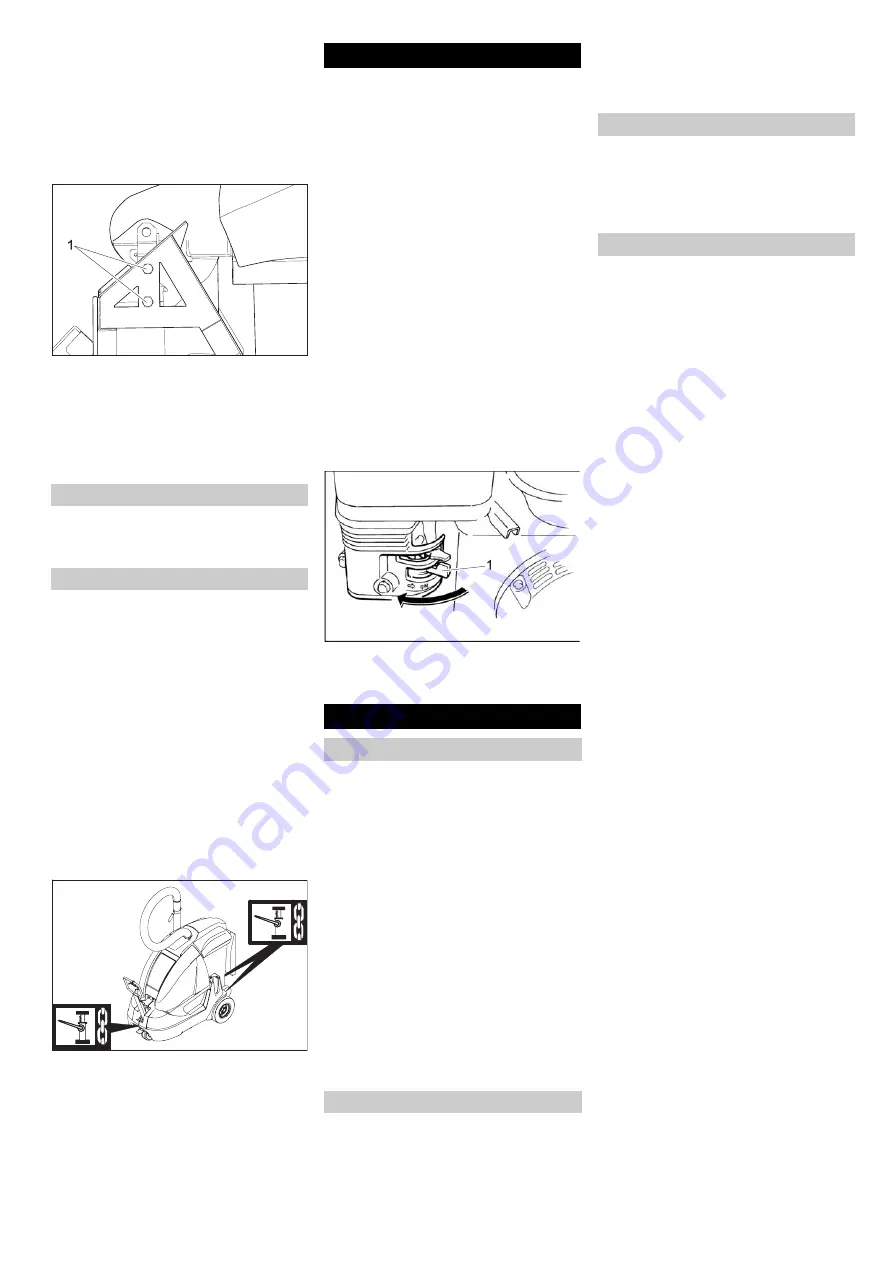
1
Fastening screw of suction head
Î
Loosen the fastening screws of the suc-
tion head on both the sides.
Î
Press the suction head on to the waste
container and tighten the fastening
screws at the same time.
Î
Lock the parking brakes by releasing
the drawbar.
Î
Turn ignition key to "0" and remove it.
몇
Warning
In general, when shipping the machine, the
freewheel lever must be engaged in the up-
per position. Only once this has been done,
will the travel drive be ready for operation.
The machine must always be moved up or
down slopes by engaging self-propulsion.
Î
Lock the parking brakes by releasing
the drawbar.
Î
Turn ignition key to "0" and remove it.
Î
Empty tank. Draw off fuel using suitable
pump.
Î
Secure the wheels of the machine with
wheel chocks.
Î
Secure the machine with tensioning
straps or cables.
Note
Observe markings for fixing points on base
frame (chain symbols). When loading or un-
loading the machine, it may only be operat-
ed on gradients of max. 18%.
If the device is going to be out of service for
a longer time period, observe the following
points:
Î
Park the machine on an even surface.
Î
Lock the parking brakes by releasing
the drawbar.
Î
Fill fuel tank and close fuel cock.
Î
Change engine oil.
Î
Turn ignition key to "0" and remove it.
Î
Unscrew spark plugs and pour approx.
3 cm³ of oil into the spark plug hole.
Crank the engine several times before
replacing the spark plug. Screw in the
spark plug.
Î
Clean the inside and outside of the ma-
chine.
Î
Park the machine in a safe and dry place.
Î
Disconnect battery.
Î
Charge battery approx. every 2 months.
Î
Open the device hood and secure it us-
ing the hood support.
1
Fuel tap
Î
Push lever in "OFF" direction.
Î
First switch off the appliance and re-
move the ignition key before performing
any cleaning or maintenance tasks on
the appliance, replacing parts or switch-
ing over to another function.
Î
Pull out the battery plug or clamp the
battery while working on the electrical
unit.
–
Maintenance work may only be carried
out by approved customer service out-
lets or experts in this field who are famil-
iar with the respective safety
regulations.
–
Mobile appliances used for commercial
purposes aer subject to safety inspec-
tions according to VDE 0701.
–
Do not clean the appliance with a water
hose or high-pressure water jet (danger
of short circuits or other damage).
Danger
Risk of injury! Wear dust mask and protec-
tive goggles.
Î
Open the device hood and secure it us-
ing the hood support.
Î
Clean machine with a cloth.
Î
Blow through machine with compressed
air.
Î
Close cover.
Î
Clean the machine with a damp cloth
which has been soaked in mild deter-
gent.
Note
Do not use aggressive cleaning agents.
Note
The elapsed-time counter shows the timing
of the maintenance intervals.
Daily maintenance:
Î
Check engine oil level.
Î
Check axle drive oil level.
Î
Check tyre pressure.
Î
Check function of all operator control el-
ements.
Î
Clean seal on suction head and large
dirt flap.
Weekly maintenance:
Î
Check fuel pipes for leaks.
Î
Check air filter.
Î
Check moving parts for freedom of
movement.
Maintenance to be carried out every 100
operating hours:
Î
Check fuel pipes for leaks.
Î
Change engine oil (initial change after
20 operating hours).
Î
Check spark plug.
Î
Check battery acid level.
Î
Check status of the brake springs and
ensure that they are fitting properly.
Î
Check tension, wear and function of
drive belts (V-belt and circular belt).
Î
Check the tension of the drive chains.
For description, see section on Mainte-
nance work.
Note
Where maintenance is carried out by the
customer, all service and maintenance
work must be undertaken by a qualified
specialist. If required, a specialised Archer
dealer may be contacted at any time.
Maintenance to be carried out after 20 op-
erating hours:
Î
Carry out initial inspection.
Maintenance to be carried out every 100
operating hours
Maintenance to be carried out every 200
operating hours
Maintenance to be carried out every 300
operating hours
Note
In order to safeguard warranty claims, all
service and maintenance work during the
warranty period must be carried out by the
authorised Kärcher Customer Service in
accordance with the maintenance booklet.
Turn off the appliance.
Transport
Shutdown
Close fuel cock
Maintenance and care
General notes
Cleaning the inside of the machine
External cleaning of the appliance
Maintenance intervals
Maintenance by the customer
Maintenance by Customer Service
Summary of Contents for IC 15/240 W
Page 1: ...Deutsch 3 English 12 IC 15 240 W 5 962 627 0 2018690 08 07...
Page 2: ...2...
Page 21: ......


