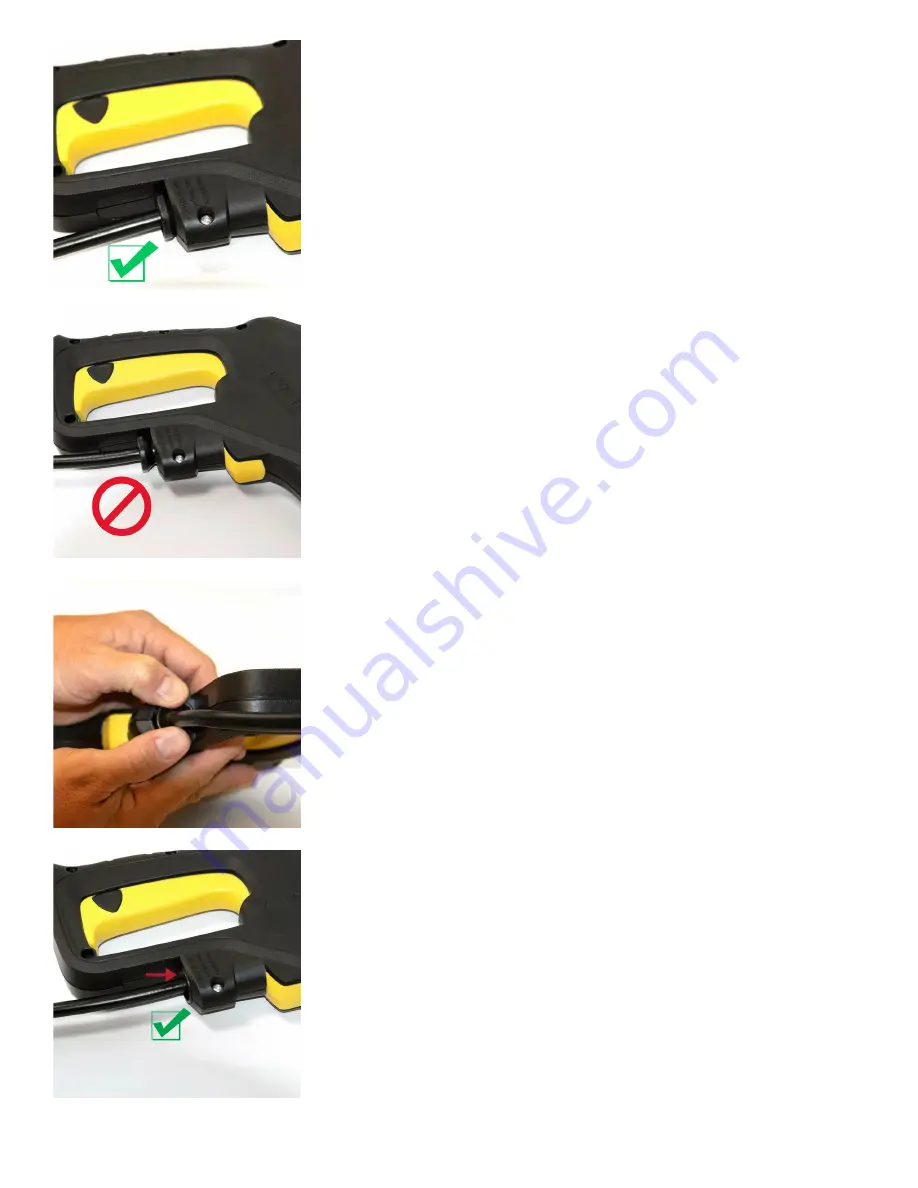
> Note the position of the connector before proceeding
If the connector will only insert as far as shown here, the flat areas are not yet
properly aligned. Rotate the hose until they are aligned and repeat Step 3.
Tip:
If you're having trouble lining the flat areas up, note that the flat areas of the
hose connector should be facing the front and back of the spray gun, not the
sides of the gun.
4. Push the hose firmly to lock it into place
With the flat edges on the hose and spray gun aligned, begin to firmly push the
hose into the spray gun connector.
We recommend that you use both thumbs in order to apply sufficient force to
push the hose connector fully into the spray gun, to get it to lock into place.
You should hear an audible click when the hose is fully and properly seated.
Gently tug on the hose to make sure it doesn't easily slide out.
5. Examine the hose connector to make sure it is
completely inserted
The connection should appear as shown here.
3. Begin to insert the hose into the spray gun
With the flat edges on the hose and spray gun aligned, begin to push the hose
into the spray gun connector. Pause when you encounter resistance – the hose
should be inserted as far as shown in this image. If it is, proceed to step 4.
Summary of Contents for K 3
Page 4: ......


