English
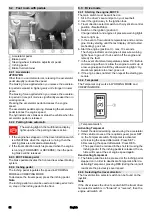
65
1
Coupling connector
2
Coupling sleeve
3
Ring
1. Pull the ring of the coupling sleeve downwards and hold.
2. Press the coupling connector of the attachment hydrau-
lic hose into the coupling sleeve.
3. Release the coupling ring. Check that it is securely en-
gaged.
4. To decouple, pull the ring downwards, hold it and pull
out the hydraulic hose.
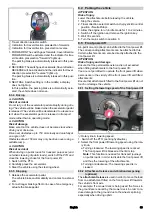
9.2
Ballasting the vehicle
Note
The front axle of the vehicle must always be loaded with at
least 30% of the net weight of the vehicle, and the rear axle
must always be loaded with at least 30% of the net weight
of the vehicle.
Before purchasing the attachment, check that these re-
quirements are met by weighing the vehicle-attachment
combination.
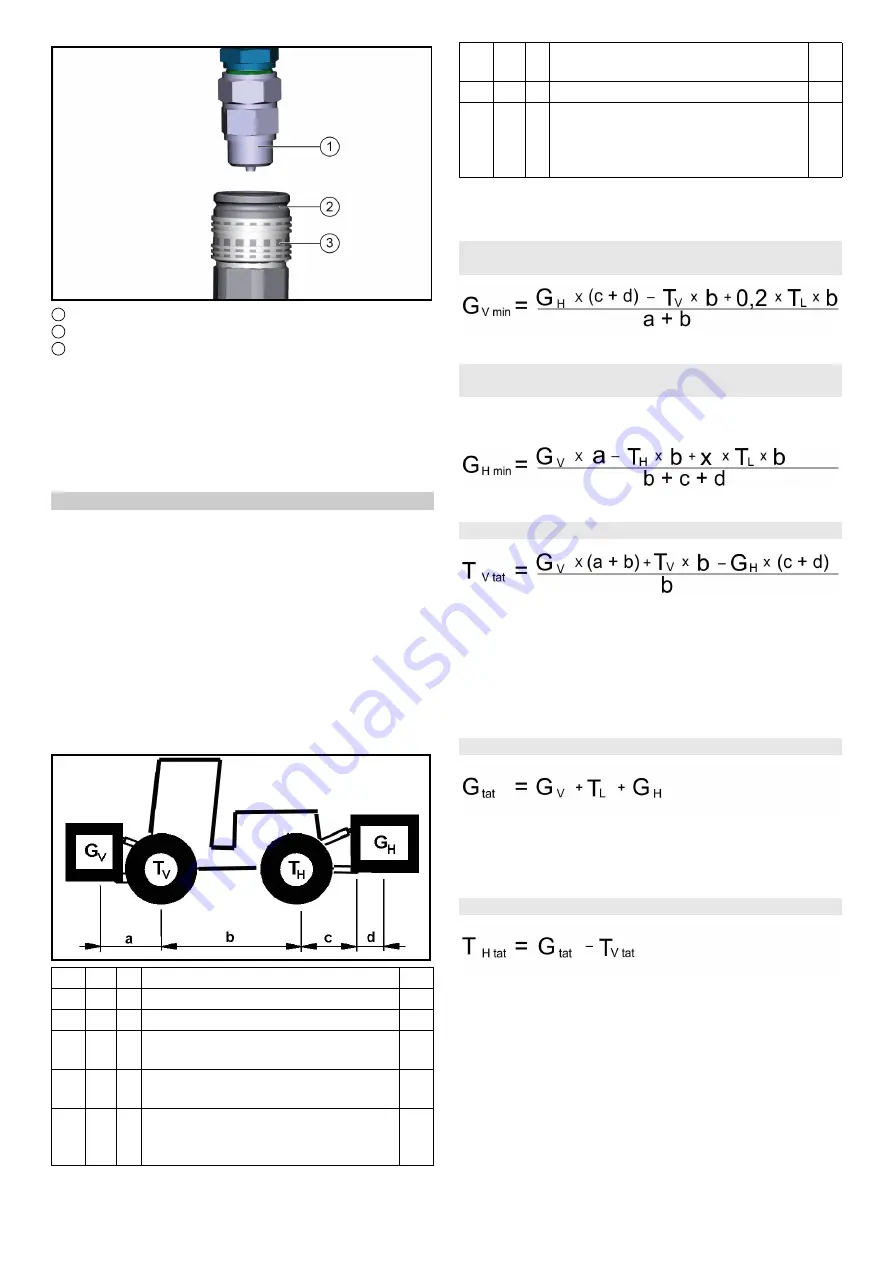
The following data is required for determining the total
weight, the axle loads, the tyre loading capacity and the re-
quired minimum ballast:
●
All weights in kg (weigh the vehicle if necessary)
●
All dimensions in meters (m)
* See chapter "Technical data"
** See operating instructions of the attachment
*** Measure
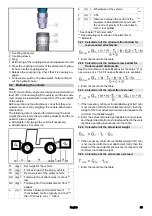
9.2.1 Calculation of the minimum front ballast for
rear-mounted attachments
1. Enter the result into the table.
9.2.2 Calculation of the minimum rear ballast for
front-mounted attachments
See the manufacturer's specifications for the value "x" or
use a value of x = 0.45 if no specifications are available.
1. Enter the result into the table.
9.2.3 Calculation of the actual front axle load
1. If the necessary minimum front ballast weight (GV min)
is not reached with the front attachment (GV) then the
weight of the front attachment must be increased to the
minimum front ballast weight.
2. Enter the actual calculated permissible front axle load
and the permissible front axle load specified in the work
machine operating instructions into the table.
9.2.4 Calculation of the actual total weight
1. If the necessary minimum rear ballast weight (GH min)
is not reached with the rear attachment (GH), then the
weight of the rear attachment must be increased to the
minimum rear ballast weight.
9.2.5 Calculation of the actual rear axle load
1. Enter the result into the table.
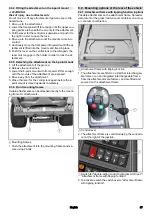
TL (kg) = Net weight of the vehicle
*
TV (kg) = Front axle load of the empty vehicle
*
TH (kg) = Rear axle load of the empty vehicle
*
GH (kg) = Total weight rear attachment / rear bal-
last
**
GV (kg) = Total weight of front attachment / front
ballast
**
a
(m) = Distance between front attachment
(front ballast) centre of gravity and mid-
dle of front axle, max. = 0.86 m
**
***
b
(m) = Wheelbase of the vehicle
*
***
c
(m) = 0.56
d
(m) = Distance between the centre of the
equipment-side attachment point and
the centre of gravity of the rear attach-
ment / rear ballast
**
***
Summary of Contents for MIC 70
Page 2: ......
Page 302: ...302 K RCHER K RCHER 2 1 2 2 1 2 3 4 5 6 7 3 REACH www kaercher com REACH 3 1 3 2 4 4 1...
Page 303: ...303 4 2 4 3 4 4 3 4 4 5 DPF 600 C 13 MIC 70 4 6 4 7 4 8...
Page 304: ...304 4 9 10...
Page 305: ...305 4 10 F2 DOT 4 Main fuse 70A F2 3A F2 3A...
Page 310: ...310 1 6 6 4 1 2 3 6 6 5 1 2 0 on 1 on 3 0 1 2 4 5 6 7 8 6 6 6 6 6 7 1 2 3 4 5 6 7 8...
Page 316: ...316 1 Off 2 On 3 6 10 4 1 1 2 a b 6 10 5 1 1 2 a b 7...
Page 318: ...318 7 4 Comfort 1 2 3 4 5 6 7 8 9 10 11 12 13 1 2 3 4 a 7 5 1 2 1 2 3 4 5 7 6 1 2 3 4 8 14...
Page 324: ...324 9 3 9 3 1 3 H 3 2 1 3 2 3 4 5 1 2 9 3 2 3 1 2 3 2 4 1 2 3 1 9 3 3 4 H 4 2 1 4 2 3 4 5 1...
Page 326: ...326 9 4 2 1 2 3 1 9 4 3 1 2 2x 3 1 1 2 9 4 4 3 4 5 9 4 4 1 2 2x 3 4 5 2x 6 1 2 1 2 2x 3 3 4 5...
Page 327: ...327 1 2 3 2x 6 7 1 2x 2 2x 8 9 4 3 9 9 4 5 1 2 1 2 3 4 5 6 7 8 9 9 5 9 5 1 1 1 2...
Page 328: ...328 9 5 2 1 2 16 10 10 1 1 10 2 10 1 1 1 2 3 1 2 3 4 5 6 10 1 2 1 2 10 2...
Page 342: ...342 14 1 MIC 70 14 2 14 3 V2403 CR T EW03 V P0217 5 P0217 Joystick...

