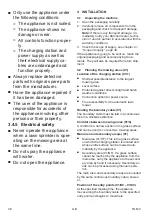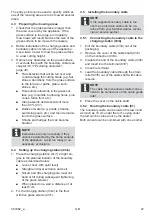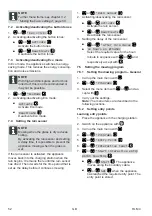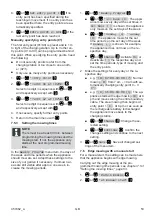
50
RLM 4
GB
5
START-UP
This chapter describes the activities and settings
that are necessary to put the appliance into oper-
ation for the first time. For all further settings, re-
fer to see
5.1
Charging the rechargeable battery (08)
The integrated battery is partially charged on de-
livery. During normal operation, the battery of the
appliance is regularly charged automatically.
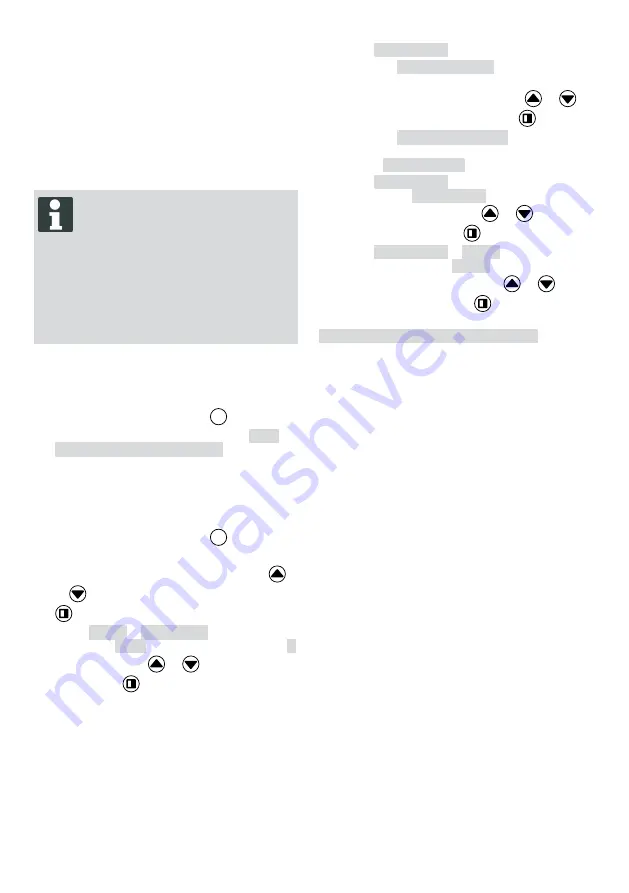
NOTE
Fully charge the rechargeable battery
before using it for the first time. The re-
chargeable battery can be charged in
any charge status. Interrupting charging
does not damage the rechargeable bat-
tery.
The rechargeable battery can only be
charged after the appliance has been
switched on.
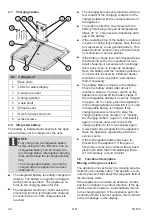
1. Place the appliance (08/1) in the charging
station (08/3) so the contact surfaces of the
appliance touch the charging contacts of the
charging station.
2. Switch on the appliance with
ON
OFF
.
3. The display on the appliance shows
Bat-
tery is being recharged
. If not: see
chapter 13 "Help in case of malfunction",
page 59
5.2
Making the basic settings
1. Open the cover flap.
2.
Switch on the appliance with
ON
OFF
. The firm-
ware, code number and type are displayed.
3.
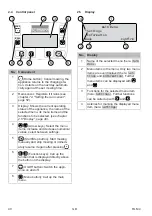
In the menu for language selection, use
or
to select the language and accept with
.
4.
In the
Login
>
Enter PIN
menu, enter the
preset PIN
0000
. To do so, select the digit
0
in sequence with
or
and respectively
confirm with
. After entering the PIN, ac-
cess is enabled.
5.
In the
Change PIN
menu:
■
Under
Enter new PIN
, enter a self-se-
lected new four-digit PIN. To do so, se-
lect one digit in sequence with
or
and respectively confirm with
.
■
Under
Reenter new PIN
, enter the
new PIN again. If both entries are identi-
cal,
PIN changed
is displayed.
6.
In the
Enter date
menu, set the current
date (format:
DD.MM.20YY
). To do so, select
one digit in sequence with
or
and re-
spectively confirm with
.
7.
In the
Enter time
>
HH:MM
menu, set the
current time (format:
HH:MM
). To do so, se-
lect one digit in sequence with
or
and
respectively confirm with
.
The basic settings have been completed. The
Not calibrated Press Start key
status
is displayed.
5.3
Setting the cutting height
The cutting height can be manually adjusted con-
tinuously between 25 – 55 mm.
1.
Open the cover (10/1).
2.
Set the cutting height (the current cutting
height is displayed in the window (10/3) in
millimetres):
■
Increase the cutting height (i.e. lawn
height): Turn the rotary knob (10/2) clock-
wise (10/+).
■
Decrease the cutting height (i.e. lawn
height): Turn the rotary knob (10/2) anti-
clockwise (10/–).
3.
Close the cover.
5.4
Carrying out an automatic calibration
movement
Place the appliance at the starting position
(09)
1.
Place the appliance at the starting position in-
side the mowing area:
■
At least 1 m left and 1 m in front of the
charging station
■
Aligned with the front side to the bound-
ary cable
Summary of Contents for RLM 4
Page 427: ...457462_a 427 RU 1 1 1...
Page 433: ...457462_a 433 RU 2 9 0 3 3 1 CE 500 2 45 24 45 24 0 45 C 0 55 C 3 2...
Page 434: ...434 RLM 4 RU 3 3 3 3 1 PIN PUK PIN PIN PIN 3 PUK 24 PIN PUK PIN PUK 3 3 2...
Page 435: ...457462_a 435 RU 24 45 EGMF 3 4 3 4 1 16 3 4 2...
Page 436: ...436 RLM 4 RU 3 4 3 3 4 4...
Page 448: ...448 RLM 4 RU 9 3 K rcher 1 ON OFF 2 3 4 5 180 6 180 K rcher 10 1 START STOP 2 ON OFF 3...
Page 449: ...457462_a 449 RU 11 11 1 30 1 5 1 08 441 2 9 1 447 3 11 2 1 2 3 4 1 2 3 4 08 4 5 11 3 1 12...
Page 450: ...450 RLM 4 RU 2012 19 EC Hg Cd Pb Hg 0 0005 Cd 0 002 Pb 0 004 2006 66 EC 1 2 3 1 1 2 2 3 3 4...
Page 451: ...457462_a 451 RU 13 13 1 K rcher K rcher...
Page 452: ...452 RLM 4 RU K rcher K rcher K rcher K rcher 13 2 CN001 Tilt sensor CN002 Lift sensor...
Page 459: ...457462_a 459 UA 1 1 1...
Page 466: ...466 RLM 4 UA 24 PIN PUK PIN PUK 3 3 2 24 45 EGMF...
Page 467: ...457462_a 467 UA 3 4 3 4 1 16 3 4 2 3 4 3 3 4 4...
Page 468: ...468 RLM 4 UA 3 4 5 4 4 1 1 2 K rcher 3 p 2 1 460 4 2 01 01 1 01 01 h n 01 01 HF 01 NF...
Page 480: ...480 RLM 4 UA 11 2 1 2 3 4 1 2 3 4 08 4 5 11 3 1 12 ElektroG 2012 19 C...
Page 481: ...457462_a 481 UA BattG Hg Cd Pb Hg 0 0005 Cd 0 002 Pb 0 004 2006 66 C 1 2 3 1 1 2 2 3 3 4...


