54
RLM 4
GB
7.7
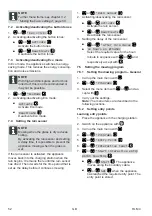
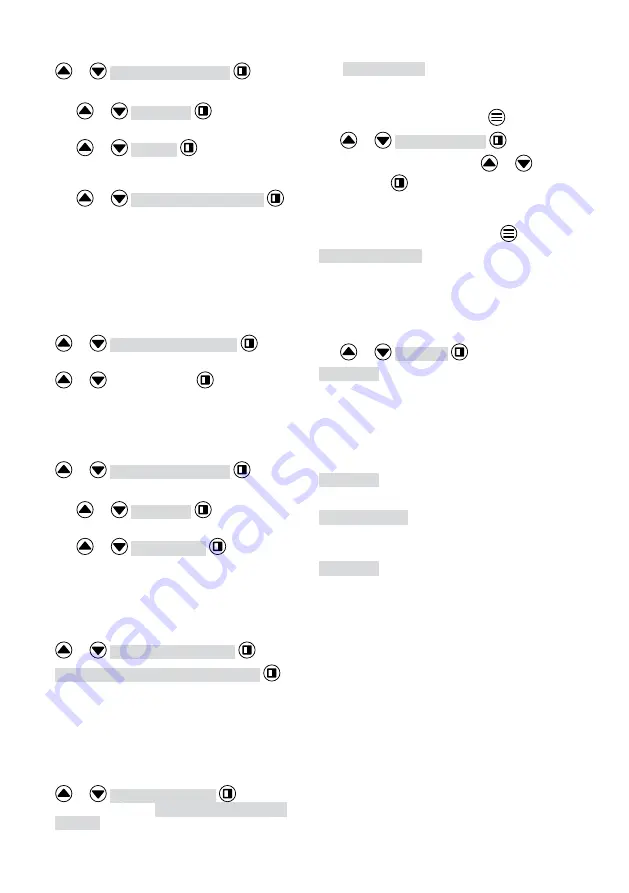
Setting the secondary area mowing
1.
or
* Sub zone mowing
2.
Setting the mowing time periods:
■
or
inactive
:
Secondary area mowing is switched off.
■
or
active
:
The appliance mows until the recharge-
able battery is flat.
■
or
Mowing time in min
:
The appliance mows the secondary area
for the set time period. The following
mowing time periods can be set:
15/30/until rechargeable battery flat.
7.8
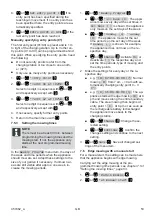
Setting the display contrast
If the display is difficult to read, e.g. in sunlight,
the display can be improved by changing the dis-
play contrast.
1.
or
* Display contrast
2. Increase/decrease the display contrast with
or
and accept with
.
7.9
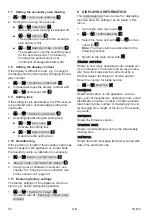
Setting lock
If the setting lock is deactivated, the PIN must on-
ly be entered when acknowledging safety-rele-
vant faults.
1.
or
* Safety settings
2. Activating/deactivating the setting lock:
■
or
Activate
:
Activate the setting lock.
■
or
Deactivate
:
Deactivate the setting lock.
7.10 Recalibrating
If the position or length of the boundary cable has
been changed or the appliance no longer finds
the boundary cable, recalibration is necessary.
1.
or
Reset calibration
2.
Reset loop calibration data?
3.
Carrying out a calibration movement: see
chapter 5.4 "Carrying out an automatic cali-
bration movement", page 50
7.11 Restoring factory settings
The factory settings of the appliance can be re-
stored, e.g. before selling the appliance.
1.
or
* Factory reset
Appliance reports:
Factory reset com-
pleted
8
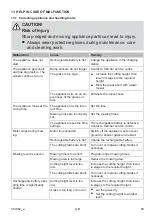
DISPLAYING INFORMATION
The
Information
menu is used for displaying
machine data. No settings can be made in this
menu.
1. Call up the main menu with
.
2.
or
* Information
3. Select the menu item with
or
and ac-
cept with
.
Note:
The menu items are described in the
following sections.
4.
Return to the main menu with
.
Blades service
Shows in how many operating hours a blade ser-
vice is required. The counter can be reset manu-
ally. Have the blade service carried out by a
Kärcher dealer, technician or service partner.
Reset the counter for blade service:
1.
or
Confirm
Hardware
Shows information on the appliance, such as
type, year of manufacture, operating hours, serial
identification number, number of mowing inserts,
total mowing time, number of charging cycles, to-
tal charging time, length of the loop of the bound-
ary cable.
Software
Shows the firmware version.
Program Info
Shows current settings such as the total weekly
mowing time.
Failures
Shows the fault messages that last occurred with
date, time and fault code.
Summary of Contents for RLM 4
Page 427: ...457462_a 427 RU 1 1 1...
Page 433: ...457462_a 433 RU 2 9 0 3 3 1 CE 500 2 45 24 45 24 0 45 C 0 55 C 3 2...
Page 434: ...434 RLM 4 RU 3 3 3 3 1 PIN PUK PIN PIN PIN 3 PUK 24 PIN PUK PIN PUK 3 3 2...
Page 435: ...457462_a 435 RU 24 45 EGMF 3 4 3 4 1 16 3 4 2...
Page 436: ...436 RLM 4 RU 3 4 3 3 4 4...
Page 448: ...448 RLM 4 RU 9 3 K rcher 1 ON OFF 2 3 4 5 180 6 180 K rcher 10 1 START STOP 2 ON OFF 3...
Page 449: ...457462_a 449 RU 11 11 1 30 1 5 1 08 441 2 9 1 447 3 11 2 1 2 3 4 1 2 3 4 08 4 5 11 3 1 12...
Page 450: ...450 RLM 4 RU 2012 19 EC Hg Cd Pb Hg 0 0005 Cd 0 002 Pb 0 004 2006 66 EC 1 2 3 1 1 2 2 3 3 4...
Page 451: ...457462_a 451 RU 13 13 1 K rcher K rcher...
Page 452: ...452 RLM 4 RU K rcher K rcher K rcher K rcher 13 2 CN001 Tilt sensor CN002 Lift sensor...
Page 459: ...457462_a 459 UA 1 1 1...
Page 466: ...466 RLM 4 UA 24 PIN PUK PIN PUK 3 3 2 24 45 EGMF...
Page 467: ...457462_a 467 UA 3 4 3 4 1 16 3 4 2 3 4 3 3 4 4...
Page 468: ...468 RLM 4 UA 3 4 5 4 4 1 1 2 K rcher 3 p 2 1 460 4 2 01 01 1 01 01 h n 01 01 HF 01 NF...
Page 480: ...480 RLM 4 UA 11 2 1 2 3 4 1 2 3 4 08 4 5 11 3 1 12 ElektroG 2012 19 C...
Page 481: ...457462_a 481 UA BattG Hg Cd Pb Hg 0 0005 Cd 0 002 Pb 0 004 2006 66 C 1 2 3 1 1 2 2 3 3 4...

