– 8
Illustrations on Page 2
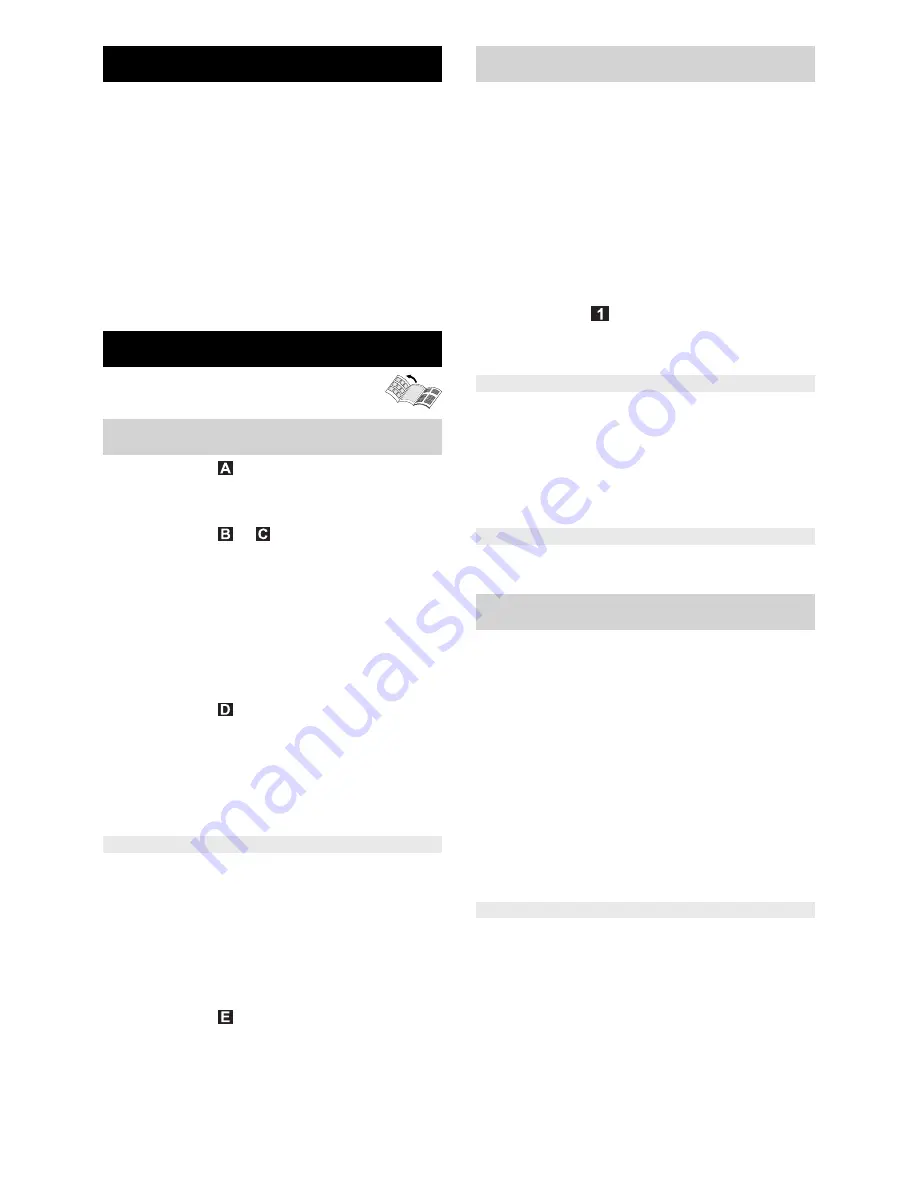
1 Fill the water reservoir up to the "MAX"
marking.
2 Plug in the main plug.
Turn on the appliance.
3
Indicator lamp "heating on" is blinking
(green)
Wait until the indicator lamp (heater)
lights up permanently.
4 Connect the accessories to the steam gun.
The steam cleaner is ready to use.
Illustrations on fold-out
page 3!
Illustration
Insert steering roller and transport
wheels and lock them.
Illustration
+
Connect the required accessories (see
Chapter "How to use the accessories“)
to the steam gun. Insert the open end of
the accessory on the steam gun and
push onto the steam gun until the un-
locking button of the steam gun locks
into place.
Illustration
Use the extension tubes if necessary.
To do so, connect one or both exten-
sion tubes to the steam gun. Insert the
required accessories on the free end of
the extension tube.
Danger
Hot water may drip out of the accessory
parts while you are detaching them! Never
detach accessory parts while steam
streams out - risk of scalding!
Move the selector switch for the steam
volume back (steam lever locked).
Illustration
To detach the accessory parts, press
the unlocking button and pull the items
apart.
The water reservoir may be refilled at any
time.
Caution
Do not use condensation water from the
drier!
Do not fill with detergent or other additives
(for example fragrances)!
Do not use pure distilled water! Max. 50%
distilled water and 50% tap water.
Do not use collected rain water!
Illustration
You can remove the water reservoir to fill it
or you can fill it directly on the appliance.
Pull the water reservoir straight up.
Fill the water reservoir up to the "MAX"
marking while positioned vertically un-
der the water tap.
Insert the water reservoir and press
downwards until it arrests.
Pour water from a container into the funnel
inlet. Fill up to the "MAX" marking.
Place the unit securely on a firm surface.
Insert the mains plug into a socket.
Press the ON switch to turn on the ap-
pliance.
Note:
If there is no or not enough water in
the steam boiler, the water pump starts and
supplies water from the reservoir into the
steam boiler. The filling process may take
several minutes.
Wait until the indicator lamp (heater)
lights up permanently.
The steam cleaner is ready to use.
In case of water shortage, the indicator
lamp "water shortage" glows red in the wa-
ter reservoir and a signal can be heard.
Fill the water reservoir up to the "MAX"
marking.
Note:
The water pump tries to fill the steam
boiler in short intervals. If the filling process
is successful, the red indicator lamp goes
off.
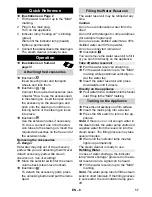
Quick Reference
Operation
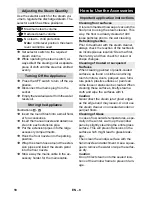
Attaching the Accessories
Removing the Accessories
Filling the Water Reservoir
Take off water reservoir
Directly on the appliance
Turning on the Appliance
Refilling Water
17
EN
Summary of Contents for SC 2.500 C
Page 2: ...2...
Page 3: ...3...
Page 4: ...4...
Page 101: ...6 IEC 60364 FI 3x1 mm 8 101 EL...
Page 103: ...8 2 1 2 3 4 3 50 50 E1 2 E2 F1 F2 F3 103 EL...
Page 104: ...9 104 EL...
Page 105: ...10 10 20 cm 20 40 cm 5 PVC 1 2 3 4 10 105 EL...
Page 119: ...6 IEC 60364 FI 30190 3 0 1 9 0 30190 09 2 013 119 RU...
Page 120: ...7 3x1 8 120 RU...
Page 122: ...9 2 1 MAX 2 3 4 3 50 50 MAX MAX 122 RU...
Page 123: ...10 MAX 123 RU...
Page 124: ...11 10 20 20 40 5 1 2 3 4 124 RU...
Page 200: ...6 IEC 60364 3x1 2 8 200 BG...
Page 202: ...8 2 1 MAX 2 3 4 3 50 50 MAX MAX 202 BG...
Page 203: ...9 MAX 203 BG...
Page 204: ...10 10 20 20 40 5 PVC 1 2 3 4 10 204 BG...
Page 236: ...6 IEC 60364 F 3x1 2 8 236 UK...
Page 237: ...7 K RCHER K RCHER 4 A1 A2 A3 A4 A5 A6 A7 A8 A9 A10 A11 A12 A13 A14 2 A15 237 UK...
Page 238: ...8 2 1 MAX 2 3 4 3 50 50 MAX MAX B1 B2 B3 B4 B5 C1 C2 D1 D2 E1 2 E2 F1 F2 F3 238 UK...
Page 239: ...9 MAX 239 UK...
Page 240: ...10 10 20 20 40 5 1 2 3 4 240 UK...
Page 242: ...12 8 60 C MAX 242 UK...
Page 244: ...5 REACH www kaercher com REACH KK 5 KK 8 KK 8 KK 6 KK 8 KK 10 KK 11 KK 13 KK 13 KK 14 244 KK...
Page 245: ...6 KARCHER IEC 60364 FI 30190 09 2 013 30190 0 3 0 1 9 245 KK...
Page 246: ...7 3 1 246 KK...
Page 248: ...9 50 50 MAX MAX MAX 248 KK...
Page 249: ...10 10 20 20 40 249 KK...
Page 250: ...11 5 1 2 3 4 10 250 KK...
Page 255: ...60 220 240 V 1 50 60 Hz IPX4 I 1500 0 32 6 255 AR...
Page 257: ...5 1 2 3 4 10 257 AR...
Page 258: ...10 20 20 40 258 AR...
Page 259: ...50 50 259 AR...
Page 261: ...KAERCHER K RCHER 4 A1 A2 A3 A4 A5 261 AR...
Page 262: ...IEC 60364 FI 3 x1 8 262 AR...
Page 263: ...KARCHER 263 AR...
Page 264: ......
Page 265: ...6 435 857 0 2 884 281 0 09 01 2013 5 963 687 0...


