background image

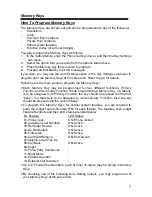
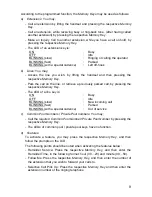
Option 1:  

Second. Primary 


Primary  Second. 

Ext. 1120 

Ext. 1110 

Ext. 1115 

Ext. 1125 

Ext. 1121 

Ext. 1111 

Ext. 1116 

Ext. 1126 

Ext. 1122 

Ext. 1112 

Ext. 1117 

Ext. 1127 

Ext. 1123 

Ext. 1113 

Ext. 1118 

Ext. 1128 

Ext. 1124 

Ext. 1114 


Ext. 1119 

Ext. 1129 

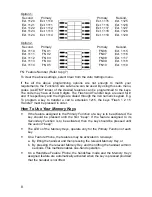
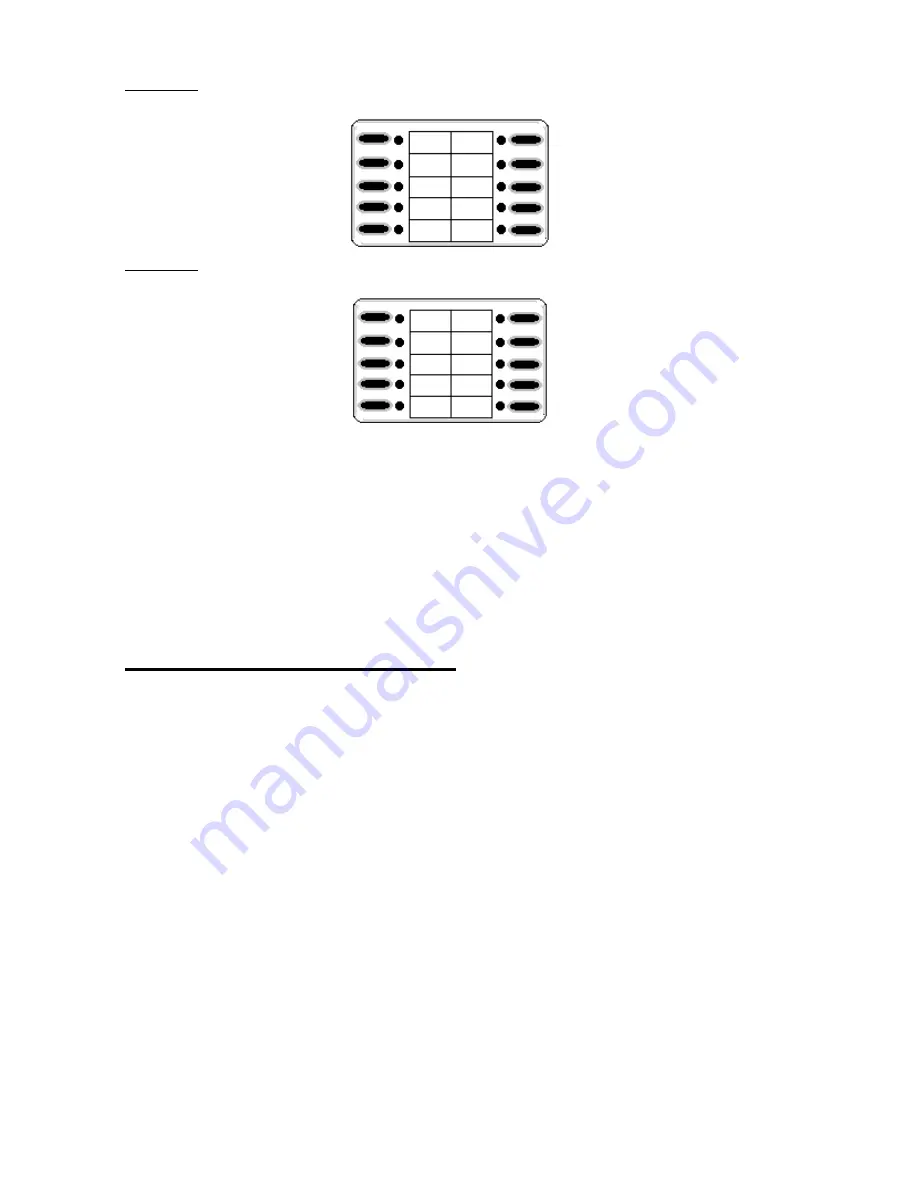
Option 2:  

Second. Primary 


Primary  Second. 

Ext. 1110 

FN 01  

FN06 

Ext. 1115 

Ext. 1111 

FN 02 

FN07 

Ext. 1116 

Ext. 1112 

FN 03 

FN08 

Ext. 1117 

Ext. 1113 

FN 04 

FN09 

Ext. 1118 

Ext. 1114 

FN 05 


FN10 Ext. 

1119 

FN : Feature Number (Refer to pg 7) 

To clear the above settings, select 

Clear 

from the 

Auto Settings 

menu.  

If the all the above programming options are not enough to match your 
requirements, the Function Code sub-menu can be used. By using this sub- menu, 
codes (as DTMF tones) of the desired features can be programmed to the keys. 
The code may have at most 8 digits. The Flash and Transfer keys are used for # 
and 



 respectively and the digits are dialed through the 3x4 numeric keypad. E.g. 

To program a key to transfer a call to extension 1215, the keys “Flash 1 2 1 5 
Transfer” must be pressed in order.  

How To Use Your Memory Keys  

• 

If the feature assigned to the 

Primary Function

 of a key is to be activated, the 

key should be pressed until the

  first  “beep”

. If the feature assigned to its 

Secondary  Function

 is to be activated, then the key should be pressed until 

the

 second “beep”.


• 

The

 LEDs

 of the 

Memory Keys

, operate 

only

 for the 

Primary Function

 of each 

key.  

• 

On a Feature Phone, the features may be activated in two ways: 
a.  By lifting the handset and then pressing the relevant 

Memory Key

, or 

b.  By pressing the relevant 

Memory Key

 and then lifting the handset within 3 

seconds. This method enables one-hand operation. 

• 

On a Handsfree Feature Phone, the handsfree mode and the 

Memory Key’s


assigned feature are automatically activated when the key is pressed provided 
that the handset is not lifted. 


Summary of Contents for LT200

Page 1: ...n part one pg 2 the structure of the feature phones and brief information about the physical parts are presented 2 In part two pg 5 the main details of the Setting Mode are given 3 In part three pg 7 the programming and use of Memory Keys are explained in point form This guide is prepared with the assumption that the LT200 H user is familiar with the Easy To Use Owner s Guide of the DS200 telephon...

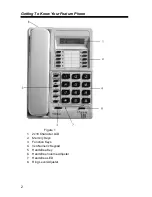
Page 2: ... 2 Getting To Know Your Feature Phone Figure 1 1 2x16 Character LCD 2 Memory Keys 3 Function Keys 4 3x4 Numeric Keypad 5 Handsfree Key 6 Handsfree Volume Adjuster 7 Handsfree LED 8 Ring Level Adjuster ...

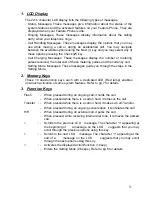
Page 3: ... steps in the Setting Mode 2 Memory Keys These 10 dual function keys each with a dedicated LED Red lamp enables one touch activation of some system features Refer to pg 7 for details 3 Function Keys Flash When pressed during an ongoing call it holds the call When pressed while there is a call on hold it retrieves the call Transfer When pressed while there is a call on hold it makes a Call Transfer...

Page 4: ...vates and de activates the handsfree mode In handsfree mode the telephone may be used without lifting the handset 6 Handsfree Volume Adjuster Available only on the Handsfree Feature Phones it adjusts the received voice level in handsfree mode 7 Handsfree LED Available only on the Handsfree Feature Phones it is illuminated during handsfree operation 8 Ring Level Adjuster Switches between High and L...

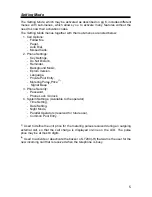
Page 5: ... Eprom Version Language Private Pool Entry Metering Pulse Price 1 Signal Beep 2 3 Phone Security Password Phone Lock Unlock 4 System Settings Available to the operator Time Setting Date Setting Night Mode Parallel Operators reserved for future use Common Pool Entry 1 Used to define the unit price for the metering pulses received during an outgoing external call so that the call charge is displayed...

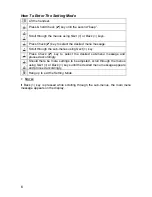
Page 6: ...ugh the sub menus using Next key Press Check 9 9 9 9 key to select the desired sub menu message and proceed accordingly Should there be more settings to be adjusted scroll through the menus using Next or Back keys until the desired menu message appears and proceed accordingly Hang up to exit the Setting Mode NOTES If Back key is pressed while scrolling through the sub menus the main menu message a...

Page 7: ...nd Secondary Function While programming a Memory Key if a feature is to be assigned to its Primary Function the key should be pressed until the first beep If a feature is to be assigned to its Secondary Function then the key should be pressed until the second beep To program the Memory Keys for certain system features you are required to enter the 2 digit Feature Number FN for each feature The fea...

Page 8: ...ys are used for and respectively and the digits are dialed through the 3x4 numeric keypad E g To program a key to transfer a call to extension 1215 the keys Flash 1 2 1 5 Transfer must be pressed in order How To Use Your Memory Keys If the feature assigned to the Primary Function of a key is to be activated the key should be pressed until the first beep If the feature assigned to its Secondary Fun...

Page 9: ...d call by pressing the respective Memory Key The LED of a line key is ON Busy OFF Idle BLINKING slow New incoming call BLINKING fast Parked BLINKING with a special cadence Out of service c Common Pool Numbers Private Pool numbers You may Call the required Common Pool Number Private Pool Number by pressing the respective Memory Key The LEDs of common pool private pool keys have no function d Featur...

Page 10: ...y Key your call will be put on hold then dial the third party then press the same Memory Key again Footnote If your feature phone is malfunctioning in any way please refer to the information in this guide Should the problem persist please contact the installer or a dealer in your country ...

Reviews: