1
2
For More Detailed Information, Consult the Instruction Manual
Quick Start Guide for TELE PACK+ VET
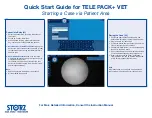
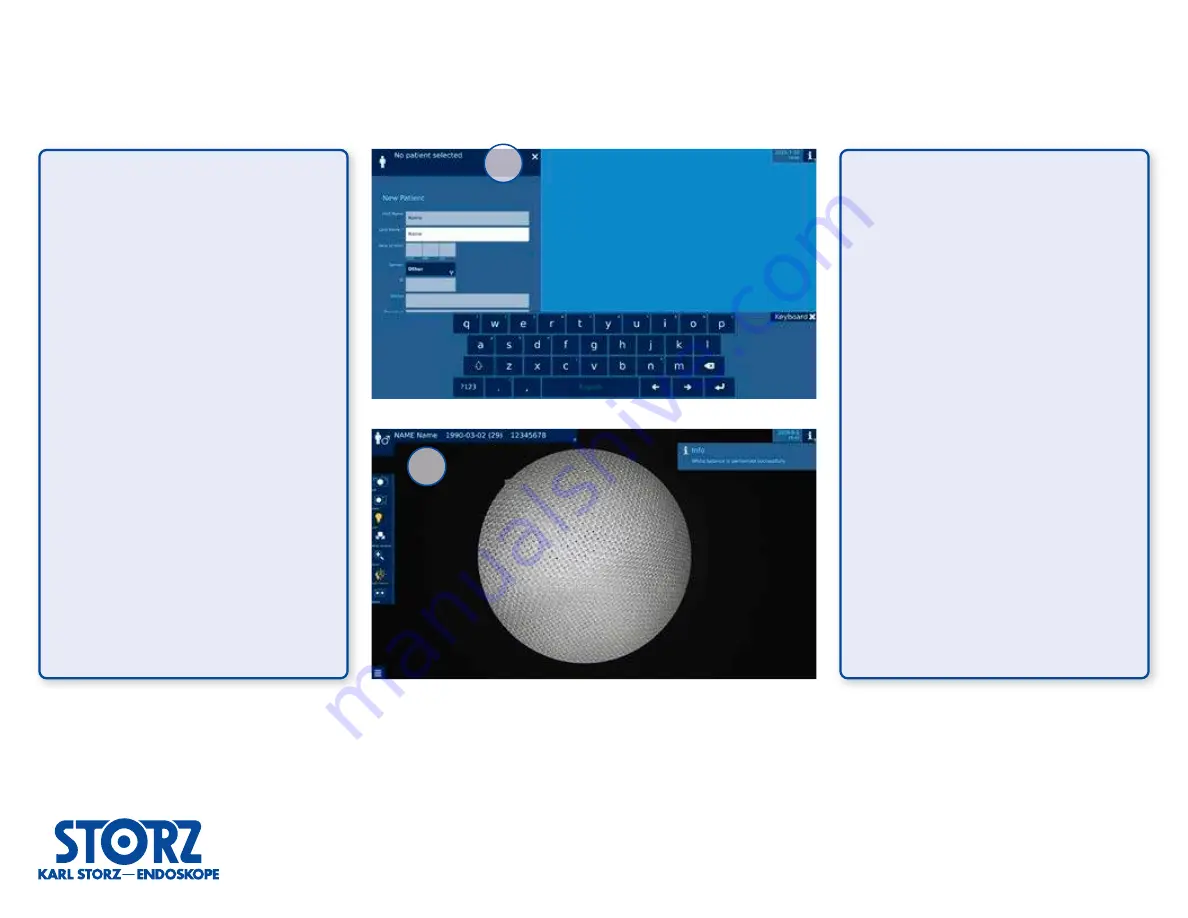
Starting a Case via Patient Area
Patient Info Entry (#1)
• Select the Patient Area at the top left corner of
the screen
• Enter New Patient information
•
When finished entering patient information for
any record you will always have two choices –
1.
Select Patient for Next Procedure
brings up the
patient you just entered so that the device is ready
for captured content during the treatment that is
about to start
2.
Save/Add Patient to list
allows you to create
a worklist within the device so that you can enter
multiple patients up front.
This makes it quick and easy to select the next
patient for treatment as the room is being turned
over throughout the day
Note:
•
Required fields are indicated by the asterisk
•
All other fields are optional
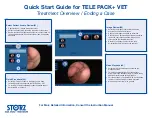
During the Case (#2)
• Ensure the appropriate Patient’s name and
details are displayed at the top left-hand corner
• Plug in camera or videoscope
• Ensure the device has light output via either the
Light or the Light Source functions
•
Perform a White Balance* via the corresponding
function in the Quick Menu
• Still or Video Capture can be initiated on-screen
or via head/videoscope button programming
• Other functions such as Zoom, Orientation,
Training Mode, etc. can be initiated or adjusted
at any time throughout the treatment
Note:
HD Videoscopes do not require a white balance,
the function will be greyed out for these devices


