48
Storage Procedure
1.
Close the intake seacock.
2.
Push the
Fresh Water Flush
button
to fresh water flush the system. Perform a second fresh
water flush in the same way.
3.
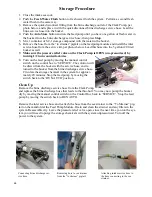
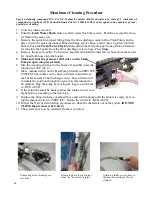
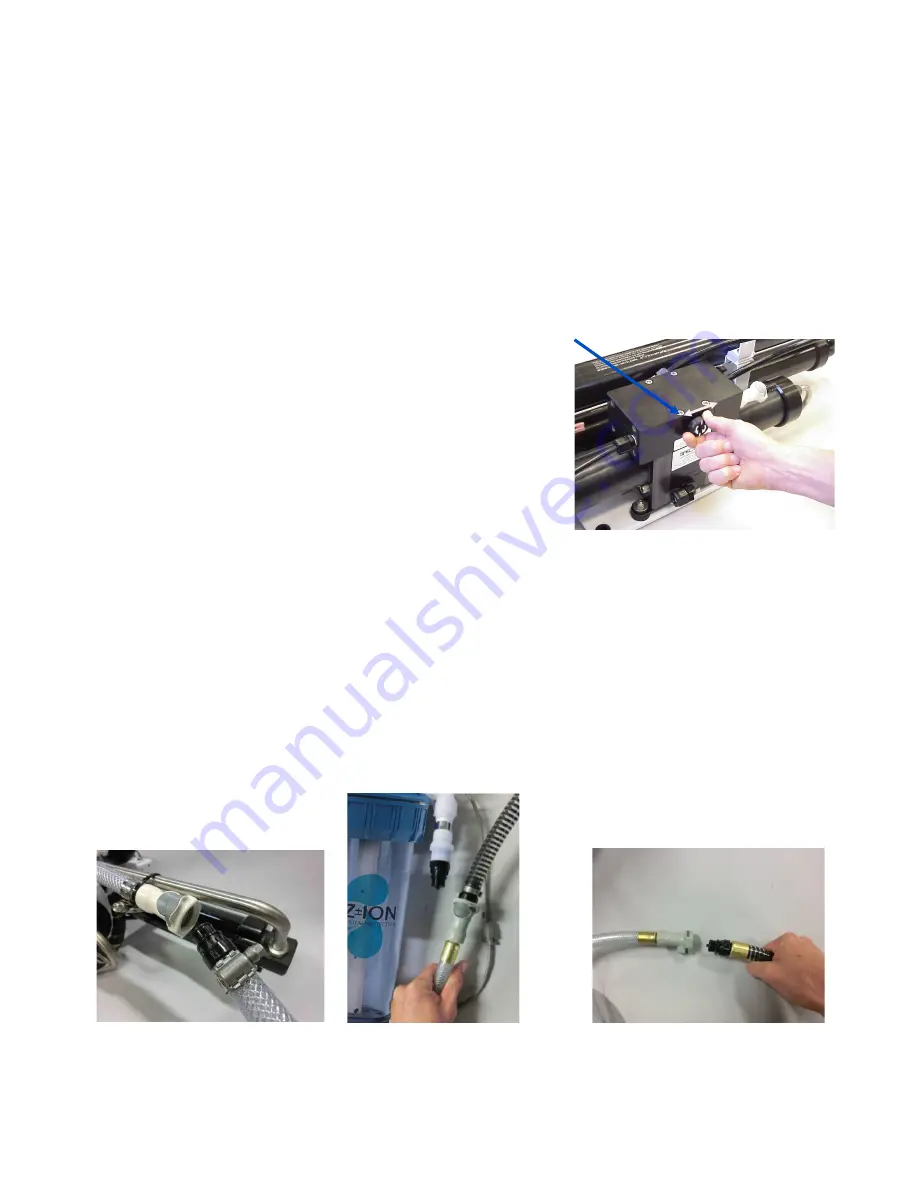
Remove the quick disconnect fitting from the brine discharge outlet of the Clark Pump, per
photo below, and replace it with the quick disconnect brine discharge service hose. Lead the
brine service hose into the bucket.
4.
Push the
Auto Store
button and run the feed pump until you have one gallon of fresh water in
the bucket from the brine discharge service hose, then press
Stop
.
5.
Mix 1 container of SC
-
1 storage compound with the water in the bucket.
6.
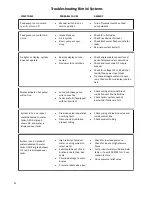
Remove the hose from the
“
to strainer
”
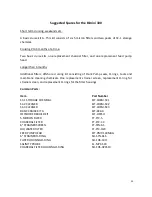
pigtail on the feed pump module and install the inlet
service hose from the service kit, per photos below. Lead this hose into the 5 gallon (20 liter)
bucket as well.
7.
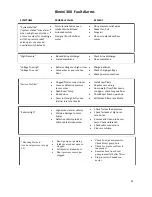
Make sure the pressure relief valve on the Clark Pump is OPEN (un
-
pressurized) by
turning 1/2 turn counterclockwise
8.
Turn on the feed pump by moving the manual control
switch on the control box to
‘
SERVICE
’.
The solution will
be drawn from the bucket with the service hose, and re-
turned to the bucket from the brine discharge service hose.
Circulate the storage chemical in the system for approxi-
mately 20 minutes. Stop the feed pump by moving the
switch back to the
‘
RUN AUTO
’
position.
Clean Up
Remove the brine discharge service hose from the Clark Pump,
and replace the brine discharge hose that leads to the thru
-
hull. You may now pump the bucket
dry by moving the manual control switch on the Control Box back to
‘
SERVICE
’.
Stop the feed
pump by moving the switch back to RUN AUTO.
Remove the inlet service hose and reattach the hose from the sea strainer to the
“
To Strainer
”
pig-
tail on the manifold at the Feed Pump Module. Drain and clean the strainer and any filters in the
system. Reassemble dry. Leave the pressure relief valve open, since the next time you run the sys-
tem you will need to purge the storage chemicals with the system unpressurized. Turn off the
power to the system.
Connecting brine discharge ser-
vice hose
Attaching intake service hose to
the hose connecting to the sea
strainer.
Removing hose to sea strainer
from the
“
to strainer
”
pigtail.
Summary of Contents for Spectra Bimini 300
Page 2: ...2...
Page 4: ...4...
Page 6: ...6...
Page 8: ...8...
Page 10: ...10 Installation Notes...
Page 19: ...19 John Guest Super Speedfit Fittings...
Page 67: ...67 Wiring Schematic...
Page 77: ...77 Parts 1 SO HPP PR10...
Page 78: ...78 Parts PL MTS 3 8X1 2B HP CYL SST HP CYL CCA SO HPP ECCB HP CYL EC HP CYL R HP CYL PT Parts...
Page 79: ...79...
Page 83: ...83...
Page 85: ...85...
Page 88: ...88...

