40 of 112
Operating ReaderStart Software
➯
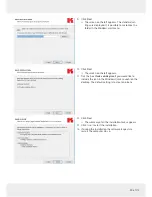
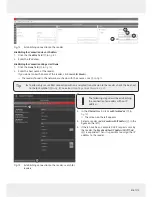
If the
ReaderStart
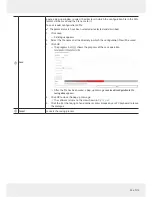
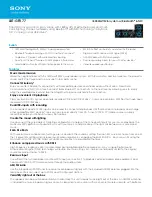
has been installed, the screen on
the left appears.
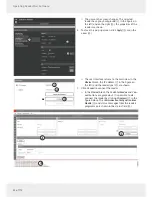
15. If you do not want to start the programme immedi-
ately, uncheck the
Launch ReaderStart v3
box. Otherwise,
the programme will automatically start once clicking
on
Finish
.
13.3
Connecting the Reader in the
ReaderStart
Software
13.3.1 Requirements
From r
eader firmwar
e version 2.04, the reader in the ex-works condition has the IP address
192.168.0.1
and the network
mask
255.255.255.0
. Earlier r
eader firmwar
e versions ar
e configur
ed for DHCP.
►
To integrate the reader into a corporate network, contact your administrator so that he can allocate you a spare IP
address and assign the correct network mask.
Alternatively
, it is possible to configur
e the reader to obtain an IP address automatically. For this service, referred to as
DHCP, it is necessary to have an appropriate DHCP server operating in the network.
►
For more information, contact your network administrator.
►
Make sure that the IP addresses of the control computer and the reader are in the same IP range but are not the
same. Ensure that the network mask is identical.
Establishing the Connection to the Reader
There are two ways to establish the connection to the reader:
●
by entering the IP address to communicate directly with the reader; see
Establishing the Connection via an IP Address
or
●
by using the reader's host name; see
Establishing the Connection Using a Host Name, p. 41
.
►
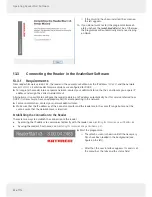
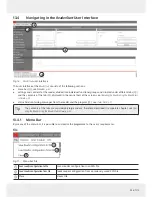
Start the programme.
➯
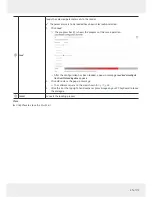
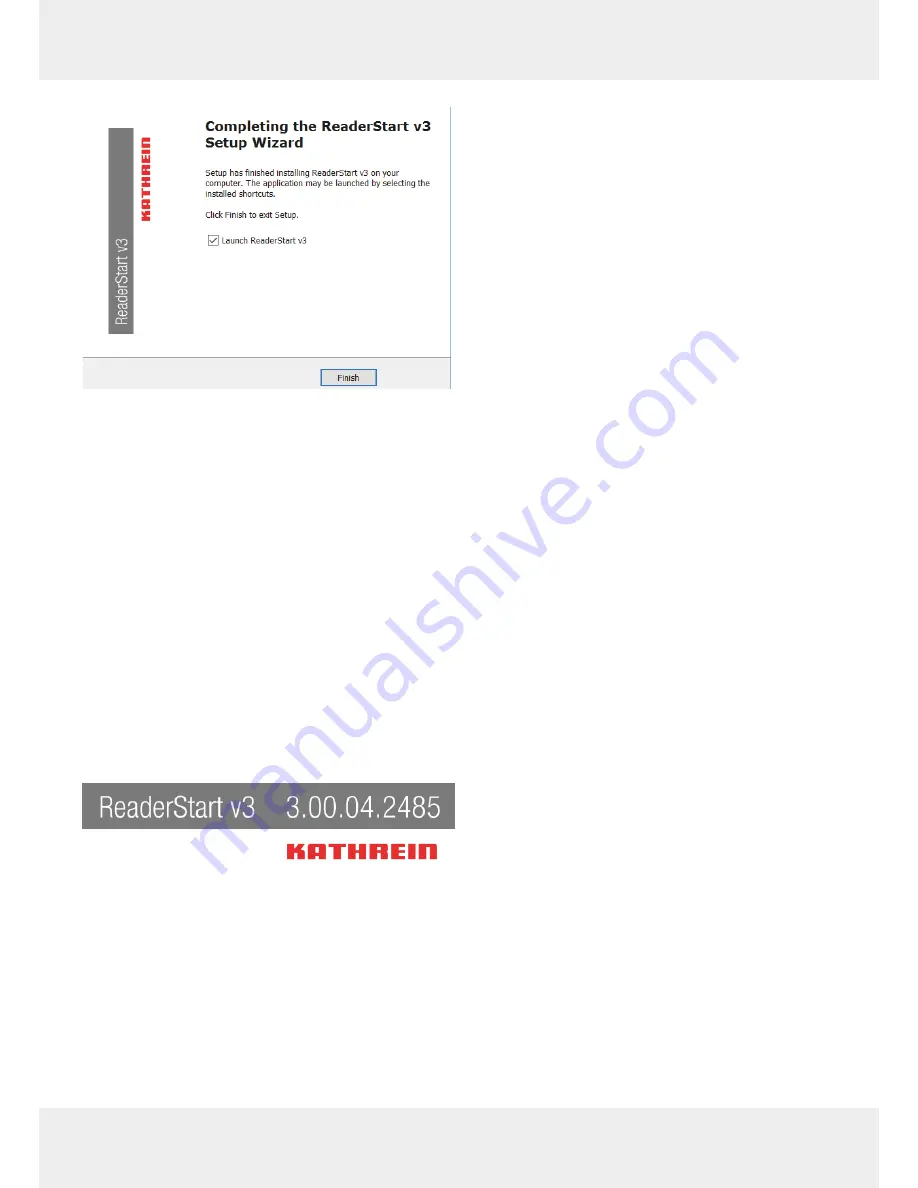
The splash screen is shown until all the necessary
DLLs have been loaded in the background (see
figur
e on the left).
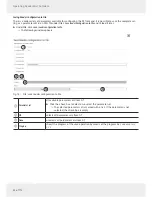
➯
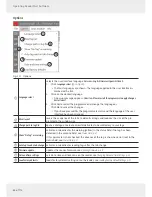
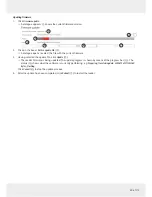
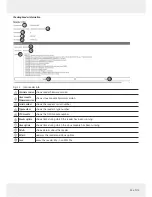
After that, the user interface appears. It consists of
the menu bar, the tabs and the status field:

