7
Connection and setup
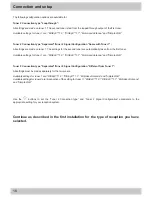
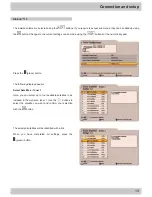
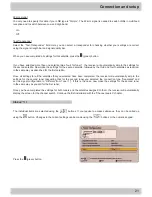
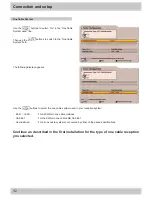
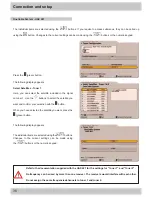
Set the turntable so that both of the bars “Signal-Strength” and “Signal-Quality” on the right of the screen show the highest
available percentage values.
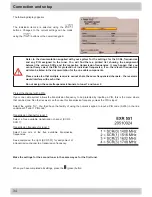
Test-Transponder:
Select the “Test-Transponder” field. Here you can select a transponder for checking whether your settings are correct using
the signal strength bar and signal quality bar.
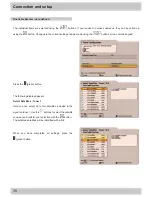
Once you have achieved the best reception signal, press the
(green) button. The receiver will now save these values
for this satellite and skips automatically to the setting for the next satellite.
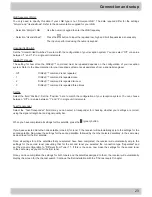
If you have selected more than one satellite for tuner 1, the receiver will automatically skip to the settings for the second
satellite. Now make the settings for the second satellite, followed by the other selected satellites, in the same way as
described for the first satellite.
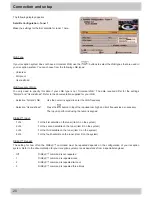
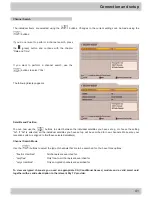
Once all settings for all the satellites that you selected have been completed, the receiver will automatically skip to the
settings for the second tuner (assuming that for the second tuner you selected the connection type “Separated” and set the
signal configuration to “Different from Tuner 1”). If this is the case, now make the settings for the second tuner in the same
way as you did for the first tuner.
Once you have completed the settings for both tuners and the satellites assigned to them, the receiver will automatically
display the screen for the channel search. Continue the first installation with the “Channel search” chapter.
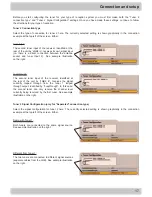
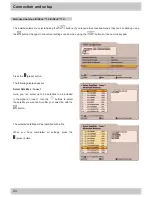
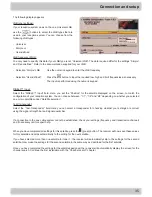
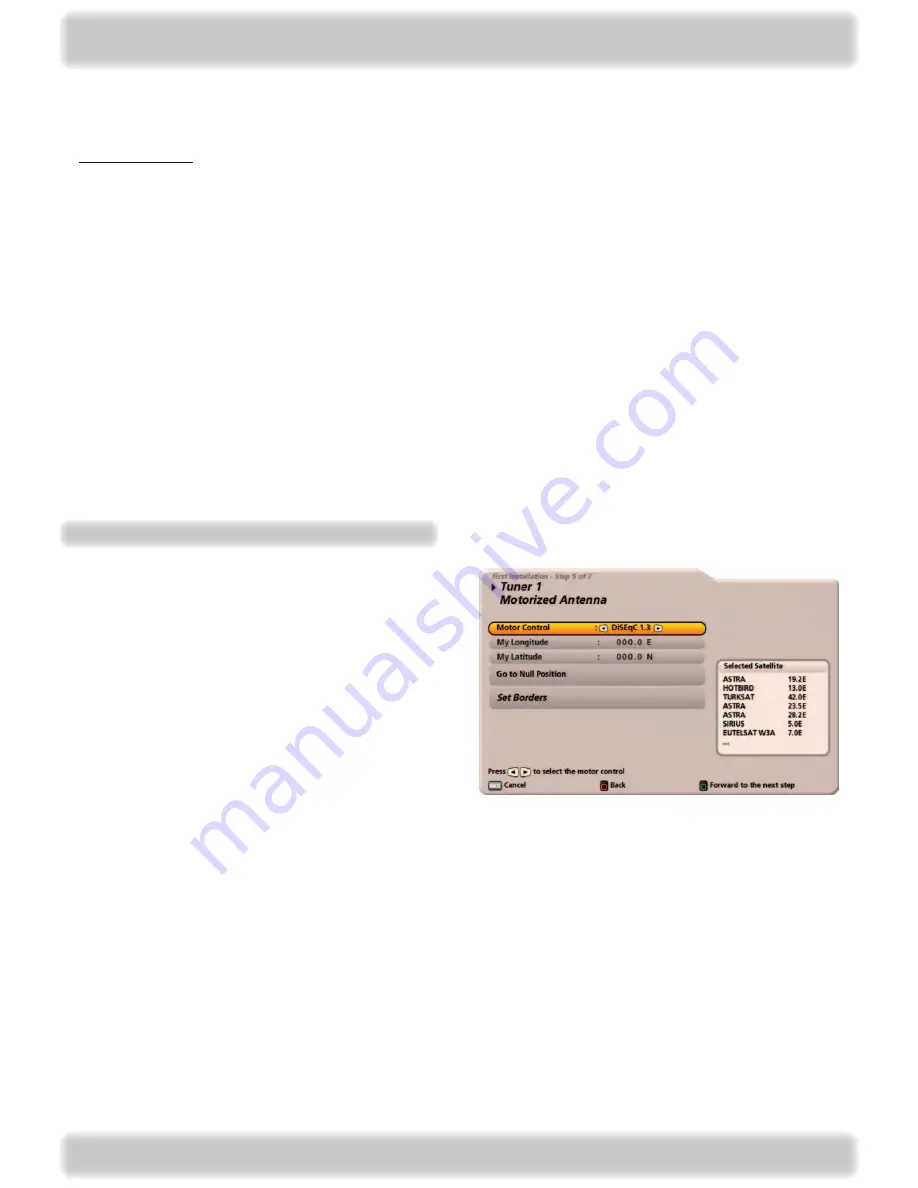
Motor Control
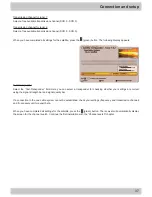
Select the control type “DiSEqC™1.3”. Refer to the
documentation for your motorized antenna for details.
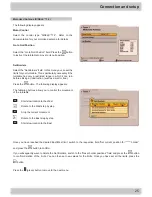
My Longitude
Select the “My Longitude” field and use the numeric
keypad to input your current longitude.
My Latitude
Select the “My Latitude” field and use the numeric keypad
to input your current latitude.
Go to Null Position
Motorized Antenna (DiSEqC™1.3)
Select the “Go to Null Position” field. Press the
button to instruct the turntable to move to its null position.

