9
Recording archive (play back/edit recordings)
Split
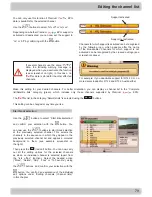
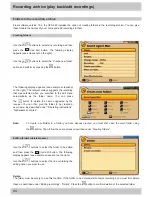
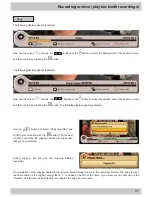
The following display appears (example):
Now use the cursor (
) buttons, the
buttons or the
button to select the desired time at which the recording
should be split, and then confirm by pressing the
button.
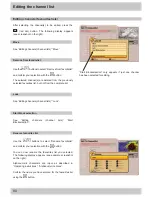
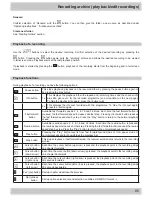
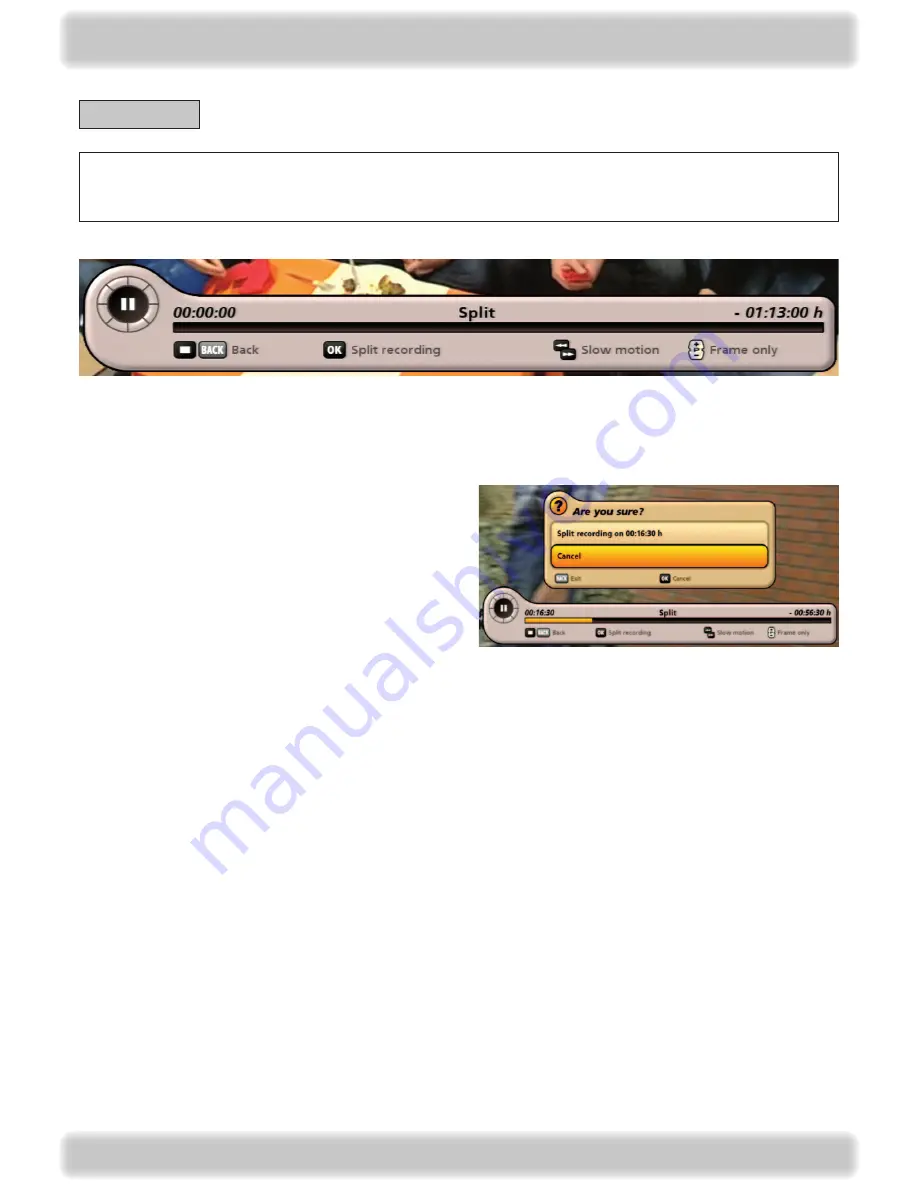
The following display appears (example):
Use the
buttons to select “Split recording on” and
confirm your selection with the
button. The receiver
will then commence the splitting operation at the time point
that you have selected.
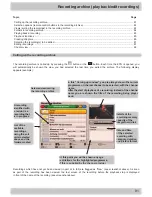
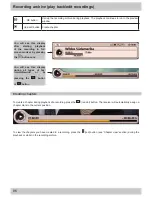
On completion of the splitting operation the receiver automatically returns to the recording archive. Both parts are given
the same name. If you want you can now call up the “Rename” edit function, as described in this chapter, to assign one
or both parts new names.
Before splitting a recording for the first time you should make a copy of the recording to be split, so that if
you make a mistake you can recover the recording. See “Copy” in the relevant paragraph of this chapter for
details.

