The Joy of Quilting with Your Long-Arm Machine
39
KathyQuilts.com
quilt, thus giving you a flared border.
2. Keep an accurate quarter inch seam while piecing.
If this is not consistent throughout, a small inaccuracy can eventually lead to great
changes in how the quilt measures.
You can use a quarter inch quilter’s foot for an accurate
guideline (some even have a guide on the edge to ensure an
exact seam), or you can place tape at your quarter inch seam
allowance on the throat of the sewing machine. Keeping an
exact quarter inch seam allowance will also help in the next
step of preparing your quilt.
3. Eliminate flared and wavy borders.
This can be a common problem especially for new quilters. If
your quilt has a flared border, it will not lay flat, thus causing
puckers and tucks as you quilt it on your frame. If you have
a quilt with flared borders, you can try to ease it flat as you
quilt over it, but it is easier to avoid the problem in the first
place as you piece the quilt, as described below.
INSTRUCTIONS FOR ATTACHING BORDERS TO A QUILT: SIDE
BORDERS:
1. Measure the length of the quilt at its center.
2. Measure the length of the quilt at each end of the
quilt.
3. You should now have three measurements. Average
these figures, giving you the average lengthwise
measurement of your quilt. If you pieced the quilt
perfectly, these measurements will all be equal.
4. Cut the two side borders of the quilt to equal the
average measurement.
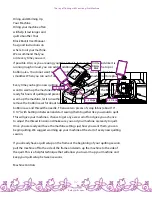
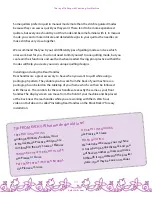
Inches
when it comes to cutting your
fabric
just remember… it’s hip to be
square!


