○
2
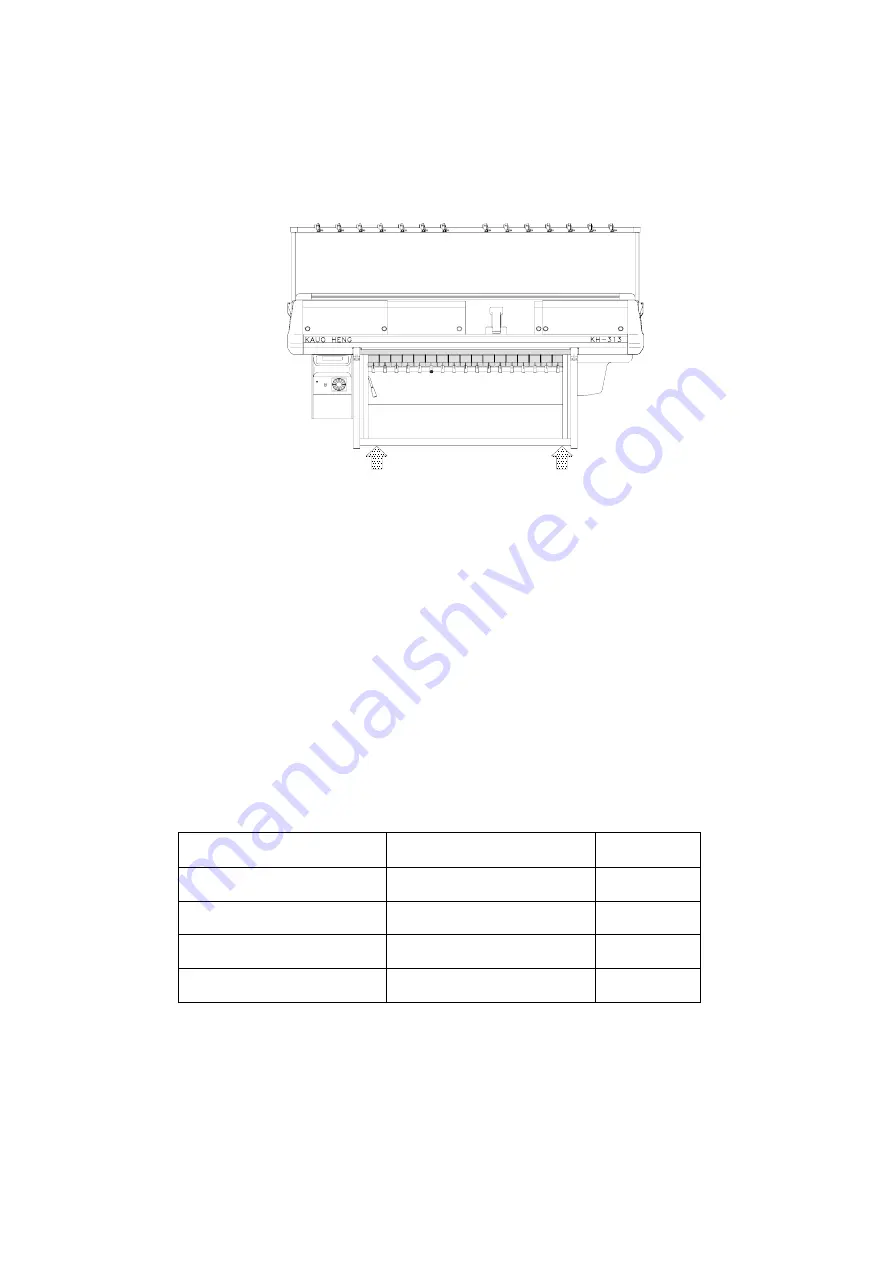
Fig.1.1 illustrates the correct position of jacking while moving the
machine. It is very important when moving the machine. The yarn
carrier rail shall never be used to push the machine since it will distort
the rail.
Fig.1.1Correct position of jacking the machine
○
3
When connecting the electric power, attention must be paid to the
correct voltage. And make sure the ground-wire connected.
2. Installation
○
1
After unpacking and locating the machine in the factory, it must be
leveled carefully with a spirit-level to avoid machine distortion in
running. We recommend the machine to be leveled with rubber peddings
for best result. Remove grease from the polished parts before starting to
operate the machine. About the moving parts must be lubricated
according to the following instruction.
Lubrication points
Lubricant
Frequency
Carriage
#
10 oil
Daily
Carrier rail
#
10 oil
Daily
Needle bed
#
10 oil
Daily
Driving parts
Hi-temp grease
Weekly
Table 2.1 Lubrication
○
2
Raise the yarn stand till the end of the tubes is leveled with the base plate,
tighten the screws and connect the plug of stop motion situated at the
left rear end.
1-2
Summary of Contents for KH-313 SERIES
Page 1: ...KAUOHENG KH 313 SERIES OPERATION MANUAL 電腦橫編織機 KH COMPUTERIZED FLAT KNITTING MACHINE ...
Page 16: ...KH 313 Fig 11 3 Command 2 All butt needle TUCK 1 13 Fig 11 4 Command 3 High butt needle KNIT ...
Page 20: ...KH 313J Fig 13 3 Command 2 All butt needle TUCK Fig 13 4 Command 3 High butt needle KNIT 1 17 ...
Page 22: ...KH 313J Fig 13 7 Command 6 Jack KNIT 1 19 Fig 13 8 Command 7 Jack TUCK ...
Page 28: ...KH 313TJ Fig 16 7 Command 6 Jack KNIT 1 25 Fig 16 8 Command 7 Jack TUCK ...
Page 29: ...KH 313TJ Fig 16 9 Command 8 Transfer of rear bed receipt of front bed 1 26 ...
Page 30: ...KH 313TJ Fig 16 10 Command 8 Transfer of front bed receipt of rear bed 1 27 ...
Page 45: ...3 6 CLEAR Clear all files Fig 3 10 Enter code No 555 2 13 ...
Page 49: ......
Page 50: ......
Page 51: ......
Page 52: ......
Page 53: ......
Page 54: ......
Page 55: ......


