background image

Instructions for use INTRA K-LUX 200 – 1.000.6717, INTRA K-LUX 200 F – 1.002.1912

5 Operation | 5.1 Connecting the motor to the supply hose

16 / 28

5 Operation

NOTE

At the beginning of each workday, the water-conducting systems should be
rinsed for at least 2 minutes (without transmission handpieces being at-
tached) and if there is a risk of contamination from reflux or back suction, the
system may also need to be rinsed for 20 to 30 seconds after each patient.

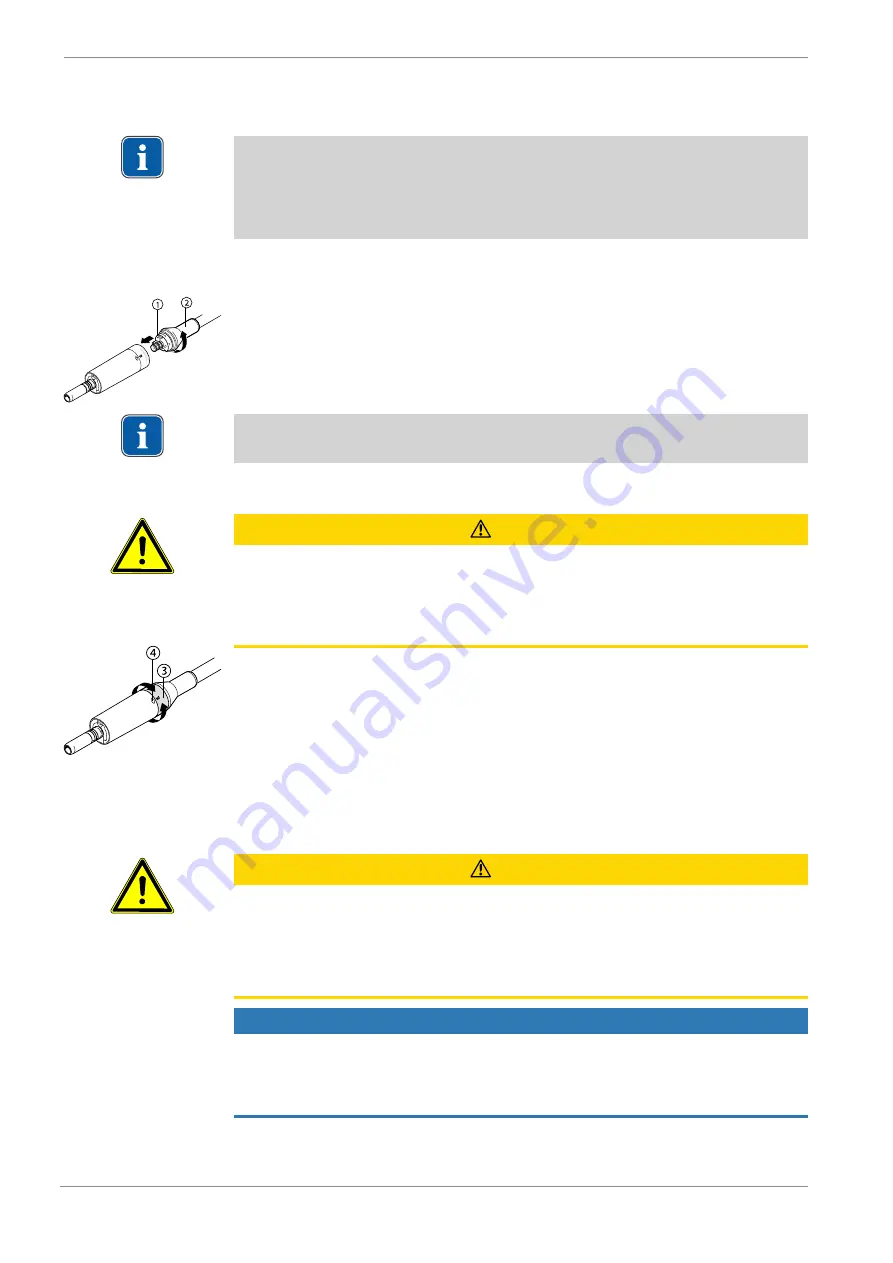
5.1 Connecting the motor to the supply hose

4

Apply a small amount of KaVo Spray to the O-rings on the supply hose.

4

Insert the plug-in connector 

 into the motor bearing end plate while noting

the position of the plug contacts.

4

Screw the screw joint 

 tightly in the direction of the arrow.

NOTE

Details on the hose coupling can be obtained from the manufacturer.

5.2 Regulating the spray water

 CAUTION

Hazard from insufficient amount of spray water.

Damage to the cog due to overheating.

4

Make sure that the motor speed is appropriate for the preparation on hand.

4

Use the requisite minimal amount of spray water.

4

Rotate the regulating sleeve 

 right or left to adjust the water portion of the

spray continuously.

ð

When the regulating ring engages, the passage is opened as much as is
possible.

5.3 Attaching an instrument to the motor

All straight and contra-angle handpieces with INTRAmatic connection according
to DIN EN ISO 3964 can be attached.

 CAUTION

Make sure that the handpiece is firmly seated on the motor.

The handpiece detaching inadvertently from the motor during treatment is a
hazard to the patient and user.

4

Pull on the instrument before each treatment to check that it is engaged
and locked in place.

CAUTION

Attaching and removing instruments during rotation.

Property damage to the product.

4

Do not attach or remove the instruments during rotation.

4

Only use reliable handpieces.

Summary of Contents for INTRA K-LUX 200 F

Page 1: ...Instructions for use INTRA K LUX 200 1 000 6717 INTRA K LUX 200 F 1 002 1912 ...

Page 2: ...Distributed by KaVo Dental GmbH Bismarckring 39 88400 Biberach Germany Phone 49 7351 56 0 Fax 49 7351 56 1488 Manufacturer KaVo Dental GmbH Bismarckring 39 88400 Biberach Germany www kavo com ...

Page 3: ...ecting the motor to the supply hose 16 5 2 Regulating the spray water 16 5 3 Attaching an instrument to the motor 16 5 4 Removing an instrument from the motor 17 6 Checking for malfunctions and troubleshooting 18 6 1 Checking for malfunctions before initial start up 18 6 2 Troubleshooting 18 6 2 1 Replacing the lamp 19 6 2 2 Replacing the O rings 19 7 Reprocessing steps in accordance with ISO 1766...

Page 4: ...any technical questions or complaints please contact the KaVo Technical service 49 0 7351 56 1000 service einrichtungen kavo com or service treatmentunits kavo com Please refer to the serial number of the product in all inquiries For further in formation please visit www kavo com Target group The instructions for use are intended for medical professionals in particular dentists and dental practice...

Page 5: ...e range Transportation and storage conditions air pressure Transportation and storage conditions Humidity Protect from moisture Keep dry Protect from impact Original language German Hazard levels The warning and safety notes in this document must be observed to prevent personal injury and material damage The warning notes are designated as shown below HAZARD In cases which if not prevented directl...

Page 6: ...Instructions for use INTRA K LUX 200 1 000 6717 INTRA K LUX 200 F 1 002 1912 1 User instructions 6 28 CAUTION In cases which if not prevented can lead to material damage ...

Page 7: ...iately before disposal 2 2 Explosion hazard Electrical sparks in the product can lead to explosion or fire 4 Do not use the product in explosion hazard areas 4 Do not operate the product in an oxygen enriched atmosphere 4 Do not use the product in the vicinity of flammable gases 2 3 Electrical shock Connecting a non KaVo system to the medical device can lead to electrical shock and injury to patie...

Page 8: ...netic fields might interfere with the functions of implanted systems such as pacemakers 4 Ask patients if they have a cardiac pacemaker or other system implanted and counsel them about the risks before you start the treatment 2 7 Accessories and combination with other equipment Use of non authorised accessories or non authorised modifications of the device could lead to injury 4 Only use accessori...

Page 9: ...p for cleaning servicing and a func tion check Define the service interval depending on the frequency of use As a result of the use of NON KaVo original spare parts during the repair parts such as covers may become undone and injure the patient user or other people This may result in aspiration swallowing of parts and possibly even a risk of suffocation 4 Only use spare parts that comply with the ...

Page 10: ...posal 10 28 2 11 Disposal This product is subject to the EC directive governing waste electrical and elec tronic devices and must be submitted to special disposal in Europe 4 For further information please contact KaVo or a specialised dental dealer Also refer to 4 Startup and shut down Page 15 ...

Page 11: ...reas at risk of explosion Intended only for dental treatment by a dental professional the product must not be modified or used for any other purpose since this may be haz ardous A medical device according to relevant national statutory regulations Proper use According to these regulations this product may only be used for the described application by a properly trained user You need to comply with...

Page 12: ...tor voltage rating 26 V DC Motor speed rating 40 000 rpm Motor torque rating 2 6 Ncm Connector Straight and contra angle handpieces with INTRAmatic connection according to DIN EN ISO 3964 4 For information about the connected loads on the device side please check with the manufacturer Media supply at motor intake Cooling air system pressure 2 5 to 4 5 bar 36 to 65 psi Amount of cooling air at moto...

Page 13: ...igh pressure lamp power max 2 5 Watt NOTE Do not exceed the specified upper voltage limit of 3 2 V DC on the high pres sure lamp Triggering of the light source LED Rated voltage of the KaVo MULTI LED lamp 3 4 V DC Voltage range of the KaVo MULTI LED lamp 3 0 3 6 V DC Maximal LED current 150 mA NOTE Do not exceed the specified upper voltage limit of 3 6 V DC on the KaVo MULTI LED lamp Ambient condi...

Page 14: ...F 1 002 1912 3 Description of the product 3 3 Transportation and storage conditions 14 28 Temperature 29 C to 50 C 20 F to 122 F Relative humidity 5 RH to 85 RH absence of condensation Air pressure 700 hPa to 1060 hPa 10 psi to 15 psi Protect from moisture Keep dry ...

Page 15: ...lso refer to 7 Reprocessing steps in accordance with ISO 17664 Page 21 Currently applicable packaging law Dispose of and recycle the packaging appropriately in accordance with current packaging law employing waste management recycling companies Comply with the comprehensive return system KaVo has had its packaging licensed for this purpose Please comply with the regional public waste disposal syst...

Page 16: ...ulating the spray water CAUTION Hazard from insufficient amount of spray water Damage to the cog due to overheating 4 Make sure that the motor speed is appropriate for the preparation on hand 4 Use the requisite minimal amount of spray water 4 Rotate the regulating sleeve right or left to adjust the water portion of the spray continuously ð When the regulating ring engages the passage is opened as...

Page 17: ...ce the instrument on the motor lightly press it against the motor while turning it in the direction of the arrow until the guide stud can be heard to lock into place 4 Pull on it to make sure that the instrument is securely attached to the mo tor 5 4 Removing an instrument from the motor 4 Pull the instrument off the motor in axial direction ...

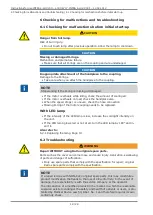
Page 18: ... check the hose connection 4 Missing O ring of the motor coupling needs to be replaced With LED lamp 4 If the intensity of the LED lamp is low increase the cold light intensity on the unit 4 If the LED lamp glows red or not at all turn the LED lamp by 180 and in sert it Also refer to 6 2 1 Replacing the lamp Page 19 6 2 Troubleshooting WARNING Repair WITHOUT using KaVo original spare parts Parts s...

Page 19: ...e mount 4 Slide the lamp into the mount To secure the lamp turn the ring mount the sleeve and engage it in place With LED lamp NOTE The LED lamp is a semiconductor element and must be operated with direct voltage only The lamp must be inserted with the poles in the correct orienta tion for the lamp to work properly Case 1 LED lamp is shining Case 2 LED lamp is shining faintly 4 Increase the cold l...

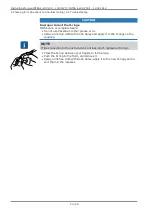
Page 20: ...lure 4 Do not use Vaseline or other grease or oil 4 Spray a lint free cloth with KaVo Spray and apply it to the O rings on the coupling NOTE If the connection to the instrument is not leak proof replace all O rings 4 Press the O ring between your fingers to form a loop 4 Push the O ring to the front and remove it 4 Spray a lint free cloth with KaVo Spray apply it to the new O rings and in sert the...

Page 21: ... in the lines This is associated with a risk of infection This results in the following requirements for the workflow at the practice 4 Rinse all withdrawal sites of the water conducting systems for 2 minutes at the start of the workday without any transfer handpieces attached 4 After each treatment of a patient purge rinse the cooling water withdrawal sites with air and or water for at least 20 s...

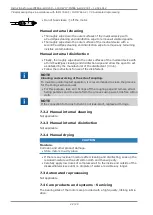
Page 22: ...leaning and servicing of the site of coupling To maintain uninterrupted operation it is recommended to clean the grooves for the O rings semi annually 4 For this purpose take all 3 O rings off the coupling peg and remove all ad hering particles and lime scale from the grooves using a wet lint free cotton cloth NOTE If the connection to the instrument is not leak proof replace all O rings 7 2 2 Man...

Page 23: ... oil cleanser and disinfectant can penetrate into the motor and cause it to malfunction 4 Please make sure to always follow the care instructions supplied with the in struments 4 Press the button while pulling off the sleeve in the direction of the ar row 4 Wipe off the inside and outside of the sleeve with a wet cloth once a week 4 Wipe off the outside of the motor without the sleeve using a dry ...

Page 24: ...664 1 ISO 17664 2 7 6 Sterilisation 24 28 7 6 Sterilisation This product is not designed for sterilisation NOTE Only the removable motor sleeve can be sterilised in an autoclave at up to 135 C 7 7 Storage Reprocessed products must be stored appropriately protected from dust in a dry dark and cool space with a low germ level ...

Page 25: ...12 8 Consumables 25 28 8 Consumables Available from specialised dental dealers Material summary Mat no High pressure lamp sterilisable 1 002 2928 KaVo MULTI LED lamp 1 007 5372 O ring 8 3x0 68 0 200 6120 Airflow measuring tube 0 411 4441 SET micro motor O ring set 1 010 7025 ...

Page 26: ...e liable for defects and consequences thereof that have arisen or may arise from natural wear improper handling cleaning servicing or main tenance non compliance with operating maintenance or connection instruc tions calcination or corrosion contaminated air or water supplies or chemical or electrical factors deemed abnormal or impermissible in accordance with the KaVo instructions for use or othe...

Page 27: ......

Page 28: ...1 001 1050 bd 20230801 05 en ...

Reviews: