14
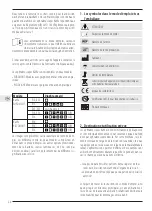
3. Safety rules / contraindications
• Before each use, please check whether the ophthalmoscope
is operating properly. Do not use the device in case any
damage is detected.
• Ensure the ophthalmoscope is protected from moisture.
• Avoid direct contact of the ophthalmoscope with the visual
organ.
• If the light is on for a long time, the areas around the lamp
may become hot.
• KaWe ophthalmoscopes are not intended for use during
surgery.
• Use only KaWe MedCentether 5000 wall-mounted station for
power supply of KaWe EUROLIGHT E25 head.
• Do not use the device in areas subject to strong magnetic
fields (MRI systems).
• When handling ophthalmoscopes - as with all
energy-consuming diagnostic devices - special
electromagnetic compatibility (EMC) precautions must be
observed.
• The performance of ophthalmoscopes can be affected by
mobile high-frequency communication devices.
• Only original spare parts and accessories from KaWe may be
used.
In case of a malfunction, a large amount of heat
can be generated, resulting in an increased risk of
fire. In case of strong heat, turn off the handle.
4. Installation and maintenance
When handling the instrument, it is necessary to take into ac-
count that the examiner must bring his eye as close as possible
to the instrument. Due to the lateral illumination of the patient‘s
fundus area and the approach to a maximum distance of 2-3 cm,
diagnostics can be carried out without drugs.
Duration of operation
The devices are not intended for continuous operation, the ma-
ximum duration of one use is 1 minute with a 10 minutes pause
between uses.
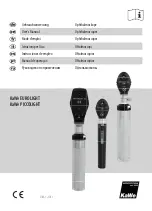
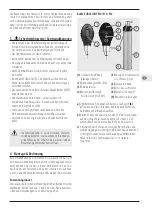
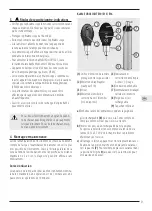
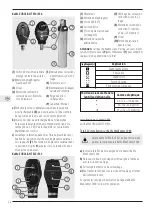
KaWe EUROLIGHT E10/ E15/ E16
a)
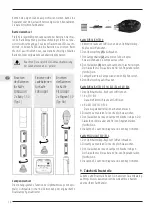
Place the ophthalmoscope head on the handle with battery
(8)
and secure it with the screw. Consider the location of the
holes on head for securing the screw.
b)
Insert batteries or accumulator into the handle. Observe the
polarity and the lamp voltage (2.5 or 3.5 V)! For detailed
information see Section 8: Maintenance and Service.
c)
Switching on is carried out by pressing the white switch with
fixing the on position and moving the light regulator to the
left
(7)
. To switch off, move the light regulator to the initial
position
0
(until it clicks!). Brightness can be adjusted
smoothly.
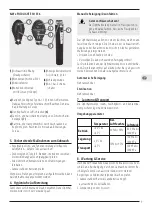
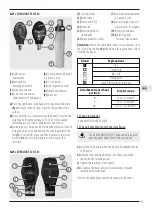
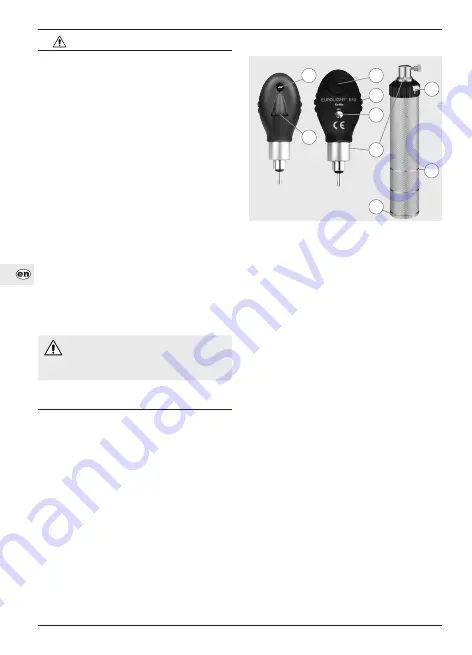
8
7
3
4
6
5
1
9
2
(1)
Light outlet (dustproof)
(2)
Blend wheel
(except E10 model)
(3)
Inspection window
(4)
Correction lens wheel
with 18 lenses (± 20 diopters)
(5)
Correction value indication
(+) black; (-) red
(6)
Plug connector
(7)
Light regulator on/off
(8)
Handle with battery
(9)
End cover
Summary of Contents for EUROLIGHT E10
Page 3: ...Deutsch English Fran ais Italiano Espa ol Portugu s 5 11 12 18 19 25 26 32 33 39 40 46 47 53...
Page 53: ...53 11 KaWe UDI DI 4030155KaWe0102YT...
Page 54: ......
Page 55: ......

