background image

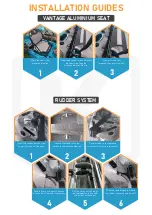
INSTALLATION GUIDES

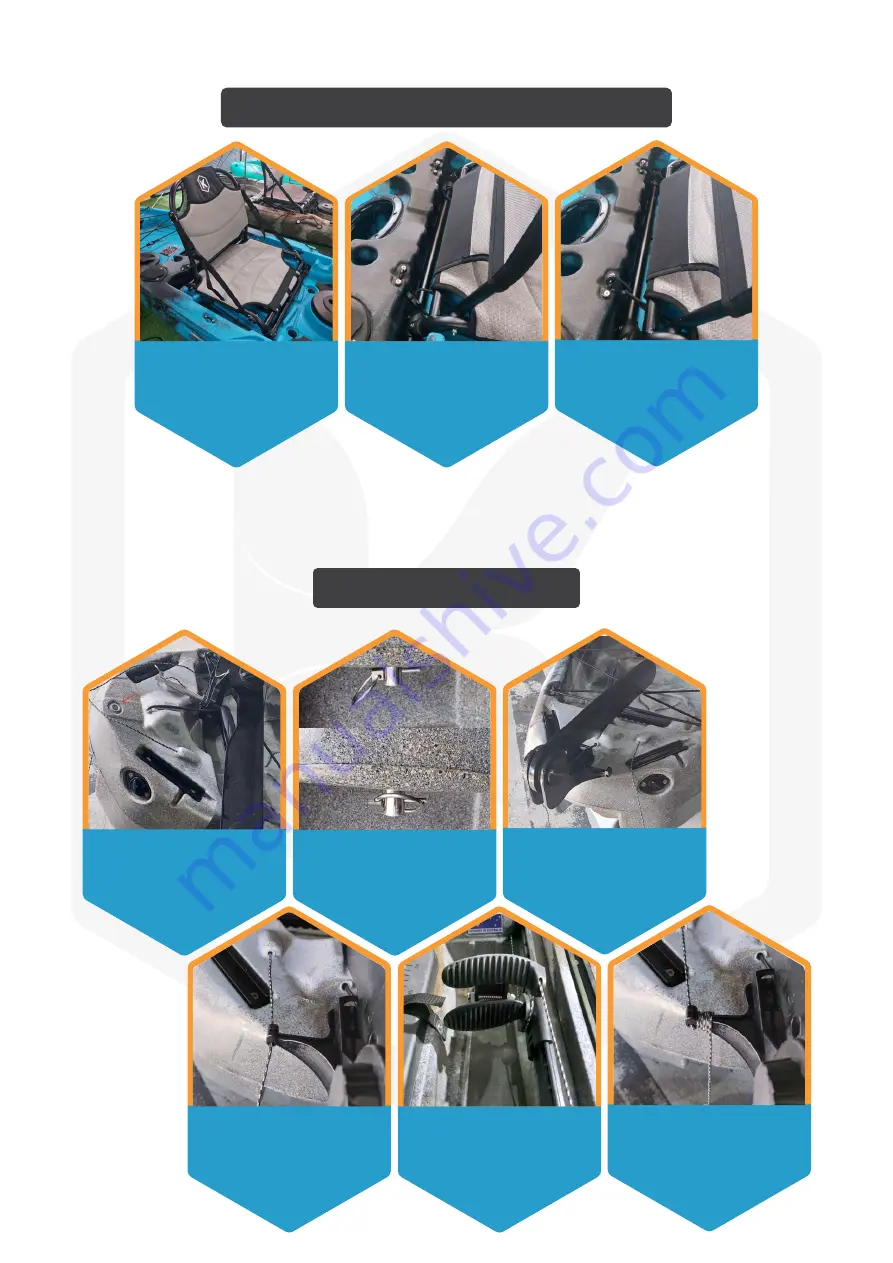
Place the seat in the

allocated grooves.

Using the bungee cord underneath

the seat strap, loop the

bungee cord over the clip.

1

2

Connect to the rear

eyehooks to secure the seat

3

Insert the rudder into the steel

ring at the back of the kayak. 

Secure the rudder onto the

back with the included steel pin.

1

2

Set the rudder into the groove

to ensure it is sitting in the center.

3

Feed the cord through the hole on

either side of the rudder assembly.

Pull the cord until the top of

the foot pedal is in line with

the bottom of the pedal.

4

5

Wrap the remaining cord around

the rudder assembly and tie it off.

6

VANTAGE ALUMINIUM SEAT

RUDDER SYSTEM

Summary of Contents for NEXTGEN10 MK2

Page 1: ......

Page 2: ...trap 5 Toggle Handles 5 Inbuilt rod holders 5 Rear Bungee cord 5 Installation guides 6 Important things to check before you go kayaking 8 Kayaking checklist 9 Vantage Aluminium seat 6 Rudder system 6...

Page 3: ...cks 11 Kayaks2fish Universal Kayak carrier 11 Stacking 11 Maintenance 12 Washing your kayak 12 Warped plastic 12 Give Your Kayak a Check up 12 Storage solutions 13 Basic Safety Tips for Kayaking 14 Ho...

Page 4: ...esigned to provide increased balance when standing and comes standard with the traction pads Trimaran hybrid hull which is much more stable than the V shaped hull of the Nextgen 9 and Osprey kayaks Th...

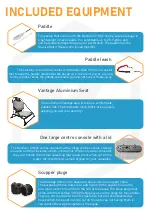
Page 5: ...quickly keeping you and your seat dry Scupper plugs The drainage holes in the kayak are also known as scupper holes The purpose of these holes is to add rigidity to the kayak s hull and to also allow...

Page 6: ...e NextGen 10 MK2 fishing kayak comes with two comfortable toggle handles which make carrying or using the Sit On Top kayak trolley much easier Rear Bungee cord The NextGen 10 MK2 fishing kayak comes w...

Page 7: ...ring at the back of the kayak Secure the rudder onto the back with the included steel pin 1 2 Set the rudder into the groove to ensure it is sitting in the center 3 Feed the cord through the hole on...

Page 8: ...der tube into the mounting base and turn until it locks in To swivel the rod tube just lift the tube slightly and twist PADDLE LOCK Here is a YouTube video demonstrating To tighten the paddle lock Twi...

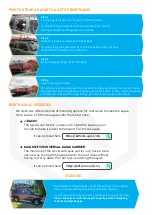
Page 9: ...lace the kayak on the side Step 4 Insert the scupper poles as far as they can go into the scupper holes Step 5 Turn the kayak the right way up Step 6 Strap the kayak down to the Sit On Top trolley WAR...

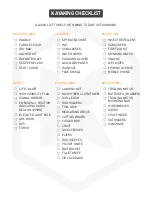
Page 10: ...WATER SNACKS WET WIPES FISHING LICENSE MOBILE PHONE SAFETY LIFE JACKET HIGH VISIBILITY FLAG SIGNAL MIRROR EMERGENCY POSITION INDICATING RADIO BEACON EPIRB ELEVATED LIGHT POLE AIR HORN GPS TORCH FISHIN...

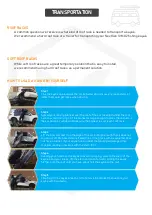
Page 11: ...nder the roof bars to avoid it moving or if the blanket is large enough to close the corners in the car doors or windows Make sure the blanket is over each roof rack Step 3 Lift the bow and rest it on...

Page 12: ...Finally pull the straps to take up the slack We stock two different kinds of mounting options for roof racks to make the kayak more secure or fit more kayaks onto the roof at once J RACKS The typical...

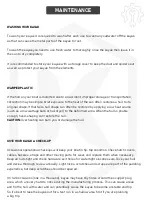
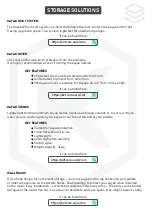
Page 13: ...deformed area When the hull is pliable enough hand shaping can restore the hull CAUTION Overheating can burn you or damage the hull GIVE YOUR KAYAK A CHECK UP Occasional operational checkups will kee...

Page 14: ...paddle or other accessories on the bottom hooks Foam padding to protect your kayak when mounted on the racks Easy installation screwdriver required Fold away arms The arms can be folded flat against t...

Page 15: ...techniques water safety and basic first aid Brush up on self rescue first in calm warm shallow water and again in more extreme conditions Most importantly WEAR YOUR FLOTATION DEVICE Australian regula...

Page 16: ...ur paddle as it will be your only means of moving You can get into a tricky situation if it floats away Kicking your legs to provide thrust push your torso onto the upturned kayak of the kayak and use...

Page 17: ...n need to run the wiring up the hole which is located in front of the long hatch then screw the transducer wiring into the fish finder Please note When installing the transducer please ensure the righ...

Page 18: ...up in the NextGen 10 The NextGen 10 MK2 kayaks have a dedicated stand up area that is purposely designed to provide increased balance when standing The kayak can be paired with the traction pads for...

Page 19: ...s two seat height adjustment levels Higher seating is beneficial for sight fishing activities and more comfortable for the knees Lower seating lowers the kayak s centre of gravity which increases stab...

Page 20: ...322 02 4047 5340 BRISBANE COORPAROO 4151 07 2101 2968 SYDNEY WETHERILL PARK 2164 02 8379 5333 MELBOURNE CAMPBELLFIELD 3061 03 8579 0979 ADELAIDE PORT ADELAIDE 5051 08 7009 4818 PERTH NAVAL BASE 6165 0...

Reviews: