


DESCRIPTION
• Stopwatch with precision of 1/100 seconds and split
time.
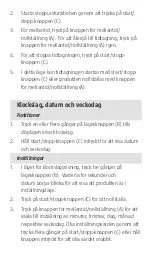
• Display of time, date and day of the week.
• 12 or 24 hour display
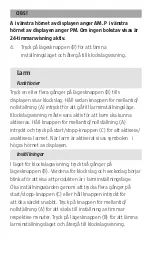
• Alarm.
• Hour signal.
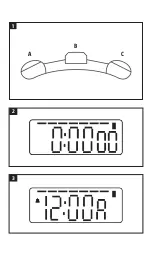
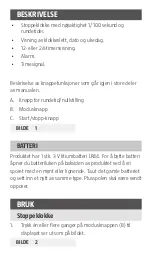
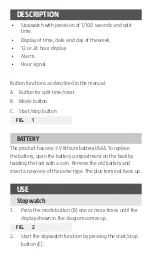
Button functions as described in the manual.
A. Button for split time/reset
B. Mode button
C. Start/stop button
FIG. 1
BATTERY
The product has one 3 V lithium battery LR44. To replace
the battery, open the battery compartment on the back by
twisting the lock with a coin. Remove the old battery and
insert a new one of the same type. The plus terminal faces up.
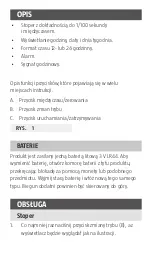
USE
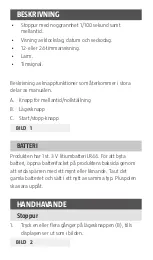
Stopwatch
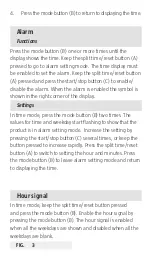
1. Press the mode button (B) one or more times until the
display shown in the diagram comes up.
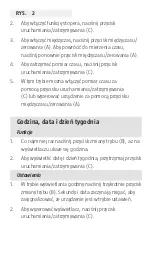
FIG. 2
2. Start the stopwatch function by pressing the start/stop
button (C).
Summary of Contents for 003-234
Page 4: ...1 2 3 A B C...


