Thrulink Operations Manual
THRULINK TUNNEL SET UP (CONTINUED)
C.
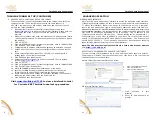
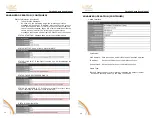
PROCEDURES TO CONFIGURE SET UP FOR TUNNEL
To access the GUI, connect an Ethernet cable to the LAN port and verify the
computer’s static TCP/IP configuration is set to the same subnet (ie,
192.168.1.xxx where xxx= any number between 1 and 254 other than 10
which is the ThruLink default)
1.
Open Mozilla® Firefox or Microsoft® Internet Explorer and enter
https://192.168.1.10
to reach the internal GUI interface. Please note, you
must enter the “https” in order to access the secure web browser
interface.
2.
Accept the certificate, then enter the default user ID and password (admin
/ admin) when prompted. For questions on the security certificate, please
see page 10
3.
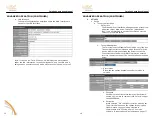
Click on “SET UP”
4.
Click on “DISABLED” under “System Configuration” next to TUNNEL MODE
5.
Click “SERVER” from listed options.
6.
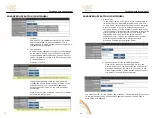
Configure WAN IP address, netmask and gateway as described on page 8
7.
Choose a port from one of the preset configurations or choose a custom
port.
8.
Under LAN Configuration, leave IP as 192.168.1.10 unless that IP is
already taken on the local area network.
9.
Click SAVE and then reboot device.
10.
Connect second ThruLink device and access its LAN IP on its default
setting (
https://192.168.1.10
)
11.
Click on “SET UP”
12.
Click on “DISABLED” under “System Configuration” next to TUNNEL MODE
13.
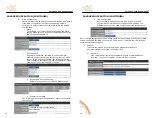
Click “CLIENT” from listed options.
14.
Verify PASSWORD matches the preshared key of the Server
15.
Enter Server WAN Setting (or public WAN IP at Server location) as
Primary Server IP and verify port matches the Server port used.
16.
Under LAN Configuration, change IP to another available IP on the same
subnet as the Server (other than the Server LAN IP).
17.
Click SAVE and then reboot device.
Visit
www.thrulink.net/TLV2
to view a brief web tutorial
for 2 minute KBC ThruLink tunnel set up procedure
9
Thrulink Operations Manual
ADVANCED OPERATION
WEB BROWSER INTERFACE
Each ThruLink has a web browser interface to access the advanced setup functions.
If changing advanced settings, be sure to connect to and power the units individually.
To access this interface, connect the device to the Ethernet port on a computer,
launch the web browser and type in the default IP address at https://192.168.1.10.
Please note that the “s” must be included as the IP alone or along with http:// will
not access the interface. The configuration of the computer used to access the unit
may need to be changed depending on its IP settings. The IP address of the
computer should be set to 192.168.1.xxx. The xxx setting can be any address 2 –
254 excluding 10 or any other IP address(s) you wish to use for a ThruLink on that
subnet (or Encoder/Decoder/WES Mesh product if applicable). The Subnet mask
should be 255.255.255.0. If you have any questions or concerns about changing
these settings, please contact your network administrator.
Note: The GUI interface is only accessible via a secure web browser address
(i.e,
https://192.168.1.10
)
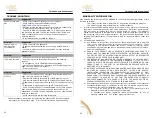
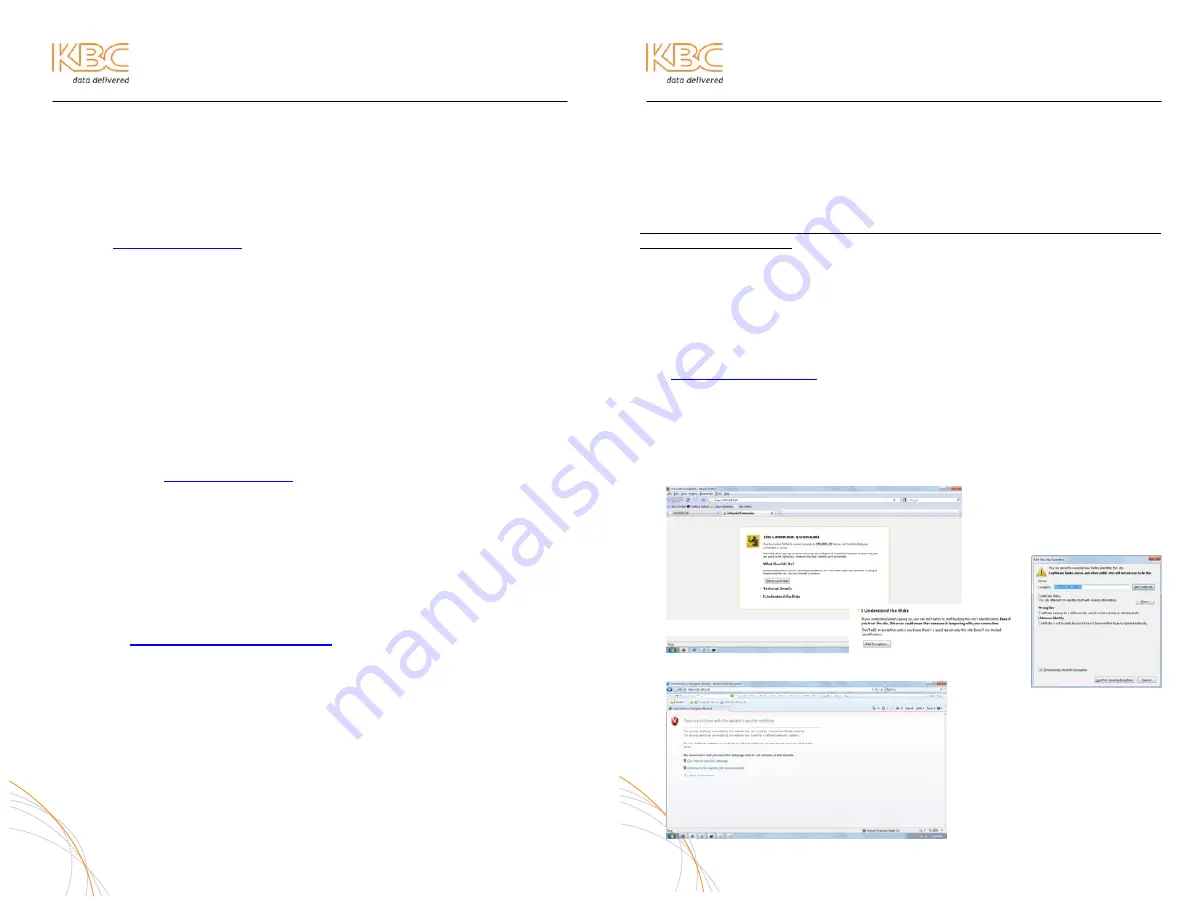
ACCEPTING THE WEB BROWSER SECURITY CERTIFICATE
In order to reach the ID/password log in, the web browser must ensure its security.
The browser will believe that the connection is not safe but it is OK to accept the
certificate and access the interface.
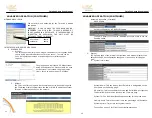
Mozilla Firefox (Recommended Browser) Users:
1.
Click “I Understand the Risks”
2.
Click “Add Exception”
3.
Click “Confirm Exception”
MS Internet Explorer Users:
1.
Click “Continue to this
Website”
2.
Enter ID and password at
prompt
10
1
2
3
1


