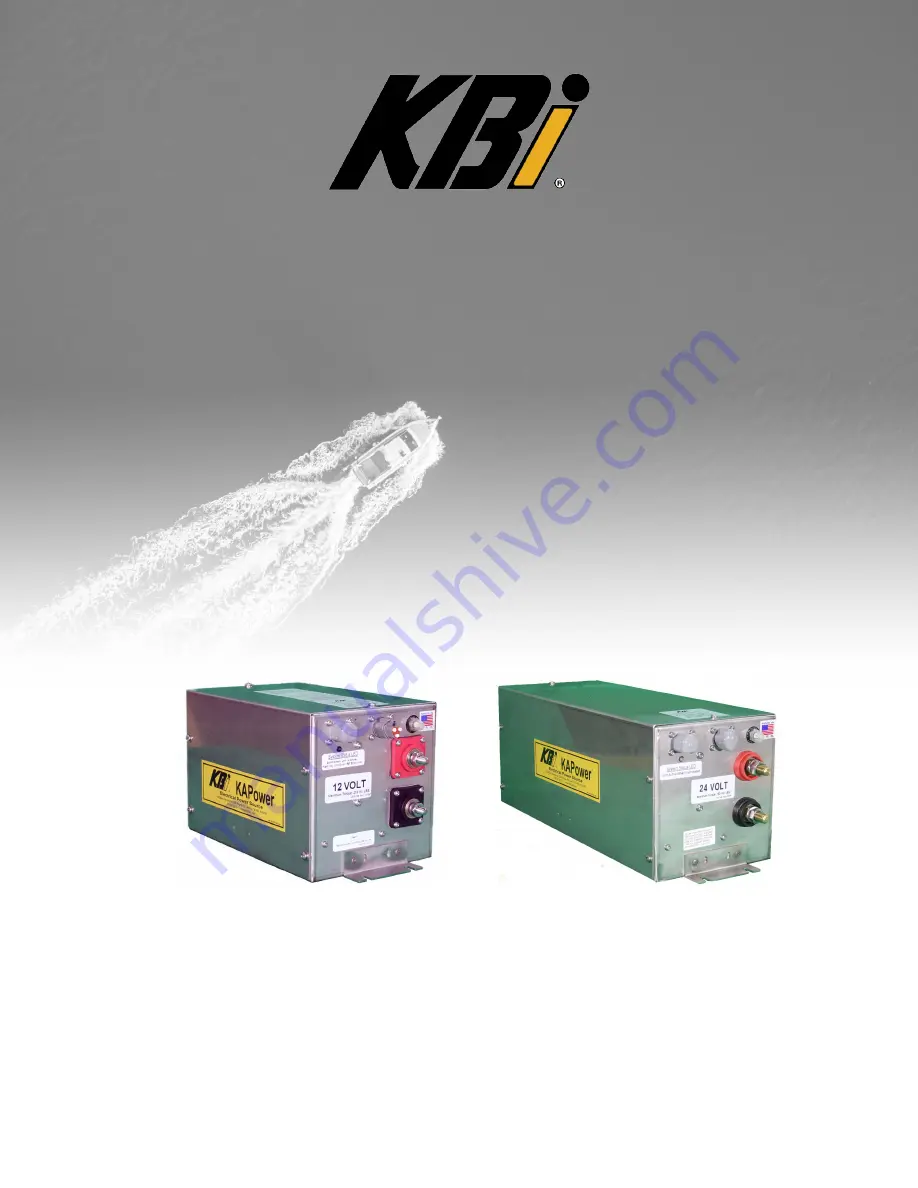
background image


KBI®


KAPower®


© 2020 KBI Form #131498


KAPower Starting Module  

MKSM Models 


INSTALLATION – OPERATION MANUAL 

Gen 3 (12 Volts or 24 Volts) 


KBI/Kold-Ban International, Ltd.


8390 Pingree Road, Lake In The Hills, Illinois 60156-9637 U.S.A.


(800) 527-8278, (847) 658-8561, Fax (847) 658-9280, www.koldban.com


ATA VMRS - T44 KLDBN 


Summary of Contents for KAPower MKSM Series

Page 1: ...ng Module MKSM Models INSTALLATION OPERATION MANUAL Gen 3 12 Volts or 24 Volts KBI Kold Ban International Ltd 8390 Pingree Road Lake In The Hills Illinois 60156 9637 U S A 800 527 8278 847 658 8561 Fax 847 658 9280 www koldban com ATA VMRS T44 KLDBN ...

Page 2: ...lt in equipment damage and or equipment failure KBI Kold Ban International Ltd accepts no responsibility or liability for any of its products that are improperly used The safety information in this manual is provided as a guide for the user and is not a substitute for proper training and usage NOTE The information contained in this document is copyright and patent protected This document may not b...

Page 3: ...ETER HARNESS 33 10 0 LIMITED WARRANTY 34 Table 1 Specifications 7 Table 2 LED Flash Sequence 31 Figure 1 Parts List Items 4 Figure 2 Typical Cable Installations 10 Figure 3 Six 6 Cell KSM 11 Figure 4 Ten 10 and Twelve 12 Cell KSM 12 Figure 5 General Wiring Installation 15 Figure 6 Standard MKSM Schematic 17 Installation Variation 1 For Boats using a Push button or Key Switch for Single Engine Star...

Page 4: ...e Section 4 1 for cable recommendations 2 Terminals for battery cable 3 Torque wrench with inch socket or 11 16th depending on MKSM model 4 Minimum 16 gauge wire for harnesses MKSM Enclosure DPST Rocker Switch IP 67 Rated Figure 1 Parts List Items NOTE Not all scenarios and installation methods are covered in this document If your application does not match any identified in this document please c...

Page 5: ...er is not a high voltage device It supplies the same amount of voltage as its charge A charged module should be treated as a fully charged battery Do not short circuit KAPower module terminals Burning or igniting of combustible materials adjacent to the point of short circuit may result from a short circuit Do not place any conductive objects or materials across terminal posts In case of accidenta...

Page 6: ... one million cycles 3 3 The KAPower Module The KAPower module which is housed within the MKSM enclosure represents an internal bank of 6 10 or 12 capacitor cells series connected to each other 3 4 Electrochemical Double Layer Capacitor EDLC An Electrochemical Double Layer Capacitor represents a device capable of storing and delivering electric power This is due mainly to the existing capacitance o...

Page 7: ... 5 mA 4 5 mA Operating Conditions Operating Temperature Range 40 149 F 40 65 C 40 149 F 40 65 C 40 149 F 40 65 C 40 149 F 40 65 C Cycle Life 1 000 000 1 000 000 1 000 000 1 000 000 Dimensions and Weight Length x Width x Height IN 14 79 x 7 75 x 8 19 44 x 7 75 x 8 19 44 x 7 75 x 8 19 44 x 7 75 x 8 Length x Width x Height MM 375 7 x 196 8 x 203 2 493 8 x 196 8 x 203 2 493 8 x 196 8 x 203 2 493 8 x 1...

Page 8: ... cable available For 24 volt and 10 cell units use at least 2 0 with 4 0 being recommended A six cell 12 volt unit may use 4 gauge to 2 0 cables 3 Keep cable length to an absolute minimum The circuit resistance increases with cable length 4 Ensure that the cable termination connections terminals are properly crimped and ensure that the holes in ring terminals match the size of the studs over which...

Page 9: ...khead or other location without backside acsess other fasteners such as suitably sized self tapping screws can be used When selecting a location for installation make sure that the MKSM module and cables will clear any hoods hatches lids covers and other movable vehicle vessel or equipment parts Avoid locations that are subject to extreme heat dripping water humidity road dirt ice and snow While t...

Page 10: ...10 Figure 2 Typical Cable Installations ...

Page 11: ...11 Figure 3 Six 6 Cell MKSM Material Shell 16ga SS 304 2B Cover 18ga SS 304 2B Weight 21 5lb 9 75Kg ...

Page 12: ...12 Figure 4 Ten 10 and Twelve 12 Cell MKSM Material Shell 16ga SS 304 2B Cover 18ga SS 304 2B Weight 32 5lb 14 75kg ...

Page 13: ...d the KAPower Module is running parallel with the vehicle vessel or equipment batteries and electrical system Pressing the DPST switch closes the contactor inside the MKSM enclosure using power from the KAPower module regardless of the state of charge of the vessel or equipment s batteries Pressing the DPST switch also engages the cranking motor circuit just as if the key switch to the crank start...

Page 14: ...d Anytime the LED Status Indicator is illuminated the contactor is closed In a typical engine starting event the LED will illuminate during engine cranking and then go out for several seconds after the engine has started The LED will then illuminate again and could remain illuminated for several seconds based on the condition of the KAPower module The LED may even begin to cycle depending on the v...

Page 15: ...15 Figure 5 General Wiring Installation Engine Start Signal Input CONNECTORS LOCATED ON THE END FACEPLATE OF THE MKSM ENCLOSURE ...

Page 16: ...eeds power approximately 2 5 amps from a source such as a key switch that provides power only when the vehicle or boat is in operation Consider this additional 2 5 amps of power and how it may influence the source This new circuit should be protected with a 5 amp fuse or circuit breaker per ABYC standards in marine applications 5 Wire the DPST switch by replacing the existing vehicle vessel or equ...

Page 17: ...17 Figure 6 Standard MKSM Schematic MKSMXXX00 Models ...

Page 18: ...rporates key switch starting no rocker switch or push button replacement switch is required NOTE If the OEM engine manufacturer or the boat builder reviews the KBI MKSM Theory of Operation page 13 14 and the requirements for DPST type functionality then incorporating the DPST type function and engineering it into the factory build key switch should be no problem However when installing a MKSM on a...

Page 19: ...gure A1 Example of existing key switch Figure A1 Typical Boat Key Switch Schematic For use with MKSMXXX00 Models S Terminal Power To Pin 3 of MKSM Note See figure A2 for alternate source Note An emergency start button Can be installed at pins 1 and 2 See note on page 18 Power to the MKSM pin 4 For whenever the key is on and the boat is in operation ...

Page 20: ...arting event The power is also supplied to Pin 3 of the MKSM bringing the MKSM online to supply engine starting power Figure A2 Schematic Alternate Source for Start Signal For use with MKSMXXX00 Models S terminal power to pin 3 of KSM can be taken directly from starter Engine 1 ...

Page 21: ...t of that DPST switch simply provides the same function as the existing push button or rocker start switch on the vessel There is no change to functionality The other side circuit of the DPST switch turns on the capacitor providing power to the engine s vessel s electrical circuit regardless of lead acid battery condition The capacitor the MKSM circuit does not actually engage the starter motor Th...

Page 22: ...tery are shown for reference only Not all installations require or use house batteries but in such a scheme the house battery could also be used for emergency power Figure B1 Multiple Engine Option For use with MKSMXXX02 Models Note All Grounds Commons ...

Page 23: ...Power to the MKSM pin 4 For whenever the key is on and the boat is in operation Existing push button Or rocker switch connection Start Connection 2 Existing push button Or rocker switch connection Start Connection 1 Note Multiple DPSTs can be used wired parallel to the MKSM one for each engine ...

Page 24: ...24 Figure B3 Standard DPST Install For use with MKSMXXX02 Models Note Multiple DPSTs can be used wired parallel to the MKSM one for each engine ...

Page 25: ...vation is not an option Instead you will be using power to activate the MKSM from the engine s starter motor S terminal circuit If the OEM engine manufacturer or the boat builder reviews the KBI MKSM Theory of Operation Pages 13 14 and the requirements for DPST type functionality then incorporating the DPST type function and engineering it into the factory build should be no problem However when i...

Page 26: ... For use with MKSMXXX01 Models Connector Input Signal from Each Engine Starters S Terminal Pin A Engine 1 Start Signal Pin B Engine 2 Start Signal Pin C Engine 3 Start Signal Pin D Engine 4 Start Signal Pin E Engine 5 Start Signal ...

Page 27: ...how it may influence the source This new circuit should be protected with a 5 amp fuse or circuit breaker per ABYC standards Figure C2 Power Sources for MKSM Pin 4 and Emergency Start Button For use with MKSMXXX01 Models Note An emergency start button Can be installed at pins 1 and 2 See note on page 25 Power to the MKSM pin 4 for whenever the key is on and the boat is in operation Ignition Circui...

Page 28: ...28 Figure C3 Multiple Engine MKSM Schematic For use with MKSMXXX01 Models ...

Page 29: ...ing supplied from both the MKSM capacitor module and the standard battery ies 6 Once the engine starts the MKSM internal PLC module will be active keeping the contactor closed when required allowing the KAPower module to recharge NOTE If the vehicle vessel or equipment s batteries are completely discharged if the battery is dead it may be necessary to keep the DPST switch or emergency start button...

Page 30: ... see Section 4 3 Theory of Operation ensure that all wiring and connections are in accordance with the instructions within this manual Check the integrity of the DPST switch and the power supply to the PLC sourced from the engine ignition switched when ON wiring harness you created 2 This LED is also an indicator for how the MKSM is functioning The LED is connected in parallel with the contactor a...

Page 31: ... voltage is present the circuit is good The voltage reading is the actual KAPower module voltage and should be at least 12 volts for the 24 volt models and 6 volts for the 12 volt models in order to activate the contactor 3 Jump pins 1 and 2 on the four pin connector the contactor should activate and make a clunk sound If not contact KBI for assistance 4 If experiencing problems check the integrit...

Page 32: ...n system in regions having moderate or cold weather conditions Climate control systems are not required The required storage temperature range is 76º to 158ºF 60º to 70ºC 8 0 TRANSPORTATION The KAPower MKSM modules can be shipped in approved corrugated cardboard wooden or plastic containers For more information on transportation contact KBI CAUTION ...

Page 33: ...ector from the vehicle or vessel Connect the eyelet over the existing ground connection on the negative post of the MKSM A voltmeter can then be installed at the butt splices coming from the Weather Pack connector Note Not all KSM models can use external voltmeter contact KBI for details Note The meter you use may be digital or analog however it MUST be activated only with a momentary on switch or...

Page 34: ...ermines the product to be defective under the terms of this warranty it will be replaced without charge Failure due to accident abuse neglect use other than in the intended application specified in this manual improper installation or maintenance mishandling and repairs or attempted repairs which have been made by others are not covered under the terms of this warranty Kold Ban International Ltd s...

Reviews: