background image

23


2 4 4 1 2   M a i n   S t .   S u i t e   1 0 5 ,   C a r s o n ,   C A   9 0 7 4 5  


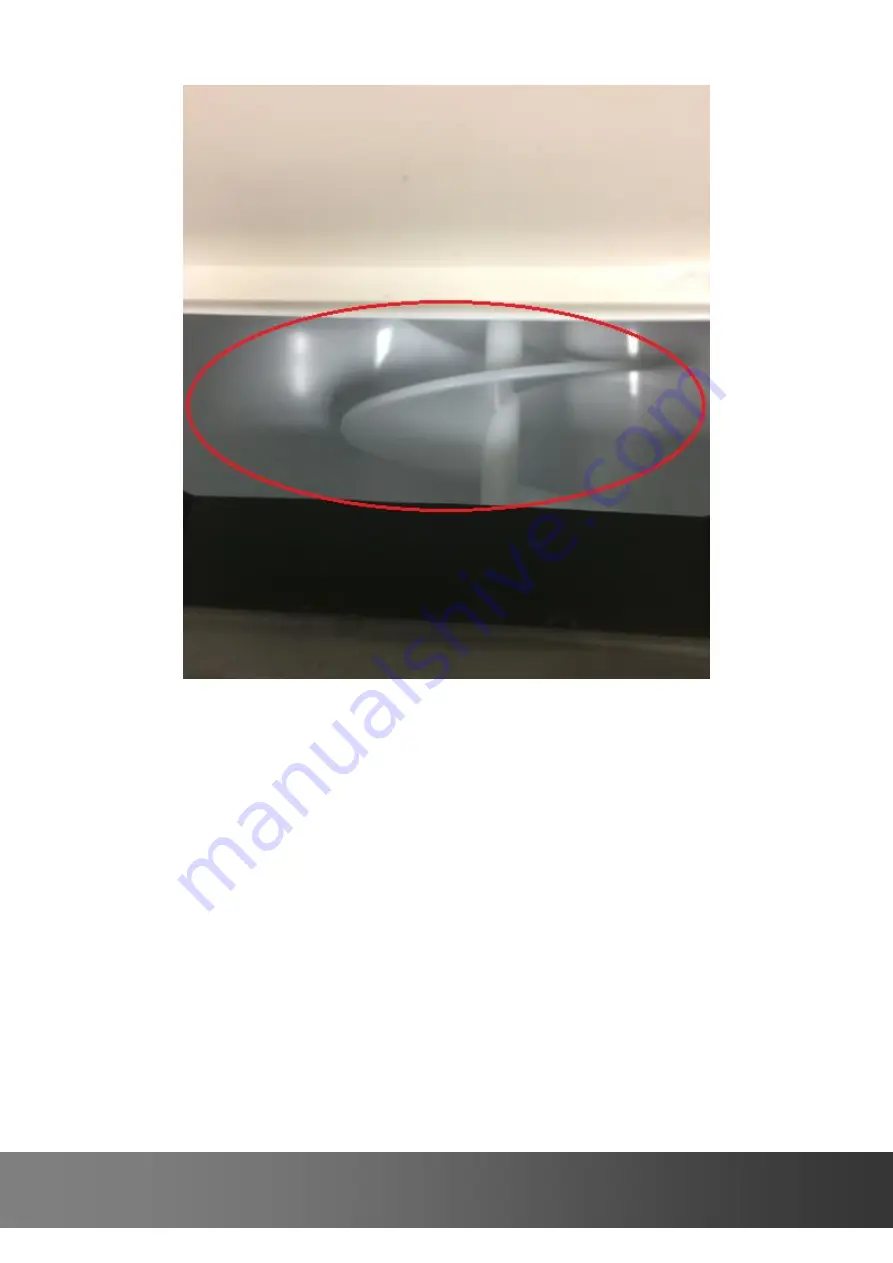
Check if any items are left inside the bin. 


Summary of Contents for FDFM1JA01

Page 1: ...r i d a a p p l i a n c e s c o m S E R V I C E I N S T R U C T I O N S P o r t a b l e N u g g e t I c e D i s p e n s e r F D F M 1 J A 0 1 Contact customer service at 800 433 9938 or info fluridaa...

Page 2: ...efective a Press Make Nuggets button once to start b Check the clearance requirements c Check the location requirements d Fill the water reservoir with clean potable water e Press and hold the Make Nu...

Page 3: ...rs and hook them back to the unit How to empty the ice bin and water reservoir Dispense ice until no more ice comes out of the ice dispense point Drain water following instructions above 1 If the Wate...

Page 4: ...ng slowly it takes 30 minutes to complete and the Clean LED goes off Press the Make Nuggets button once to start making ice 4 If all LEDs flash simultaneously and water is filled to MAX WATER FILL Dra...

Page 5: ...n Section 2 Fill the water reservoir with 12 teaspoons of food grade citric acid powder Fill the water reservoir with clean potable water to MAX WATER FILL Mix them well Plug the unit into power You w...

Page 6: ...er to MAX WATER FILL Plug the unit into power You will hear 5 beeps if the reservoir is full Press and hold the Clean button for 3 seconds to start the cleaning cycle for rinse process Press and hold...

Page 7: ...t 33 8201000187 Vertical Bracket Left 32 8205000158 Ice Engine Motor 31 8204000065 Condenser 30 8105000009 Condenser Fan 29 8201000189 Motor Plate 28 8204000064 Compressor Assy 27 8201000191 Bin Brack...

Page 8: ...16 8202000202 Housing 15 8202000201 Right Panel 14 8205000163 Ice Bin Motor 13 Ice Bin Assy 12 8202000191 Ice Bin Auger 11 8202000190 Ice Bin Lid Assy 10 8202000185 Cover Control Box 9 8202000199 Ice...

Page 9: ...s on the left and right brackets horizontal and vertical brackets and feet 3 Electrical Inspect damages or defects on the power cord pump wires and control box 4 Waterway Inspect cracks connections or...

Page 10: ...and then dispense all ice Fill water to MAX FILL wait for 1 hour and then press and hold Make Nugget to stop making ice Dispense all ice and weight it 8 Issues Water leaks from the unit Water Level LE...

Page 11: ...11 2 4 4 1 2 M a i n S t S u i t e 1 0 5 C a r s o n C A 9 0 7 4 5 REPAIR INSTRUCTIONS Remove 10 self tapping screws on the back panel Remove the back panel...

Page 12: ...1 2 12 i n f o f l u r i d a a p p l i a n c e s c o m Pop the top panel off...

Page 13: ...13 2 4 4 1 2 M a i n S t S u i t e 1 0 5 C a r s o n C A 9 0 7 4 5 Remove 4 machine screws on the top left right sides Pull the left right panels backwards to remove them...

Page 14: ...1 4 14 i n f o f l u r i d a a p p l i a n c e s c o m...

Page 15: ...15 2 4 4 1 2 M a i n S t S u i t e 1 0 5 C a r s o n C A 9 0 7 4 5 Remove 5 self tapping screws on the cover Remove the cover...

Page 16: ...1 6 16 i n f o f l u r i d a a p p l i a n c e s c o m The cover has been removed...

Page 17: ...17 2 4 4 1 2 M a i n S t S u i t e 1 0 5 C a r s o n C A 9 0 7 4 5 Remove 3 self tapping screws on the reservoir...

Page 18: ...1 8 18 i n f o f l u r i d a a p p l i a n c e s c o m Remove 4 machine screws and 2 self tapping screws on the chute Remove the chute...

Page 19: ...19 2 4 4 1 2 M a i n S t S u i t e 1 0 5 C a r s o n C A 9 0 7 4 5 Remove the foam...

Page 20: ...2 0 20 i n f o f l u r i d a a p p l i a n c e s c o m Remove 4 bolts on the extruder Remove the extruder...

Page 21: ...21 2 4 4 1 2 M a i n S t S u i t e 1 0 5 C a r s o n C A 9 0 7 4 5 Remove the auger...

Page 22: ...2 2 22 i n f o f l u r i d a a p p l i a n c e s c o m The auger has been removed...

Page 23: ...23 2 4 4 1 2 M a i n S t S u i t e 1 0 5 C a r s o n C A 9 0 7 4 5 Check if any items are left inside the bin...

Page 24: ...2 4 24 i n f o f l u r i d a a p p l i a n c e s c o m Check if both gaskets are good...

Page 25: ...25 2 4 4 1 2 M a i n S t S u i t e 1 0 5 C a r s o n C A 9 0 7 4 5 Disconnect the water pump power connector...

Page 26: ...2 6 26 i n f o f l u r i d a a p p l i a n c e s c o m Cut the zip tie Disconnect the 90 degree elbow tube...

Page 27: ...27 2 4 4 1 2 M a i n S t S u i t e 1 0 5 C a r s o n C A 9 0 7 4 5 Remove the 2 self tapping screws...

Page 28: ...2 8 28 i n f o f l u r i d a a p p l i a n c e s c o m Pull the pump from the silicone grommet...

Page 29: ...29 2 4 4 1 2 M a i n S t S u i t e 1 0 5 C a r s o n C A 9 0 7 4 5 Remove 3 screws on each side...

Page 30: ...3 0 30 i n f o f l u r i d a a p p l i a n c e s c o m Disconnect the display PCBA cable...

Reviews: