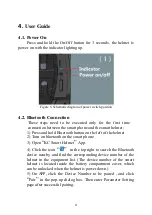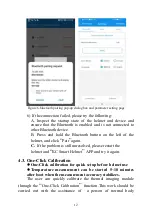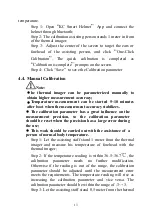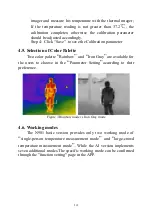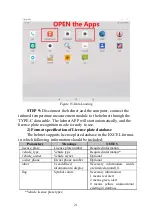
bar , and the system will exit the projection mode;
STEP 5:
Select
“
KCPH2
”
in
“
My Computer
”
to open the
helmet storage folder, and then open the file path of the face database:
KcFace\register;
STEP 6:
Copy the face pictures into this folder.
STEP 7:
Disconnect the helmet with the computer;
STEP 8
: Reconnect the thermal imaging module and the helmet.
The built-in APP of the helmet will automatically load the face data.
Face recognition can be performed after data loading.
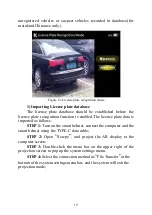
4.7. Projection display
During system settings, data importing/exporting or product
demonstration, the AR display screen can be projected to the
Windows desktop computer by steps as described below:
STEP 1:
Install projection software.
Extract "Scrcpy" to the computer desktop or the root directory of
the driver disk;
STEP 2
: Connect the helmet with the computer.
Turn on the smart helmet, unplug the connection cable between
the thermal imaging module and the computer, and plug the included
TYPE-C data cable to connect the computer and the smart helmet.
STEP 3
: Projection
Open
“
Scrcpy
”
, and project the AR display to the computer
screen;
4.8. Screen Recording
4.8.1. Screen Recording
Use
“
KC Smart Helmet
”
APP to operate the helmet for screen
recording. The screen display in the current mode can be recorded as
a MP4 format video, and saved in the helmet SD memory card.
Follow these steps: Connect the
“
KC Smart Helmet
”
APP to the
helmet, click
“
Start Recording
”
at the bottom of any page to start ,
and click
“
End Recording
”
to end .
4.8.2. Export Video
25

