

Z
H
KeContact P20/P30 - Floor-mounted column, v2.40, #90333
49
© KEBA 2012-2016
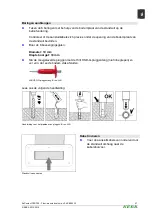
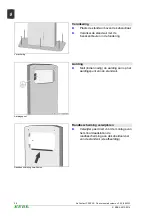
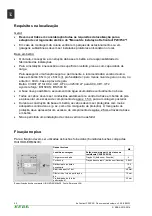
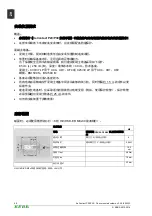
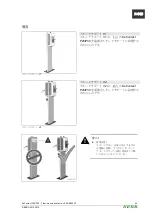
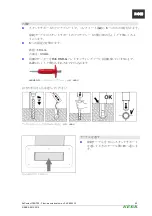
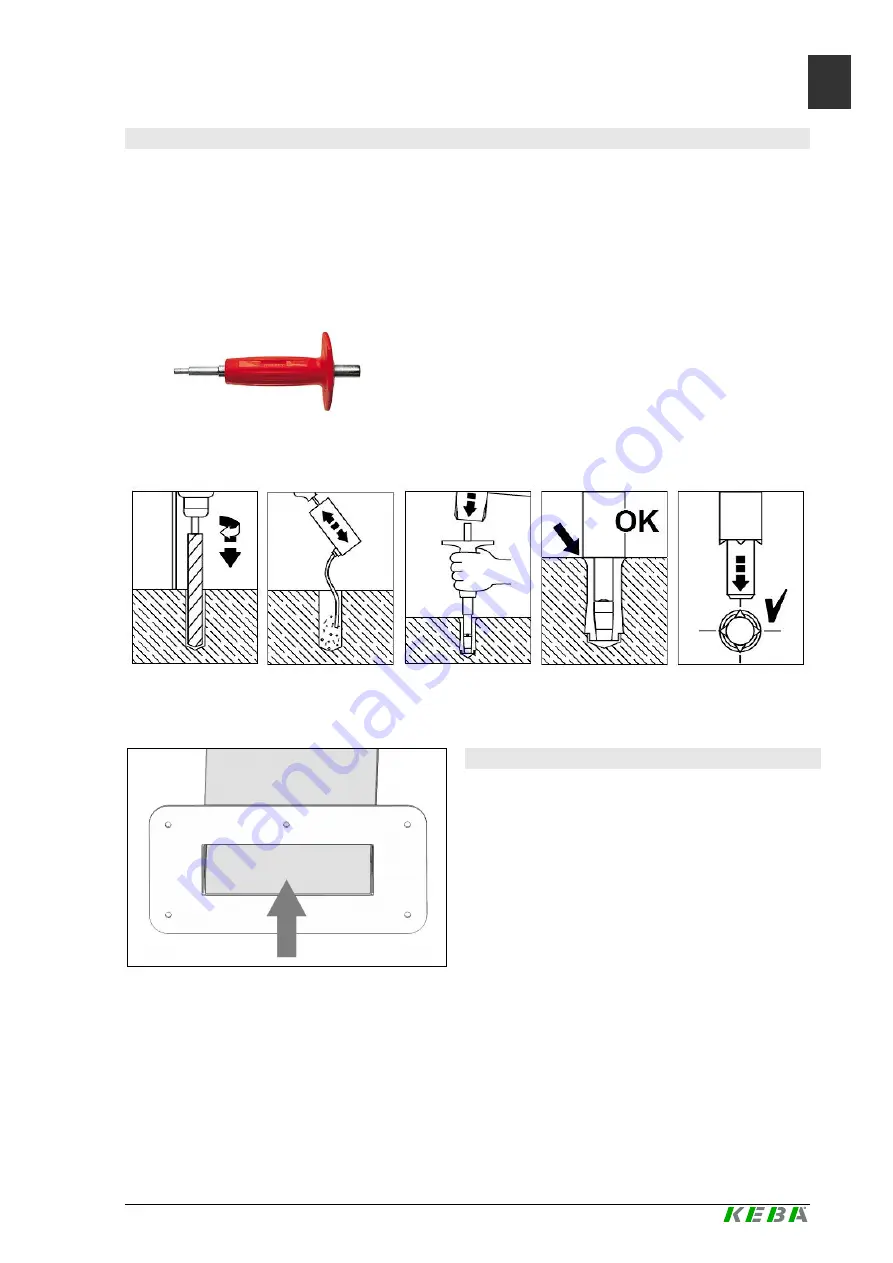
钻孔作业
►
借助安装架底板在混凝土地基上标记
6
个钻孔位置。
请确定连接电缆精确位于安装架的底板开口下方。
►
钻出
6
个固定孔:
直径:
10 mm
钻孔深度:
33 mm
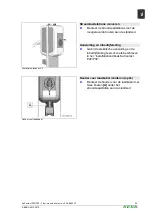
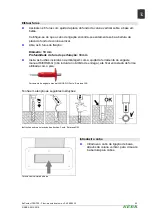
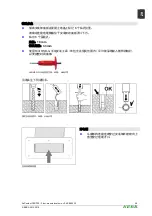
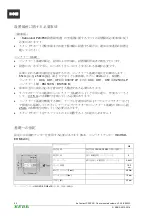
►
使用
Hilti HSD-G
手动安装工具(未包含在供货范围内)尽可能深地敲入随附的销钉,
以便完整封闭底部。
Hilti HSD-G
手动安装工具。来源:
Hilti
公司
另请关注下列说明书:
销钉安装说明书。来源:
Hilti
公司
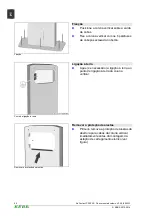
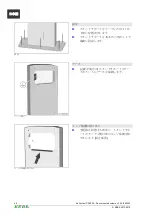
安装架底部视图
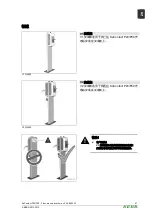
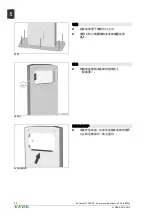
穿电缆
►
从底部将连接电缆穿过安装架并继续向上
直至穿过电缆开口。