background image

z


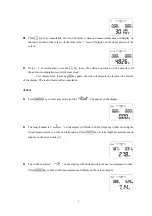
Keep pressing the READ key and move the tool to get the dynamical readings, and the measured 
distance will be displayed on upper portion of the screen 

z


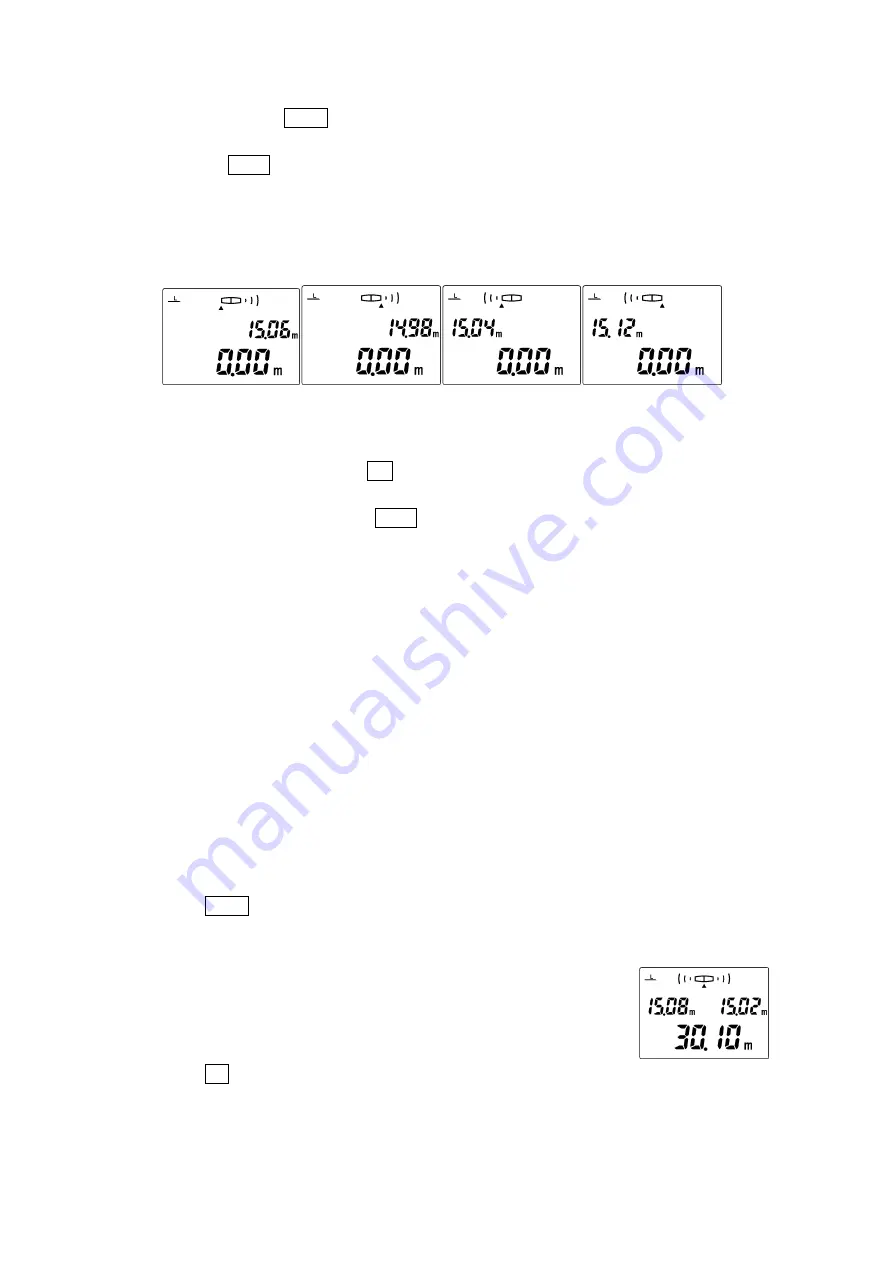
Press the BASE key once to transform measurement base. Press the key every time and the base 
point are the following five ways in turn: starting from the middle then do bidirectional 
measurement

starting from the left then measure to the right

starting from the right then measure 

to the right , starting to the left then measure to the left

starting from the right then measure to 

the left. The default state is for bidirectional measurement .   


z


Midpoint indication: At the mode of bidirectional measurement, when the unit detects the 
midpoint ( the distance of two sides is equal), the buzzer will sound. Meanwhile the central base 
symbol and two ultrasonic symbols on the display will twinkle. 

z


Unit transform: Keep pressing RM    key for 2 seconds to select measurement unit: British unit 
or the Metric unit. (the original unit is Metric unit) 

      Shut the tool: Keep pressing the BASE for 2s to shut the tool. And if there’s no action in 60s, the 

tool will turn off automatically. 


Tips: A. The measured object must be a normative horniness surface and without barrier. 

      B. To ensure exact measurement, the measured surface should be smooth, bigger area and of 

homogeneity. 

    C. If the measured surface is too small, abnormity or the surface is soft, a board should be 

placed on the surface of measured object. 

    D. The unit can’t measure through the glass. 

      E. When measuring, the tool should keep a distance away from the measured object at least 2 

feet (50cm). 

  F. To ensure exact measurement, the temperature of the tool should be same with the 

temperature of environment 

    G.. If the tool has been off automatically or by hand, just restart the tool after 5s. 

Addition (W/O using M memory) 

z


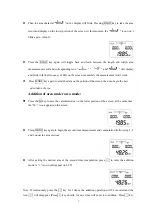
Press READ key for measurement and the measured value is displayed on upper portion of the 
screen (note: when bidirectional measurement,the addition of left measurement result and right 
measurement result will display on the lower portion of the screen);                    


z


Press +/= key to enter the addition mode, and the “+” icon will appear on upper portion of the 
screen. At the same time, the addition of primary data on lower portion and measurement result 
now is displayed on the lower side of the display. 

Summary of Contents for KC-200

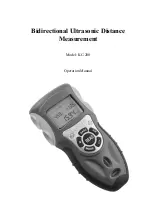
Page 1: ...Bidirectional Ultrasonic Distance Measurement Model KC 200 Operation Manual ...

Page 2: ...low the instructions listed below may cause personal injury z Read and understand all instructions prior to any operation z Do not remove any labels from the tool z Do not operate the tool with the presence of flammable explosive gases z Do not operate the laser tool around the children or allow children to operate the laser tool failure to do so will injure eyes of children z Do not stare into th...

Page 3: ... B Laser pointer C Two row LCD the data of upper line is the current measuring result and the data of lower line is the memory computing result D BASE key measurement base selection key Keep pressing this key for 2s to shut the tool E M key memory function key memory the measurement result F MODE key mode transform key Three circulation transform patterns The length area volume and the default sta...

Page 4: ...ment and close the door Distance measurement z Make the induction hole of the tool face against the measured object e g the wall and keep the tool vertical to the measured object make sure the point of the level vial stands between the two lines of the level vial by adjusting the position of the unit z Press the READ key to start the tool the instrument is ready to work z Press the READ key again ...

Page 5: ...tool And if there s no action in 60s the tool will turn off automatically Tips A The measured object must be a normative horniness surface and without barrier B To ensure exact measurement the measured surface should be smooth bigger area and of homogeneity C If the measured surface is too small abnormity or the surface is soft a board should be placed on the surface of measured object D The unit ...

Page 6: ...the new sum on the lower portion of the screen Note If continuously press the key for 2 times the addition operation will be canceled all the anterior computation result will clear away z Repeat the steps 3 4 above can continue accumulation Addition using M memory z Press the M key to save the first measured result and the M will appear on the right portion of the screen z Press the READ key for n...

Page 7: ...sing M key again the tool will memory the result on the bottom of the display The tool will add with accumulation Area z Press MODE key to enter area mode and the will appear on the display z The length character on the display will blink with the frequency of 2Hz showing the length measurement you will be firstly taking Press READ key to take length measurement and display on the screen Step 1 z ...

Page 8: ... on the portion of the screen then can begin the new calculation of area Addition of area under area mode z Press the M key to save the calculated area on the lower portion of the screen at the same time the M icon appears on the screen z Press MODE key again to begin the second time measurement and computation follow step 1 2 and 3 under the area section z After getting the desired area of the se...

Page 9: ... screen z Repeat the steps above to keep adding the measured area z Repeat the steps 1 5 above can continue accumulation Volume z Press MODE key to enter volume mode and the will appear on the display z The length character on the screen will blink with the frequency of 2Hz showing length measurement will be taking Press READ key to take length measurement the result will be displayed on the scree...

Page 10: ...th and width height volume measurement result and corresponding icon and will display and blink with the frequency of 2Hz on the screen meanwhile the measurement won t work z Press MODE key to clear the data on the screen and then can begin the new calculation of volume Addition of volumes under volume mode z Press M key to save the calculated volume on the lower portion of the screen and the M ic...

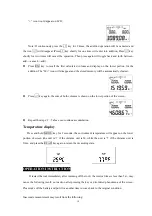
Page 11: ...s is shown on the lower portion of the screen z Repeat the steps 1 5 above can continue accumulation Temperature display Press and hold MODE key for 2 seconds the environment temperature will appear on the lower portion of screen the unit is if the distance unit is M while the unit is if the distance unit is ft in and press the READ key again to return the measuring state OPERATION INSTRUCTION If ...

Page 12: ...ot smooth the measured surface should be smooth hard and of homogeneity z When the measuring environment is not good the temperature and humidity will affect the accuracy of measurement and take measurement under environment of no wind and temperature of the unit should be same with temperature of the circumstance especially for long distance measuring between 40 to 53 12m to 16m the relative humi...

Page 13: ...econds press any key to start the backlight Automatic off The tool will be automatically off if there s no action 60 seconds Power supply One 9V battery Power consumption 80mA Operating temperature 0 to 40 Operating humidity 30 70 RH Storage environment 20 60 85 w o battery Size 180mm 82mm 49mm Weight About 190g battery not included WARRANTY The product is warranted to be free from defects in mate...

Reviews: