4
B
、
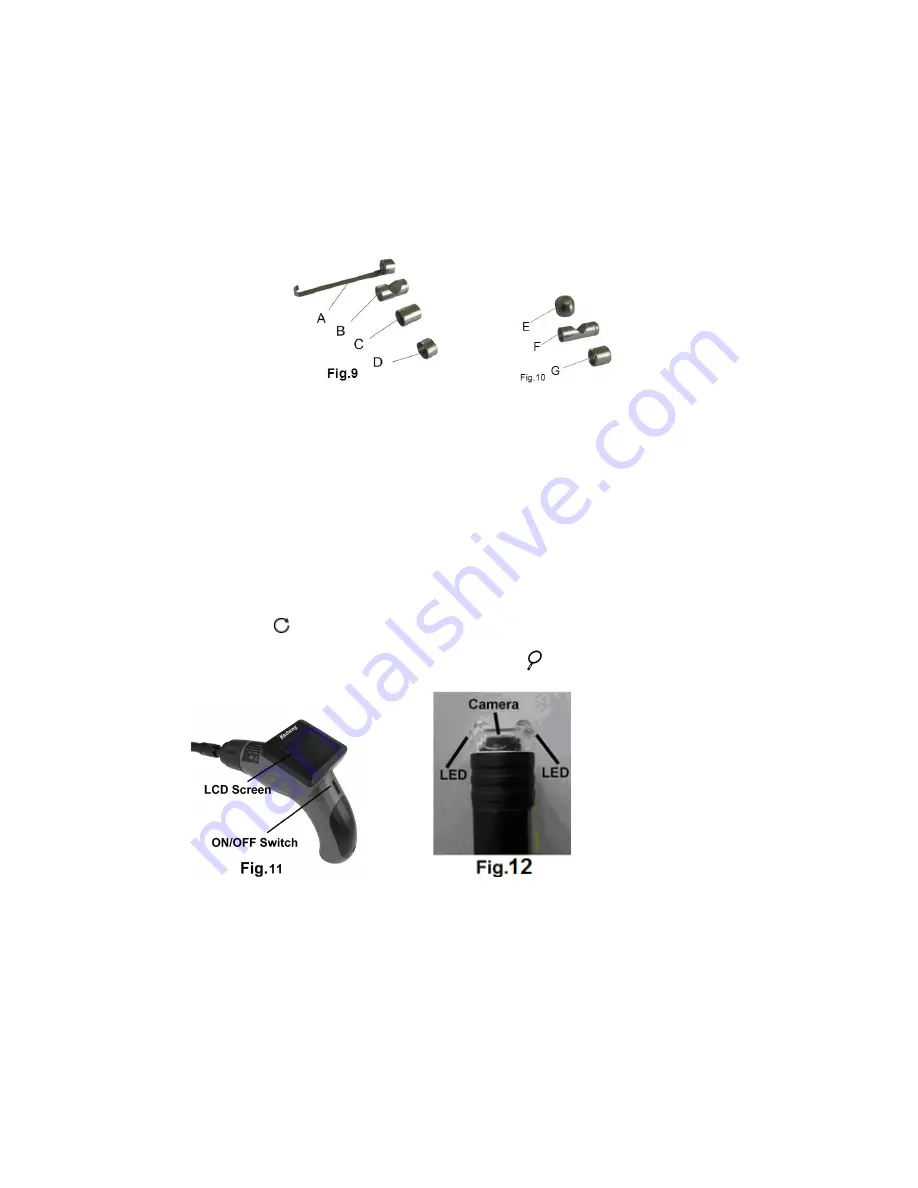
9mm and 5.5mm probe accessories installation (for selection)
Accessories for 9mm probe is shown in Fig.10, while accessories for 5.5mm probe is shown in Fig. 11.
Accessories and camera head are connected using threaded connection. Put on the screw thread protector
when no accessories installed to avoid damage to the thread in daily use.
Remove the thread protector before install any accessory, then install with the correct screwthread .
A
.
hook B
.
mirror C
.
magnet
D
.
Thread protector E
.
Ball guide F
.
Camera lens
G
.
Thread protector
●
Operation instructions
1
、
Facing the LCD screen(Fig,11). Roll the wheel upwards to turn on the device.
2
、
The wheel then acts as a dimmer of the twin LEDs(Fig.12) which provide light for the camera. Roll
the wheel forward and backward to adjust the LED brightness.
3
、
Press the
button to rotate the image by 180
°
..
4
、
Zoom the image from 1.0X to 2.0X by pressing the
button.
This product is suitable for hard-to reach distance inspection. The typical applications include HVAC
inspection
、
car inspection
、
circuitry
、
vessel
、
aircraft and so on. While operation, the product is easy to extend
ahead. If there is distance limitation, the accessories could be used to pick up rings or screws on the floor.
●
Operation Precautions:
a)
Please read the safety instructions thoroughly before operation, choose a proper working area to reduce
the risk of accidents.

