14
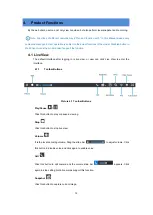
PTZ
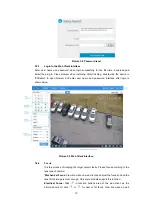
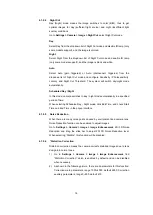
Click the button to zoom. Left click and drag toward lower right to draw an area. The pixels of
this area will be amplified and will cover the whole screen. Left click and drag toward upper
left to draw an area, then the image will recover. Double click a point in the image and the
point will be centered.
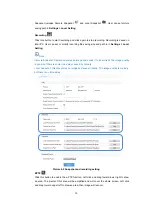
Video Freeze
Click this icon and the image will freeze for a moment.
Status Info
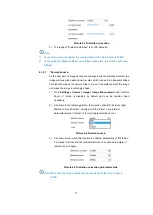
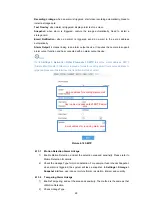
Click this button to display the frame rate and bit rate of the live video. This button is hidden
by default. To enable this function, go to Settings > Local Setting > Play, check
“
Display
Status Info
” and click “Save”.
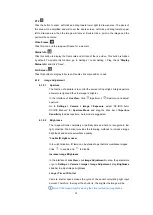
Full Screen
Click this button to display full screen. Double click or press Esc to exit.
4.1.2
Image Adjustment
4.1.2.1
Aperture
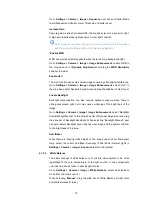
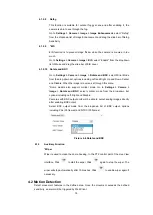
The function of aperture is to control the amount of input light. A large aperture
allows more light and thus the image is brighter.
In the interface of
Live View
, click
(A)/
(Aperture-) and adjust
aperture.
Go to
Settings > Camera > Image > Exposure
, select
“DC-IRIS Auto/
DC-IRIS Manual
” for
Aperture Mode
and drag the slide bar of
Aperture
Sensitivity
to adjust aperture. Auto mode is suggested.
4.1.2.2
Brightness
The image will look completely or partially dark and hard to recognize in low
light condition. Web client provides the following methods to increase image
brightness and ensure surveillance quality.
*
E
nable IR Light or Laser
In low light situation, IR lamp can be started to get better surveillance images.
Click
to enable and
to disable.
Increase Image Brightness
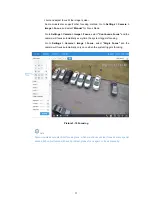
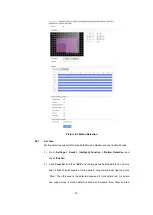
In the interface of
Live View
, click
Image Adjustment
to show the parameters,
or go to
Settings > Camera > Image > Image Adjustment
, drag
Brightness
slide bar to adjust image brightness.
Longer Time
of Shutter
Camera shutter speed means the cycle of the sensor calculating light input
amount. Therefore, the longer the shutter is, the brighter the image will be.
Note: If the target object is moving fast, this method is not applicable.

