20
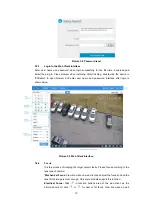
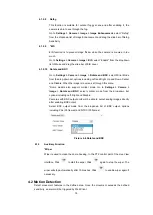
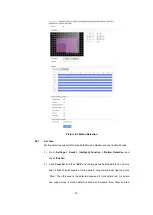
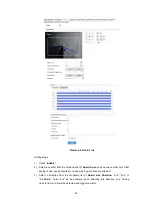
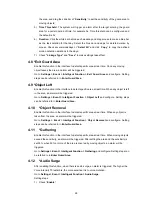
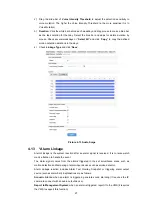
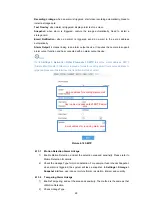
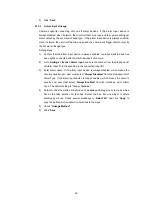
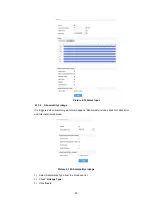
toward upper left that contains the defined area, or click the defined squares
one by one to clear setting, or click “Clear All” to clear setting.
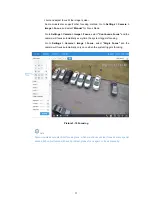
3) Drag the slide bar to adjust
Sensitivity
.
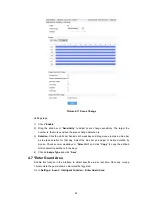
4) Click the white bar behind each weekday and drag mouse to make a blue bar
as the task duration for that day. Select the blue bar and adjust or delete
duration by mouse.
5) Check several weekdays or
“
Select All
” and click “
Copy
” to copy the defined
motion detection durations to the days.
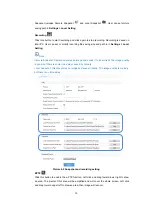
6) Check
“Linkage Type”. It is the alarm output method when motion detection
triggers an alarm. If checking snapshot, when motion detection triggers an
alarm, the system will capture an image. Go to
Settings > Storage >
Snapshot
to set image format, resolution and quality, and enable
“Event
Snapshot
” and set Time Interval and Number of Snapshots.
7) Click
“
Save
”.
4.2.2
Clear Area
Start from an undefined square and draw an area that contains the defined area, or
click the defined squares one by one to clear setting, or click
“
Clear
” to clear setting.
Save to make settings effective.
4.2.3
Disable Function
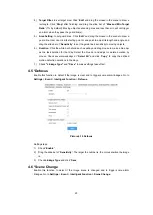
To disable this function, uncheck the checkbox
Enable.
4.3 Tampering
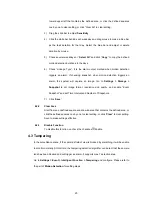
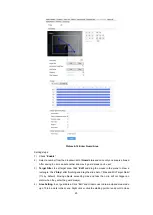
In the surveillance scene, if the camera
’s field of view is blocked by something, it will be unable
to monitor normally. At this time, the tampering detection algorithm can detect that the camera
lens has been blocked and will trigger an alarm. It supports max 1 detection area.
Go to
Settings > Event > Intelligent Function > Tampering
and configure. Please refer to
the part of
Motion Detection
for setting steps.

