PREPARATIONS
- 3 -
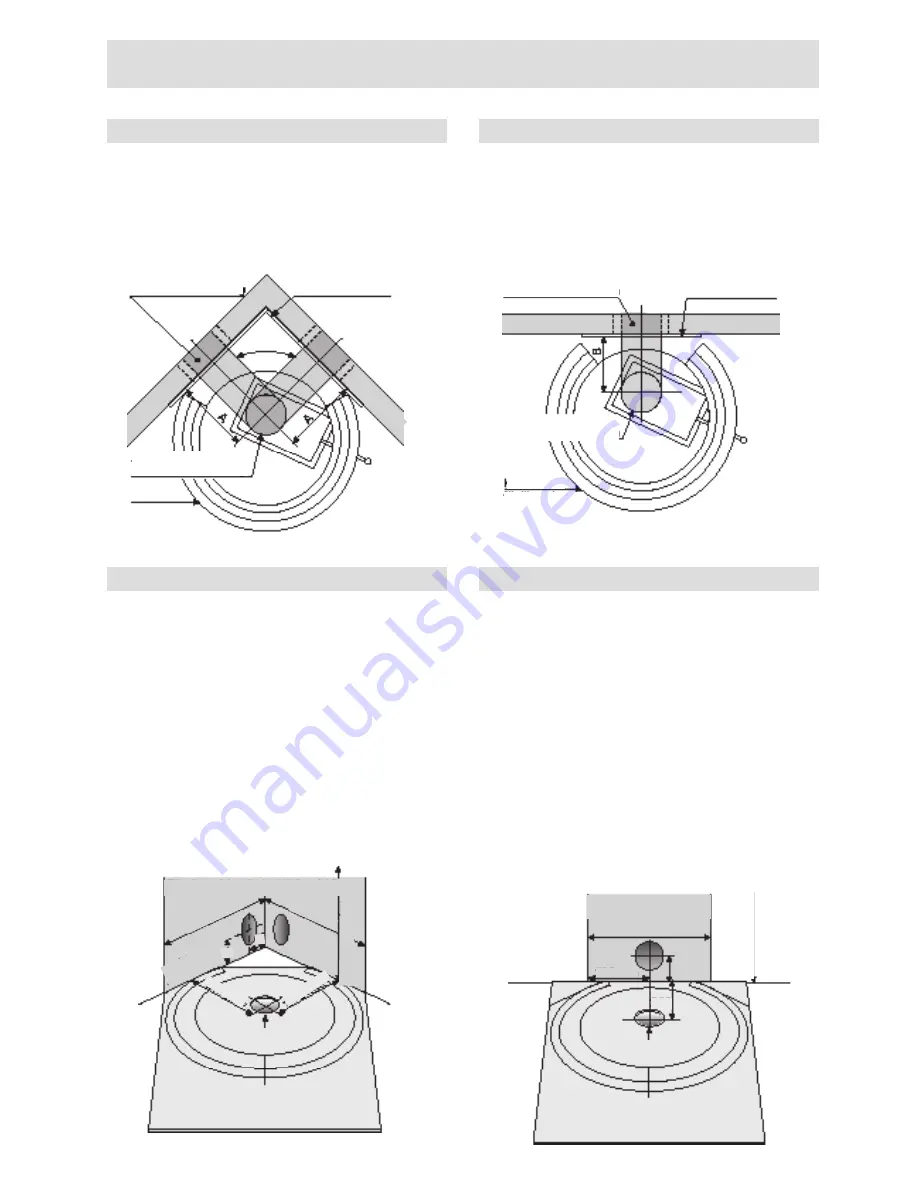
1a CORNER WALL INSTALLATION
There are two different alternatives for connecting the flue:
• rear installation (turnable)
• top installation (straight up)
The height from the floor to the centre of the flue at the
rear is 1920 mm.
1b FLUSH WALL INSTALLATION
There are two different alternatives for connecting the flue:
• rear installation
• top installation (straight up)
The height from the floor to the centre of the flue at the
rear is 1920 mm.
2a CORNER WALL INSTALLATION
If an outdoor air connection is required, a sheet metal
drum must be installed according to one of the three
alternatives illustrated, i.e. either from underneath or
through one of the rear walls.
Push out the middle circle from the cardboard template
(Ø100 mm), in order to position the hole for the air intake
when making an outdoor air connection from below.
Arrange the floor plate according to the enclosed tem
-
plate or as desired, see page 2 under the heading Floor
Plate.
Install the fire retardant wall panels. Paint and finish the
whole corner, before you begin installing the tile stove.
2b FLUSH WALL INSTALLATION
If an outdoor air connection is required, a sheet metal
drum must be installed according to one of the two alter
-
natives illustrated, i.e. either from underneath or through
the rear wall.
Push out the middle circle from the cardboard template
(Ø100 mm), in order to position the hole for the air intake
when making an outdoor air connection from below.
Arrange the floor protection according to the enclosed
template or as desired, see page 2 under the heading
Floor Protection.
Install the fire retardant wall panel. Paint and finish, be
-
fore you begin installing the tile stove.
An extension of the tile set can be ordered for flush wall
installation (optional).
Retardant wall panels 10 mm
Height=Ceiling height
Template
510 mm
510 mm
313 mm
313 mm
313 mm
A
B
Ø 100 mm
Height=Ceiling height
Retardant wall panels
10 mm
Template
Min 450 mm
225 mm
80 mm
250 mm
Ø 100 mm
Alt 1: Corner wall installation
from the rear
Alt 2: Corner wall installation
from the top
Retardant wall panels
Tiles
WALL
A 280 mm
Alt 1: Flush wall installation
from the rear
Alt 2: Flush wall installation
from the top
Retardant wall panels.
Tiles incl.
extention
WALL
B 213 mm
A 80 mm
B 100 mm
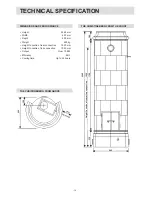
Summary of Contents for Christineberg
Page 1: ...Christineberg Installation Instructions Care and firing instructions ...
Page 19: ......
Page 20: ...01 03 2012 www keddy se ...


