

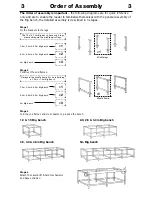


Stage 1
1.
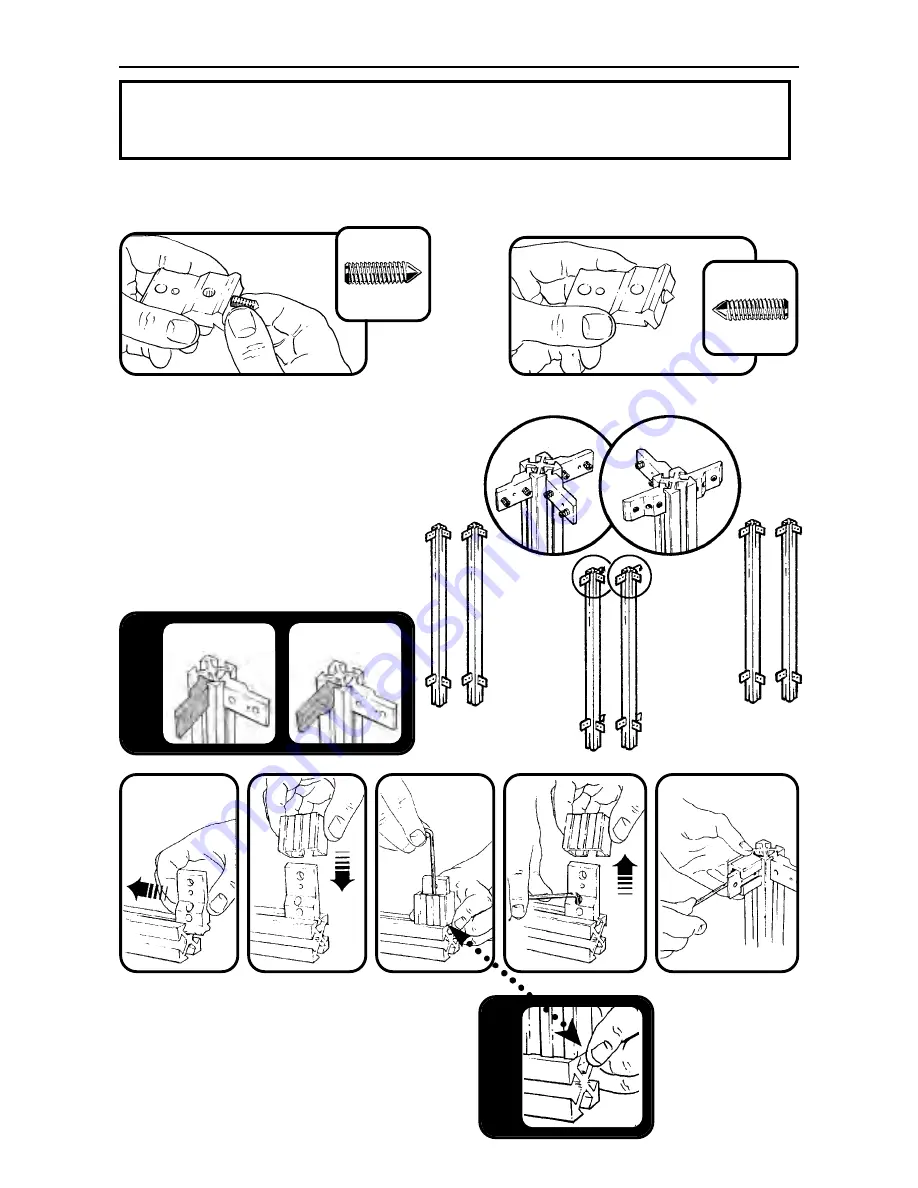
Put a grub screw backwards into each of the joining brackets – do not place screws in the
other holes.
NOTE:
The following instructions will assume the Big bench has six legs (2.0, 2.5 or 3.0). If
you are constructing a (1.0 or 1.5) Big bench please omit the middle frame.
✗
✗
✗
✓
➤
a
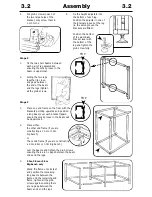
2.
Using the spacer, fit the brackets to the top of
each leg as shown – ensure:
a).
The brackets are fitted the correct
way round.
b).
The spacer is slightly above the top
level of the leg, so when
constructed the top level of the leg
is not above the beam.
c).
The grub screws are tightened fully.
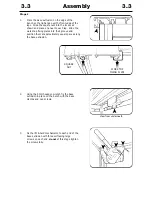
3.
Attach brackets to the
bottom of the legs (and the
same way round as shown
above), using a tape measure
or spacer to position them to
suit your requirements.
a
✗
✔
3.1
Assembly
3.1


