1
Contents
1
2 Packing list
2.1
Unpacking your machine
3 Assembly
3.1
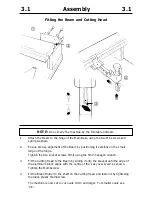
Fitting the Beam and Cutting Head
3.2
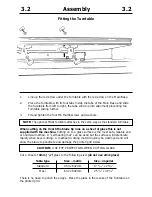
Fitting the Turntable
3.3
Fitting the Clamp Bars
4 Operation
4.1
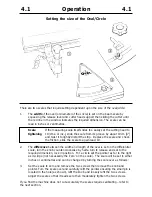
Setting the size of the oval/circle
4.2
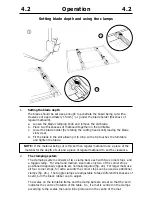
Setting the blade depth and using the Clamps
4.3
Cutting an oval/circle
4.4
Calibrating the Scales
4.5
The Centre Pointer
4.6
Cutting small ovals and circles
5 The Craftsman Toolset
(optional)
5.1
Embossing
5.2
Penlining
5.3
Cutting V-grooves
5.4
Cutting glass ovals/circles
5.5
Cutting glass ovals/circles (Cont’d)
6 Looking After Your Oval 6
6.1
Maintenance & Blades
Introduction
Thank you for choosing a Keencut Oval 6. Every effort has been made to bring you a
superbly built product with the promise of many years of good service. Please read
these instructions carefully in order to obtain maximum benefit from your machine and
remember, in case of difficulties ask your distributor or Keencut Limited for assistance.
Once familiar with the many functions of the Oval 6 and the advantages of the unique
turntable system, your own creativity will enable you to produce very satisfying and
individual work that is the hallmark of the successful framer.


