17
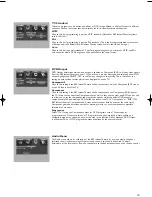
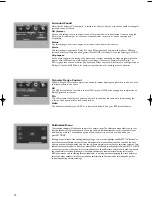
Shuffle/Repeat Menu
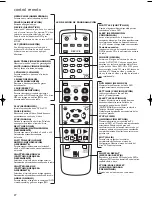
Accessed by pressing the SHUFFLE/REPEAT key on the remote control. Use the navigation cursor keys to
highlight the setting you wish to change, then press SELECT to change the setting. Once satisfied with the
settings, highlight “OK” and press SELECT once more to save the changes. (Highlight and SELECT “Cancel,”
or press SHUFFLE/REPEAT, to discard any changes and exit the SHUFFLE/REPEAT screen.) All shuffle/repeat
settings revert to “Off” whenever a disc is ejected.
Shuffle
Shuffle modifies the order in which the chapters or tracks of a disc will be played. Choose “Shuffle” to play
them in random order, or “Program” to create a custom ordered list of chapters/tracks.
Choose “on” to play the tracks of a CD or the chapters of a DVD title in random order. (A DVD ‘title’ is a
single feature, of which there may be several on a disc; the main film, in addition to any number of
bonus features.)
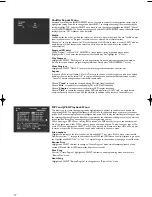
Program (CD only)
When “Program” is set and “OK” SELECTED, a screen appears listing all possible play positions.
(Highlight the “1”, then enter the track number that should play first; highlight the “2”, etc.)
Play Program
Highlight and SELECT “Play Program” to exit programming mode and play the programmed selections.
(To exit this screen without programming any selections, simply press “SHUFFLE/REPEAT” twice.)
Clear Program
Highlight and SELECT “Clear All” to empty the list of programmed selections and start over.
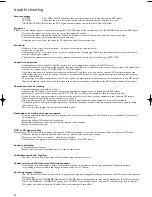
Repeat
If repeat is off the current loaded CD or DVD will play to the end of the disc and stop (this is the default
behaviour).As with shuffle, select “OK” to confirm all changes and exit the shuffle/repeat menu or select
“Cancel” to discard changes and exit the shuffle/repeat menu.
Choose “
Track
” to repeat the currently playing CD track (song) indefinitely.
Choose “
Disc
” to repeat the currently playing CD or DVD disc indefinitely.
Choose “
Chapter
” to repeat the currently playing DVD chapter indefinitely.
Choose “
Title
” to repeat the currently playing DVD title indefinitely. (A DVD “title” is a single feature,
of which there may be several on a disc; the main film, in addition to any number of bonus features.)
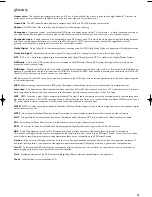
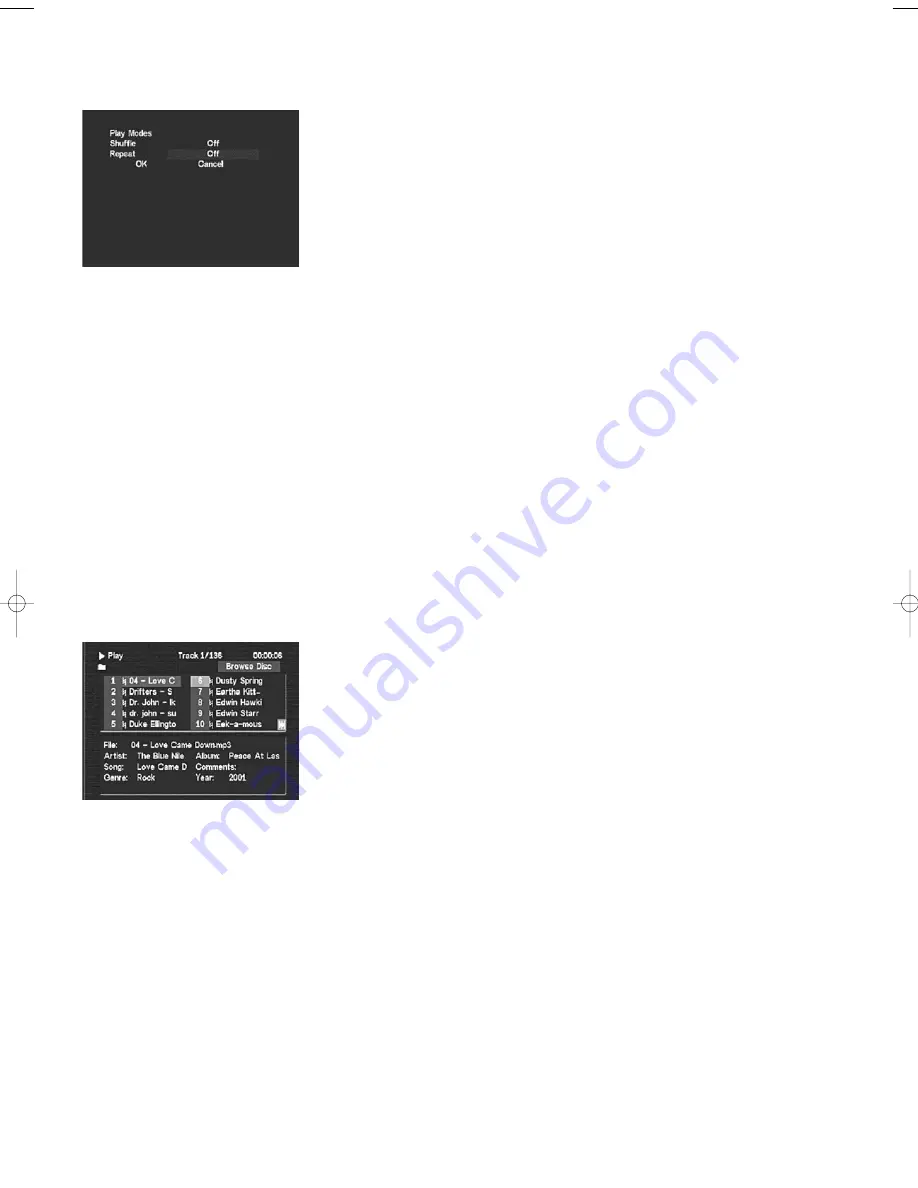
MP3 and JPEG Playback Menu
This allows you to create viewing programs by highlighting each number to the left of each desired file,
and pressing SELECT to highlight the filename in blue. Once all the desired songs or pictures (you cannot
include both in the same program) are highlighted blue, press PLAY to play the resulting list of songs or view
the resulting slideshow. (Once the slideshow, is complete, or the selected music begins to play, you will see a
screen entitled “Brow Prog” showing the list of files programmed to play.)
When listening to MP3 files or viewing JPEG pictures, the SKIP buttons jumps to the next/previous
file of the same type, either MP3 or picture, but not between the two.To play the other type of file,
press STOP, then highlight and SELECT or PLAY the desired file. Please note that MP3s will only play
in stereo irrespective of the surround sound mode selected in the audio menu.
File numbers
Highlight the number to the left of the desired file, and SELECT it or press PLAY to play or view that file.
Numbers are from “1” through to the total number of MP3 and JPEG files on the disc, displayed in groups of
ten. Highlight and SELECT the “|<<” and “>>|” symbols to go to the previous or next page of ten file names.
Browse Disc
Highlight and SELECT this item to change to “Create Program” mode, which facilitates playback of only
chosen MP3 audio files or JPEG picture files from the current disc.
Crea Prog
Short for “Create Program”, highlight and SELECT this item to exit programming mode and return to
“Browse Disc” mode.
Brow Prog
Highlight and SELECT “Browse Program” to change back to “Browse Disc” mode.
K7190>KIT100 Manual USA 19/4/04 4:12 pm Page 18
Summary of Contents for instant theatre KIT100
Page 5: ...R TO HEAD UNIT TO SPEAKERS L POWER ON OFF POWER ON OFF open close 4 5 6 SOURCE 4...
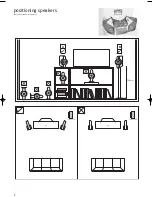
Page 6: ...ES colocaci n de los altavoces positioning speakers A B 750 mm 5...
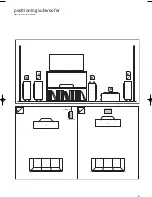
Page 7: ...ES colocaci n del subwoofer positioning subwoofer A B 150mm 6...
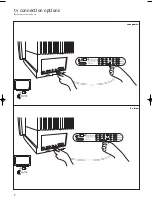
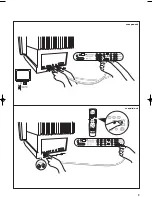
Page 8: ...ES opciones de conexi n a tv tv connection options composite S video 7...

