background image

To assemble the malt pipe, use the bottom 

screen as a starting point with the screen’s 

outer ridge facing downwards. Fit the ½’’ 

BSP pipe base through the central hole of 

the bottom screen with the threads facing 

up. Screw the threads onto a ½’’ BSP pipe 

socket then connect the socket to the over-

flow  telescope.  With  the  telescope  facing 

up, drop the entire assembly into the malt 

pipe so that the outer ridge of the bottom 

screen fits right into the rolled edges of the 

malt pipe. The top screen is used later in the 

mash to keep the grain bed uniform.

Steel Handle

This is used to lift the malt pipe assembly 

out of the brew vessel. Insert the handle by 

wedging the ends into the 2 holes at the top. 

Once lifted out, you can sit the malt pipe as-

sembly onto the brew vessel by rotating it so 

that the 4 welded leg brackets on the malt 

pipe are directly above the support beams 

of the brew vessel. 

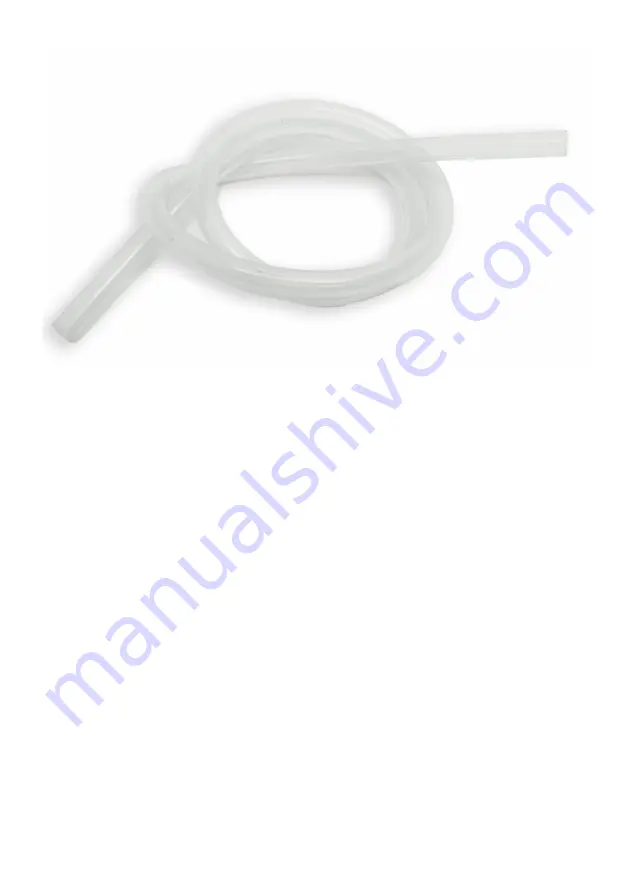
Silicone Tubing 

This food-grade tubing is great for trans-

ferring liquids. It can be attached to the 

ball valve on the brew vessel or even on 

the immersion chiller for connecting to a 

garden hose.

When combined with a Camlock Type E 

fitting, it becomes a flexible extension of 

the pump arm, making recirculation eas-

ier than before. It is also now possible 

to transfer wort to a fermentor using the 

pump. 

Immersion Chiller

A set of cooling coils used to cool your 

wort after the boil. The traditional way is 

to immerse the chiller in your brew ves-

sel and run cold water through the chiller. 

Conversely, you can place the chiller 

in an ice bath and recirculate hot wort 

through it using the pump arm and ball 

valve as the inlet and outlet respectively.

Silicone Tubing

Summary of Contents for Guten Nanobrewery

Page 1: ...evel brewers With a growing online community and excellent customer support based in Australia our mission is to help brewers achieve the best results and have fun with their brewing journey Whether y...

Page 2: ...m ponents Check your power supply before plug ging in the power cord 10A for 40L and 15A for 50L Failure to do so may lead to overloading which can damage the wiring on your Nanobrewery If you are usi...

Page 3: ...alt pipe as sembly onto the brew vessel by rotating it so that the 4 welded leg brackets on the malt pipe are directly above the support beams of the brew vessel Silicone Tubing This food grade tubing...

Page 4: ...To thoroughly clean your Nanobrewery fill the unit up to the top with water along with all of the disassembled parts inside Add in the recommended amount of cleaner heat to 60 C and leave to soak for...

Page 5: ...ting To exit back to Idle Mode press START STOP again 6 Brewing Operations 6 1 The Mash Following from the previous instructions fill your brew vessel up to the desired vol ume with water and insert t...

Page 6: ...up 6 3 Sparging Sparging is an intermediate step between the mash and the boil It involves rinsing the spent grain bed with water no hotter than 70 C to extract more sugars which in turn adds more gr...

Page 7: ...y a 60 minute boil at 2500W will re move 4 to 5 litres of wort through evaporation 6 5 Wort cooling and transferring Your wort has finished boiling and you are almost at the end of your brew day We ne...

Page 8: ...7 1 Running a Recipe The Guten s default recipe comprises of 2 mash temperatures and a boiling stage with no hop schedule We ll go through how to run it in order to get an understanding of Guten s Au...

Page 9: ...ings with AUTO PAUSE When you are ready to run the recipe press AUTO PAUSE from the idle screen then press START STOP While the recipe is in operation you can skip any steps with START STOP and make a...

Page 10: ...re having trouble heating the ves sel to boiling temperature put the lid on the Guten Remember to take off the lid once you are in the boil If your Guten suddenly turns off and breaks the circuit eith...

Page 11: ...this process Once the tempera ture reads 25 C or less on screen transfer the wort to a sanitary fermenter pitch in the yeast and let the magic happen Oatmeal Stout Recipe Makes 21 Litres OG 1 051 1 0...

Reviews: