130
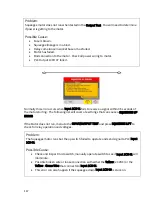
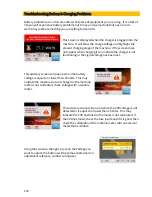
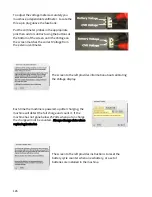
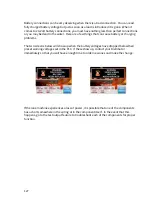
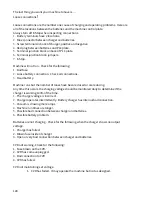
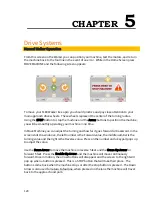
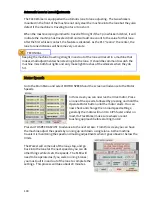
To turn the machine use the two turning buttons, the one on the left is Counter-Clockwise
direction the button to the right is Clockwise. Like the other buttons, they will disappear
while the machine is moving. If the machine is parallel to the foul line and the main drive
wheels are on the center board, the machine will be lined up with the lane when turned 90
degrees.
It is not unusual to start then stop the machine quickly to obtain the exact position desired.
Approach Adjustments
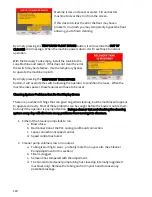
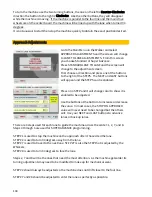
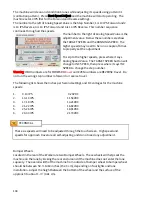
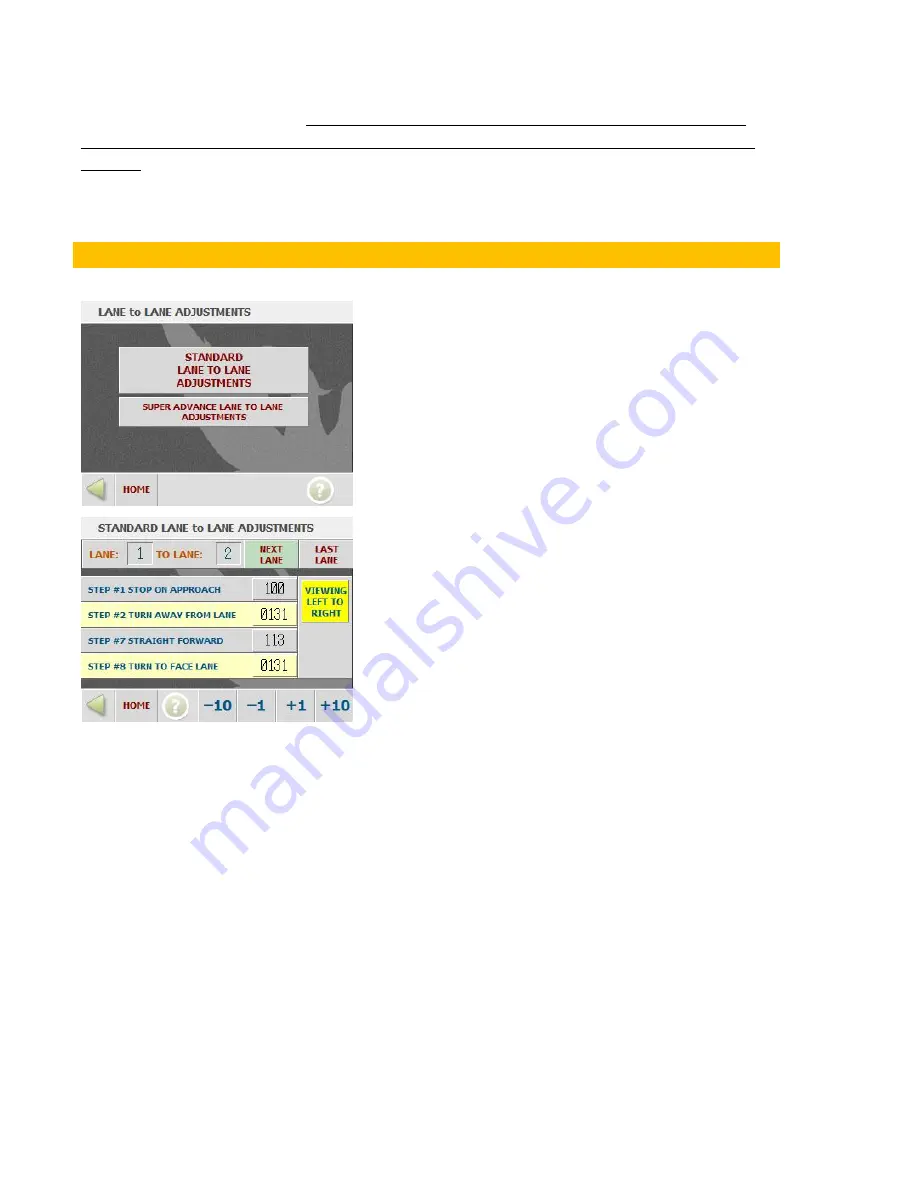
Go to the Main Menu on the Walker and select
APPROACH ADJUSTMENTS and the screen will change
to LANE TO LANE ADJUSTMENTS. From this screen
you choose Standard or Super Advance.
Press STANDARD LANE TO LANE and the screen will
change to the adjustment screen.
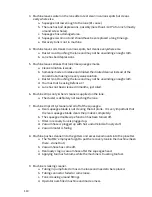
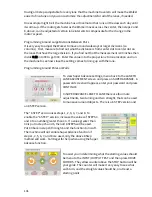
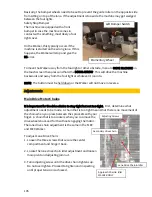
First choose a direction and press one of the buttons
to the right of the STEPS. The NEXT and LAST buttons
will appear and the STEPS can be enabled.
Press on a STEP and it will change color to show it is
enabled to be adjusted.
Use the buttons at the bottom to increase or decrease
the value. In most cases, the STOP ON APPROACH
value will never need to be changed but the others
will. Use your NEXT and LAST buttons to advance
lanes or back up lanes.
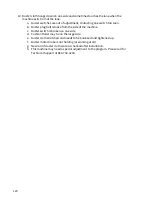
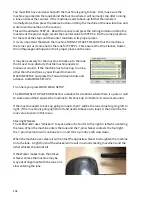
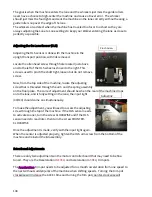
There are 4 steps used for each lane to guide the machine across the center: 1, 2, 7, and 8.
Steps 3 through 6 are used for SUPER ADVANCE programming.
STEP #1 is used to stop the machine on the approach after it has exited the lane.
STEP #2 is used to turn 90 degrees away from the lane.
STEP #7 is used to travel to the next lane. STEP #7 is also the STEP that is adjusted by the
Whiskers.
STEP #8 is used to turn 90 degrees to face the lane.
Steps 2, 7 and 8 will be the ones that need the most attention. As the machine gets older its
turning adjustments may need to be modified to make up for mechanical wear.
STEP #2 should always be adjusted so the machine does not drift closer to the foul line.
STEP #7 and #8 should be adjusted to enter the lane as perfectly as possible.
Summary of Contents for FLEX 17-5701
Page 1: ...OPERATORS MANUAL Edition 03 18...
Page 2: ......
Page 12: ......
Page 16: ...4 Wah lah I did them the same...
Page 51: ...39...
Page 171: ...159...
Page 172: ...160 CHAPTER 7 Miscellaneous Parts Stickers and Decals...
Page 173: ...161...
Page 174: ...162...
Page 176: ...164...
Page 178: ......
Page 181: ......
Page 183: ......
Page 185: ......
Page 187: ...7 7...
Page 189: ......
Page 191: ......
Page 193: ......
Page 195: ......
Page 197: ......
Page 199: ...14 15 16 17 18 19 5 4 7 6 13 8 9 10 2 12 11 9 3 8 10 9 1 3 9 10 12...
Page 201: ......
Page 203: ......
Page 205: ...7 7...
Page 207: ......
Page 209: ......
Page 211: ......
Page 213: ......
Page 215: ...7 5 7...
Page 217: ......
Page 219: ......
Page 221: ......
Page 223: ......
Page 225: ......
Page 227: ...7 7...
Page 229: ......
Page 231: ......
Page 233: ...7...
Page 235: ......
Page 237: ......
Page 239: ...3 2 9...
Page 241: ......
Page 243: ......
Page 245: ......
Page 246: ...235...
Page 248: ...230...
Page 249: ...231...
Page 250: ...232...
Page 251: ...233...
Page 252: ...234...
Page 253: ...235...
Page 254: ...236...
Page 255: ...237...
Page 256: ...238...
Page 257: ...239...
Page 258: ...240...
Page 259: ...241...
Page 260: ...242...
Page 261: ...243...
Page 262: ...244...
Page 263: ...245...
Page 264: ...246...
Page 265: ...247...
Page 266: ...248...
Page 267: ...249...
Page 268: ...250...
Page 269: ...251...
Page 270: ...252...
Page 271: ...253...
Page 272: ...254...
Page 273: ...255...
Page 274: ...261...
Page 276: ...257...
Page 277: ...258...
Page 278: ...259...
Page 279: ...260...
Page 280: ...261...
Page 281: ...262...
Page 282: ...263...
Page 283: ...264...
Page 284: ...265...
Page 285: ...266...
Page 286: ...267...
Page 287: ...268...
Page 288: ...269...
Page 289: ...270...
Page 290: ...271...
Page 291: ...272...
Page 292: ...273...
Page 293: ...274...
Page 294: ...275...
Page 295: ...276...
Page 296: ...277...
Page 297: ...278...
Page 298: ...279...
Page 299: ...280...
Page 300: ...281...
Page 301: ...282...
Page 302: ...283...
Page 303: ...290...


